
In this tutorial I will be making a 3" x 6" finished flying geese unit.

1. Cut an rectangle that measures 3 3/4 " x 6 3/4", normally we would cut each unit 3 1/2" x 6 1/2", but for these you will cut unit 1/4" larger.

2. Cut 2- 3 3/4" x 3 3/4" square units for each rectangle you cut.

3. On the back of each of the square units you need to draw a diagonal line across, this will be your sewing line.

4. Take one of the squares and line it face down on top of one the rectangle ends and sew on the diagonal line.

5. After you sew on the one square you need to trim away from the seam allowance 1/4".
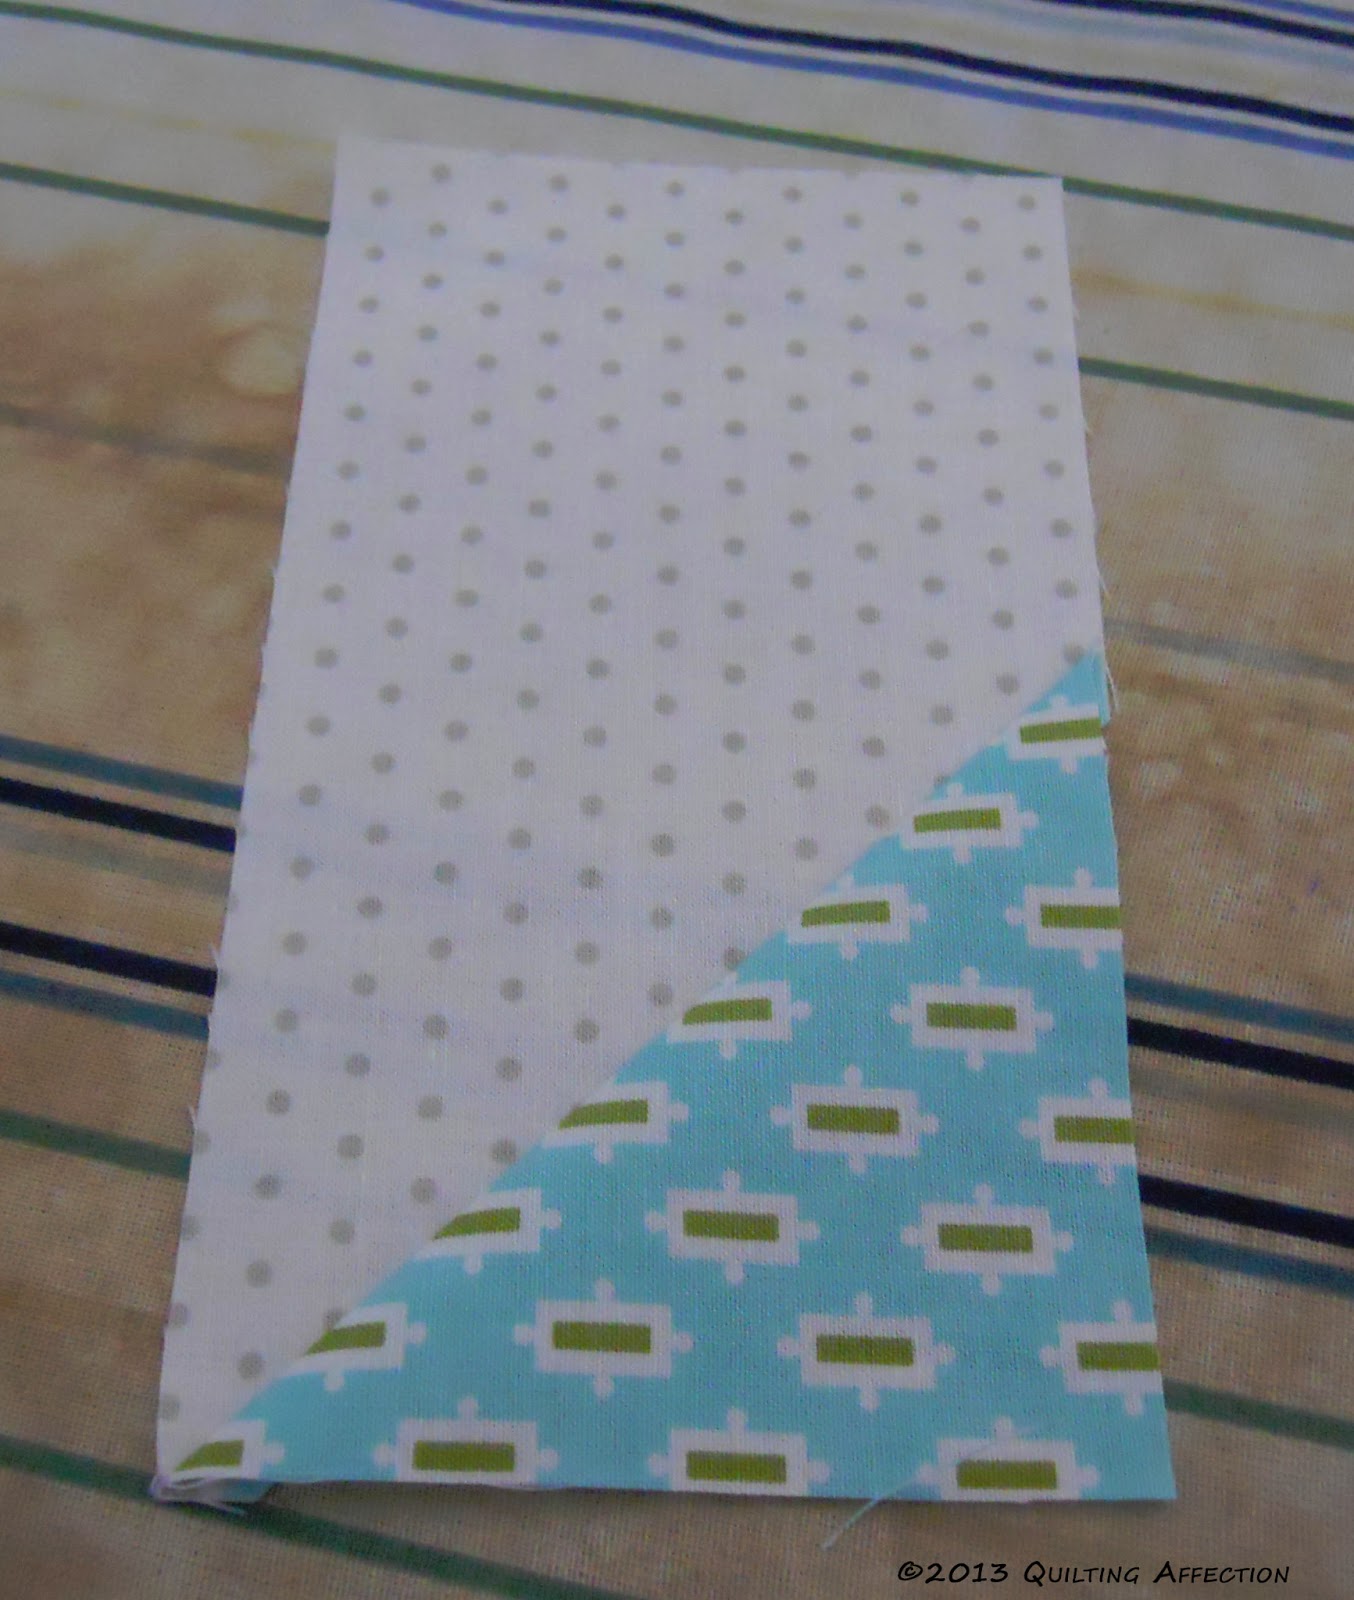
5. Then you press the lower triangle up toward the sky.

6. On the opposite side of the rectangle, lay the other square right side down and sew making sure you follow the diagonal line.

7. Like you did on the other side trim off from the seam allowance 1/4" and press open to the sky.

Now you need to trim down. Now let me show you this neat little tool made by Blocloc, they make varies rulers that help you get accurately measured units, especially flying geese. They have varies size so you can make most of common sizes of flying geese.

These rulers include the seam allowance and groove underneath the ruler that fit over the seam allowances.

8. Now take the ruler and place on top of the of the flying geese unit, and fit it snuggle against the seam allowances.

9. Now you need to trim all four sides of the unit, this will square up the unit and it should measure out at a 3 1/2" x 6 1/2" size unit.

A Perfect Flying Geese unit, love these rulers!!


