Pages

Wednesday, January 31, 2018

Quilt Talk Tuesday, Episode 4 – HST, Hourglass & Combination units using the Tucker Trimmer® 1 Ruler, Plus Giveaway

Yesterday's "Quilt Talk Tuesday!" on Facebook Live was a good one, we were talking about making Half Square Traingles, Hourglass and Combination Units using the Tucker Trimmer® Rulert by Studio 180 Designs.

We are also doing a giveaway for both the Facebook viewers and YouTube Watchers.

You can win Free Digital Copy of my "A-Mazed" Pattern, which was featured in this weeks, "Quilt Talk Tuesday".

The drawing will be next week in the Live Broadcast, February 6th at 2:30pm.

So Enter Today, All you have to do is do one of the following:

Facebook 

1. Head to my Quilting Affection Business Page find the Episode 4 Video (which is pinned to the top of the Feed.)

2. Share the Video, with your friends and family
3. And Leave a Comment.

or

YouTube

You will need to the following:

1. Head to my YouTube Channel
2.Subscribe to my YouTube Channel
2. And Leave a Comment


So head over to my Facebook or my YouTube Page and enter today.

Enjoy, 

Tina


Friday, January 26, 2018

2018 Master the Rulers : Studio 180 Design BlockBuster 3


Today, is Friday, so it is time to show my next block in my 2018, Master the Rulers: Studio 180 Design Blockbuster Series. Block 3 - Flying Dutchman the next block in the BlockBuster Series. 

For this block I got to put away the Tucker TrimmerⓇ 1 ruler.  Instead I will using the Wing ClipperⓇ 1. 

The Studio 180 Design Wing ClipperⓇ 1 ruler is used for making flying geese. The Flying Dutchman is made out of 8 of Flying Geese units

For this block, You haave the choice to make an  4", 8" and 12" Finished blocks. For my block, I decided to make the 8" Finished block which uses the popular flying geese size of 2" x 4" units.  


My choice of fabrics come again from my Island Batik fabric Stash. My color combination for this block will be based off of three colors, white, yellow, and purple.  

No Waste Flying Geese Method


So to start off you will need to cut 2 large squares (I chose to use two in differant colors) .  You will need 8 smaller squares.  Note: You will need to refer to the Wing ClipperⓇ 1 Instructions for the cutting sizes.


Next, you will then using the Quilter's Magic Wand or a ruler mark two lines, each 1/4" away from the center diagonal on the wrong side of the small squares fabric.


Position two of the smaller squares diagonally opposite corners on a larger square as shown above


Stitch on the drawn lines.


Then, cut apart between the lines of stitching on the center diagonal.


Press seams in the direction  away from the larger triangles as shown above.


Position the remaining smaller squares, one on each of the units with right sides facing each other.

Stitch on the drawn lines, then cut apart between the lines of stitching on the center diagonal.


Press seams toward the smaller triangles. You now have 8 units that need to be trimmed to size.


Using the Wing Clipper® 1 ruler trim unit to the correct size. 


Nice and Clean Flying Geese units are now ready for block assembly.


Block Assembly

I positioned a yellow on top of purple units and stitched them together to make four squares. Pressing toward the yellow units.


Next position the four blocks so each would face in differant directions to make the final block layout. Stitching the rows together.


 Then pressed the units in opposite directions.  Next line up the seams of the two rows  and stitching them together to form the block.


The Flying Dutchman block is a fast and easy block to complete since you are only making flying geese.  I love how the block creates a spinning motion.

I hope you will give it a try sometime.

If you have not seen my first blockbuster blocks be sure check out my blogs on my Master the Ruler page.

Also be sure to watch my new Facebook Live series "Quilt Talk Tuesday!" You can watch it live on Tuesday on the Quilting Affection Design Facebook page.  And for those of you not on Facebook I'm also posting videos on my YouTube channel, be sure to subscribe, so you do not to miss an episode.

See you next week with Block 4

Tina

Tuesday, January 23, 2018

Quilt Talk Tuesday, Episode 3 – My Favorite Quilting Toys

Hello everyone!  Many of you may not know that I have a YouTube Channel and a weekly Facebook Live series "Quilt Talk Tuesday!"  It airs every Tuesday at 2:30pm on my Quilting Affection Design Facebook page.  So you may want to mark your calendars.

Be sure to check out Episodes 1 and 2 here on my YouTube Channel Here.

Also, you can watch Todays newest Episode 3 - My Favorite Quilting Toys


Enjoy, 

Tina

Friday, January 19, 2018

2018 Challenge Master the Rulers: Studio 180 Design BlockBuster 2

Hello Everyone, I can't believe it is Friday already. This week has been busy, but I didn't forget to make my BlockBuster Block for this week.


This week, I made BlockBuster#2 Crowning Glory.  Before, I could make the block I needed to order a few things such as technique sheets from Studio 180.   So I looked through all the upcoming Blockbuster and placed my order last week.  So glad my order came a couple of days ago, I need the Shaded Four Patch TechniqueSheet.

I decided to make my Crowning Glory an 6” Finished Block size again this week. For the assembly of the block it requires three different units, Unit A is a Shaded Four Patch, Unit B is a Quarter Square Triangle, and Unit C is Square.

Shade Four Patch

Unit A the Shaded Four Patch unit, I needed to refer to the Shaded Four Patch Technique Sheet for the cutting chart sizes, and instructions, since this is a new technique for me. 

After referring to the cutting chart on the Technique Sheet.  Start by cutting strips, one will be narrow (square), and the other is wider (triangles).  


Stitch the strips together, press and sub cut to the size of the narrow strips. 


Then take two of the cut pieces and stitch them together along the long side, assuring you align them to the narrow strips are opposite ends.


Press the unit open and with a ruler mark two 45 degree lines.  


Align and center the unit on a large rectangle.  Stitch on the lines, then cut 1/4" from the stitch line on both units.


Press the units open and trim using the Tucker Trimmer 1 to size for the unit.

I have completed 4 Unit A. The shaded Four Patch unit was an easy and fun technique to learn.


Unit B - Quarter Square Triangle unit is the same as I  did last week, so I made four units and trimmed them to size with the Tucker Trimmer 1.


Unit C was just one square so now it was time to layout the units and assemble them together.


Once the units are all together, it turns out to be this beautiful block called, Crowning Glory. This block was easy and cool technique


See you next week with Block #3

Tina

Friday, January 12, 2018

2018 Challenge The Ruler: Studio 180 Design BlockBuster 1

One of my long-term goals for my business is to gain a better knowledge and practice on using the Studio 180 Design rulers and become a Studio 180 Design Certified Instructor. 


For 2018 I have set-up a fun little challenge for myself to complete all the Studio 180 Design Blockbusters.  

What is the Challenge?

The challenge is to complete each of the Studio 180 Design blockbusters series weekly and report my finished block to all of you to see. Each Friday, I will be posting a new block from the Blockbuster Series starting with #1. 

What is the BlockBuster Series? 

Well Studio 180 Designs, designs unique blocks that can be made from their tools.  Each of the blocks works through the fundamentals each of the rulers, as well as the companion Technique Sheets.

Check out BlockBuster Roundup: Series 1 blog post for more information and to see all the blocks.


Before I started my first block, I printed all the ruler information and BlockBuster projects and put them in a binder to keep all the Studio 180 design papers together.  This is so handy.

Let's begin!!

BlockBuster #1 – Ohio Star Variation 1


BlockBuster #1, the Ohio Star Variation 1 uses the Tucker Trimmer® 1 Ruler.  The first step in making any block or quilt is to read the instructions thoroughly.  

Next, you need to decide on the fabric and the finished block size.  My choice for the block size was a 6” and I will be using my Island Batik stash for all my blocks.


There are a few tools you will need to complete this block: Tucker Trimmer® 1 Ruler, rotary cutter, Quilter's Magic Wand (optional), marking pencils and cutting mat. You will want to have your ruler instruction nearby. Also, you will be referring to them a lot.

Now that I have my fabric and block size figured out, I then referred to the BlockBuster 1 block sheet to get my unit sizes for each of the five units that make up the Quarter Squares Triangles, Half Square Triangles, and Squares.

Once I figured out my unit sizes I referred to the ruler instructions to get the fabric cutting sizes.

Unit A - Quarter Square Triangles

For Unit A, the quarter square triangles you will need 3 colors of fabric.  I have (2) Printed color, (1) White (background) and (1) Yellow fabric all cut at the same size according to the Square size chart in your ruler's instructions. 


Next, Flip the square over so that the wrong side of the fabric is facing you and draw two diagonal lines 1/4" on either side of the center diagonal using your marking tool.  I love using the Quilter's Magic Wand by Studio 180 designs for getting my accurate 1/4 mark. 


Then, layer White fabric square and print fabric square with right sides together, and yellow fabric square and print fabric square together, and stitch on the 1/4" line, one each side of the center.  


Then cut down the middle giving you 2 of each half square triangles (Don't trim yet). Press open.


Now turn over one of the half square triangle units and draw two diagonal lines 1/4" on either side of the center diagonal using your marking tool. 


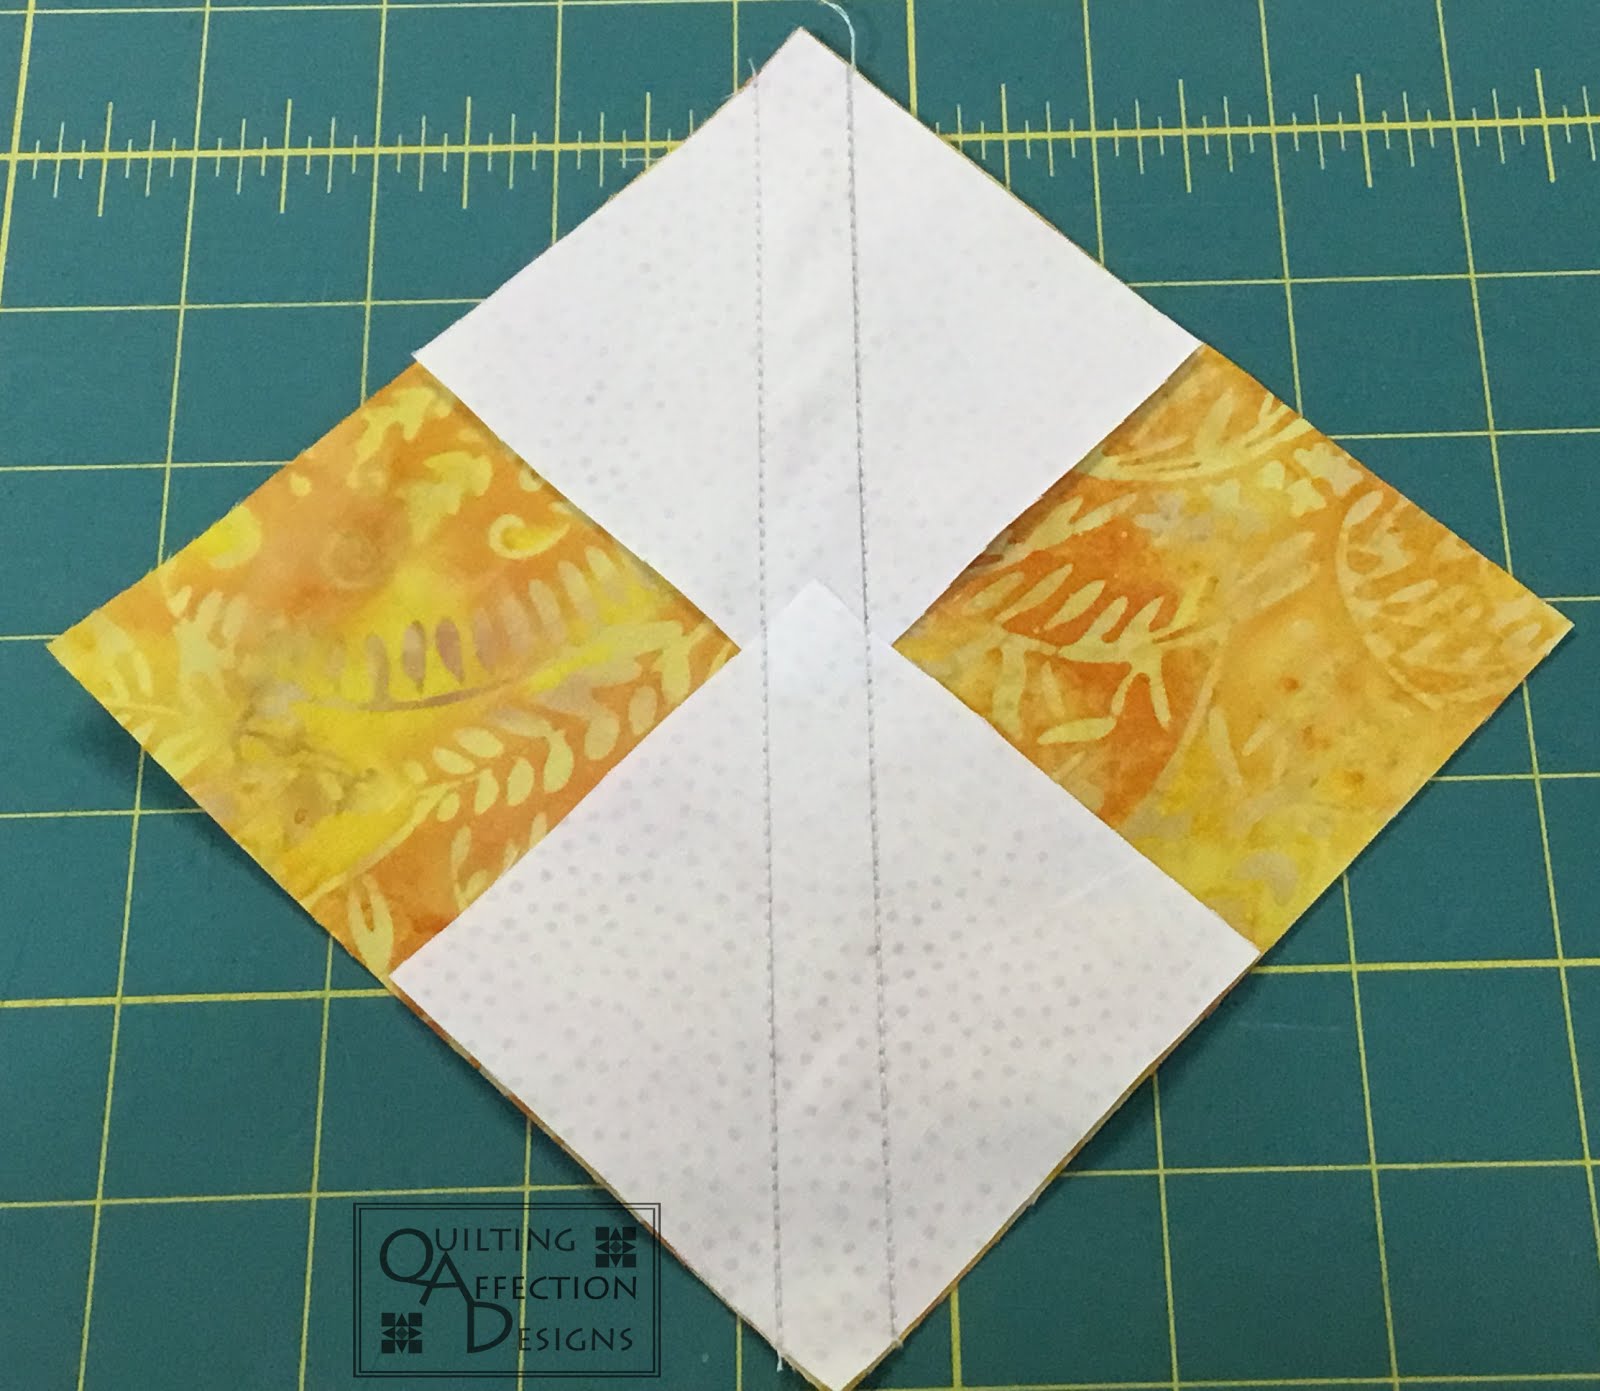
Layer this on the orange/print half square triangle and make sure your fabric align your fabric seams.  


Stitch on the drawn lines, cutting down the middle and press open. Repeat with the other half square triangles.


Trim the Quarter Square Triangle, using you Tucker Trimmer® 1 ruler.
  

Make 4 Unit A's.


Unit B - Half Square Triangles


For the Unit B half square triangles, you will make them the same way as done in Unit A. 

Unit C, D, and E - Squares


For these remaining units, you will just need to cut the squares to size according to the BlockBuster #1 sheet.


Now we have all the units made let start assembling the block together, starting with the corner units.

Corner Units Assembly


To make the 4 corner units for the block, you will use Unit B, C, and D.


Stitch a white square to each of the half square triangles to make 4 row 1 and repeat with half square triangles and an orange triangle to make 4 row 2.   Stitch the rows together to make the 4 corner units.


Now that all the units are sewn together, it’s time to sew the blocks together into rows. Reference the layout above.


Stitch each of the rows together.


Press open, and BlockBuster #1 is now complete.


BlockBuster #1 was fun and easy to make.  I hope you will give this block and ruler a try sometime, you will like them a lot.  

I can't wait to start BlockBuster #2. See you next Friday.

Tina

Also, make sure to check out the Island Batk Four Season Blog Hop going on now.

Monday, January 8, 2018

Four Seasons Blog Hop and Giveaway!!

Welcome to Day Two of the Island Batik Ambassador's Four Season Blog Hop.  

This week we are covering the Winter Collections.  So If you missed yesterday featured collection "Blue Moon", be sure to check out The Inquiring Quilter and Cheryl Lynch Quilts blogs.  


Today, Island Batik featured collection "Mountain's Majesty."


Island Batik "Mountain's Majesty" fabric collection brings a wonderful palette of winter mountains colors to you at home for that special quilt project. 

This winter fabric collection is coming to quilt stores starting in January.


I was given a theme for this blog hop and in looking through the stack of fat quarters, I began designing a pattern that shows the beautiful snowy mountains as the wind blows the snowflakes around in the fresh cool breeze during the first snowfall.  So I called my latest pattern "Mountain Snowfall".

Mountain Snowfall

Mountain Snowflake Wallhanging
"Mountain Snowfall" wallhanging measures 44" x 44" and represents 15 different fat quarters and yardage from the "Mountain's Majesty" collection.

The pattern is a fat-quarter friendly pattern and has easy to follow instructions that use the Studio 180 Design Tucker Tucker Trimmer® 1 and the Wing Clipper® 1 Rulers. 


I have also included instructions to make a matching table runner (56" x 20") to go along with the wallhanging in the pattern.


This wallhanging and table runner when complete will be great for the dining room wall and table or to just hang in that special cabin to highlight that table and/or wall space.


It's so much fun taking some fabric and a theme and interpret it in your own way, as I did with "Mountain Snowfall". 


The pattern is now available on my website (paper pattern only) and in my Etsy store (digital pattern) for $10.00.   

Giveaway!!!

Thank you for stopping by my blog today, but before you go; be sure to check out the giveaway on the Island Batik blog page, they are giving away Precuts.  


But wait, I have one more giveaway for you.  I'm giving away a copy of my newest patterns "Mountain Snowfall" and "Entangled Paths".

All you have to enter the Giveaway is to leave a comment on my blog post.  I will announce the winner on February 1st.  Be sure you read the rules and guidelines below.

a Rafflecopter giveaway


Quilting Affection Designs Guidelines and Rules for this give away.

No purchase necessary. Open to residents of the USA only.
While we hope you will leave a comment on the post of the day because we love comments, we want no reply bloggers to have a chance at winning also. Rafflecopter will collect your name, country, and email. 
One – Paper Pattern of the “Mountain Snowfall” will be given away to two lucky winners.
The Winners picked at random via Rafflecopter at the end of the day on January 31st. Winner will be drawing be on February 1st receive notification via email. 
Winner will have approximately five days to claim their gift, if five days pass, the gift will be offered to another eligible entrant. Winner must provide name, address, city, state. 
Only US Address, please
Winner will be announced on this blog and in the Rafflecopter window here on this page. Winner agrees to allow their name, city, state to be publicized.
Odds of Winning a prize are based on a total number of Rafflecopter entries.

You are responsible for claiming and paying any tax owed on the value of any gift that you win where applicable. Some restrictions on gifts will apply based on shipping policies. This sweepstake is void where prohibited by law.

More Quilts and Giveaways!!

Be sure to follow the blog hop as we go along this month.  Since this is the last official event for the 2017 Island Batik Ambassadors and some of the ambassadors will be leaving after this event, be sure to continue following these ladies on their blogs, they are so talented and great designers.

Monday, January 8 Blue Moon
Inquiring Quilter • Cheryl Lynch Quilts


Wednesday, January 10 – Alpine Ice
Freemotion by the River  •Slice of Pi Quilts


Monday, January 15 – Elementz
Den Syende Himmel  •Inspired Layers


Wednesday, January 17 Morning Sunshine
Quilt'n Party  •Dessert Bloom Quilting


Monday, January 29 – Autumn's Grace
BeaQuilter  • KISSed Quilts

Tuesday, January 30 – Pumpkin Patch
Ark Angel Creations  •Seams to be Sew

Wednesday, January 31 – Plum Delicious


Until next time, 

Tina