Are you participating in the Journey to Nebula Quilt Along that started today. I am but I'm doing this a little different from a lot of you, I'm using the Studio 180 Design Star 60 tool.
I thought it would be fun to show
you how easy it is to cut the pieces out with the Star 60 tool. The Star 60
tool will cut Diamonds, Hexagons, Half Hexagons used in the Journey to Nebula
Quilt Along. One thing I love about the Studio 180 Design tools is that
they are designed for Right and Left Handed Quilters, plus they can make
multiple sizes.
Today, we started with the Seaside pattern. I will be showing you how I cut this out with the Star 60 tool. For this pattern I will be using the Island Batik "Islander Batik" Collection from the Summer 2019 I had left over.
I picked 5 different colors from the 2 1/2" Pre-cut strips I had in the package.
From my background fabric, I cut 7- 2 1/2" strips from the WOF of the fabric.
Right Handed
Left Handed
Now we can start cutting the diamonds from the strips. Start by laying out the strip flat right sides up on your mat. Trim off one of the short edges at a 60° on the strips.
Right Handed
Left Handed
With the end trimmed, which gives us
a 60° angle to start cutting from the strip. I now need to find what my
tool guideline size is for the 2 1/2" strips. To find this guideline
number, I need to use the Basic shape Cutting Chart found in the Star 60
instructions. I located the Diamond Strip size of 2 1/2" and moved
over one column to find the Diamond Sub-cut guideline, which is the 4
1/2".
I then located the guideline on my
Star 60 tool and aligned the 4 1/2" guidelines along the raw edges of the
strip. From there I made my angle cut from this alignment.
Right Handed
Left Handed
Then continued cutting in the same manner until all my diamond were cut.
After I made my first cut, I verified that the diamond was the exact as the template piece in the Seaside pattern, and found it matched it completely.
I continued to cutting all my background and featured diamond shapes out. I love how easy they are to cut out and now I'm ready to start stitching all these pieces together to make this table runner together.
Stay tuned, I will posting the final product next Monday. I hope you will enjoy the Journey to Nebula Quilt Along as much I will.
Welcome to week 4 of the Rainbow Serenade QAL. This week we will be making Unit 4 for the center of our blocks.
You can watch the video from our Facebook Live right here:
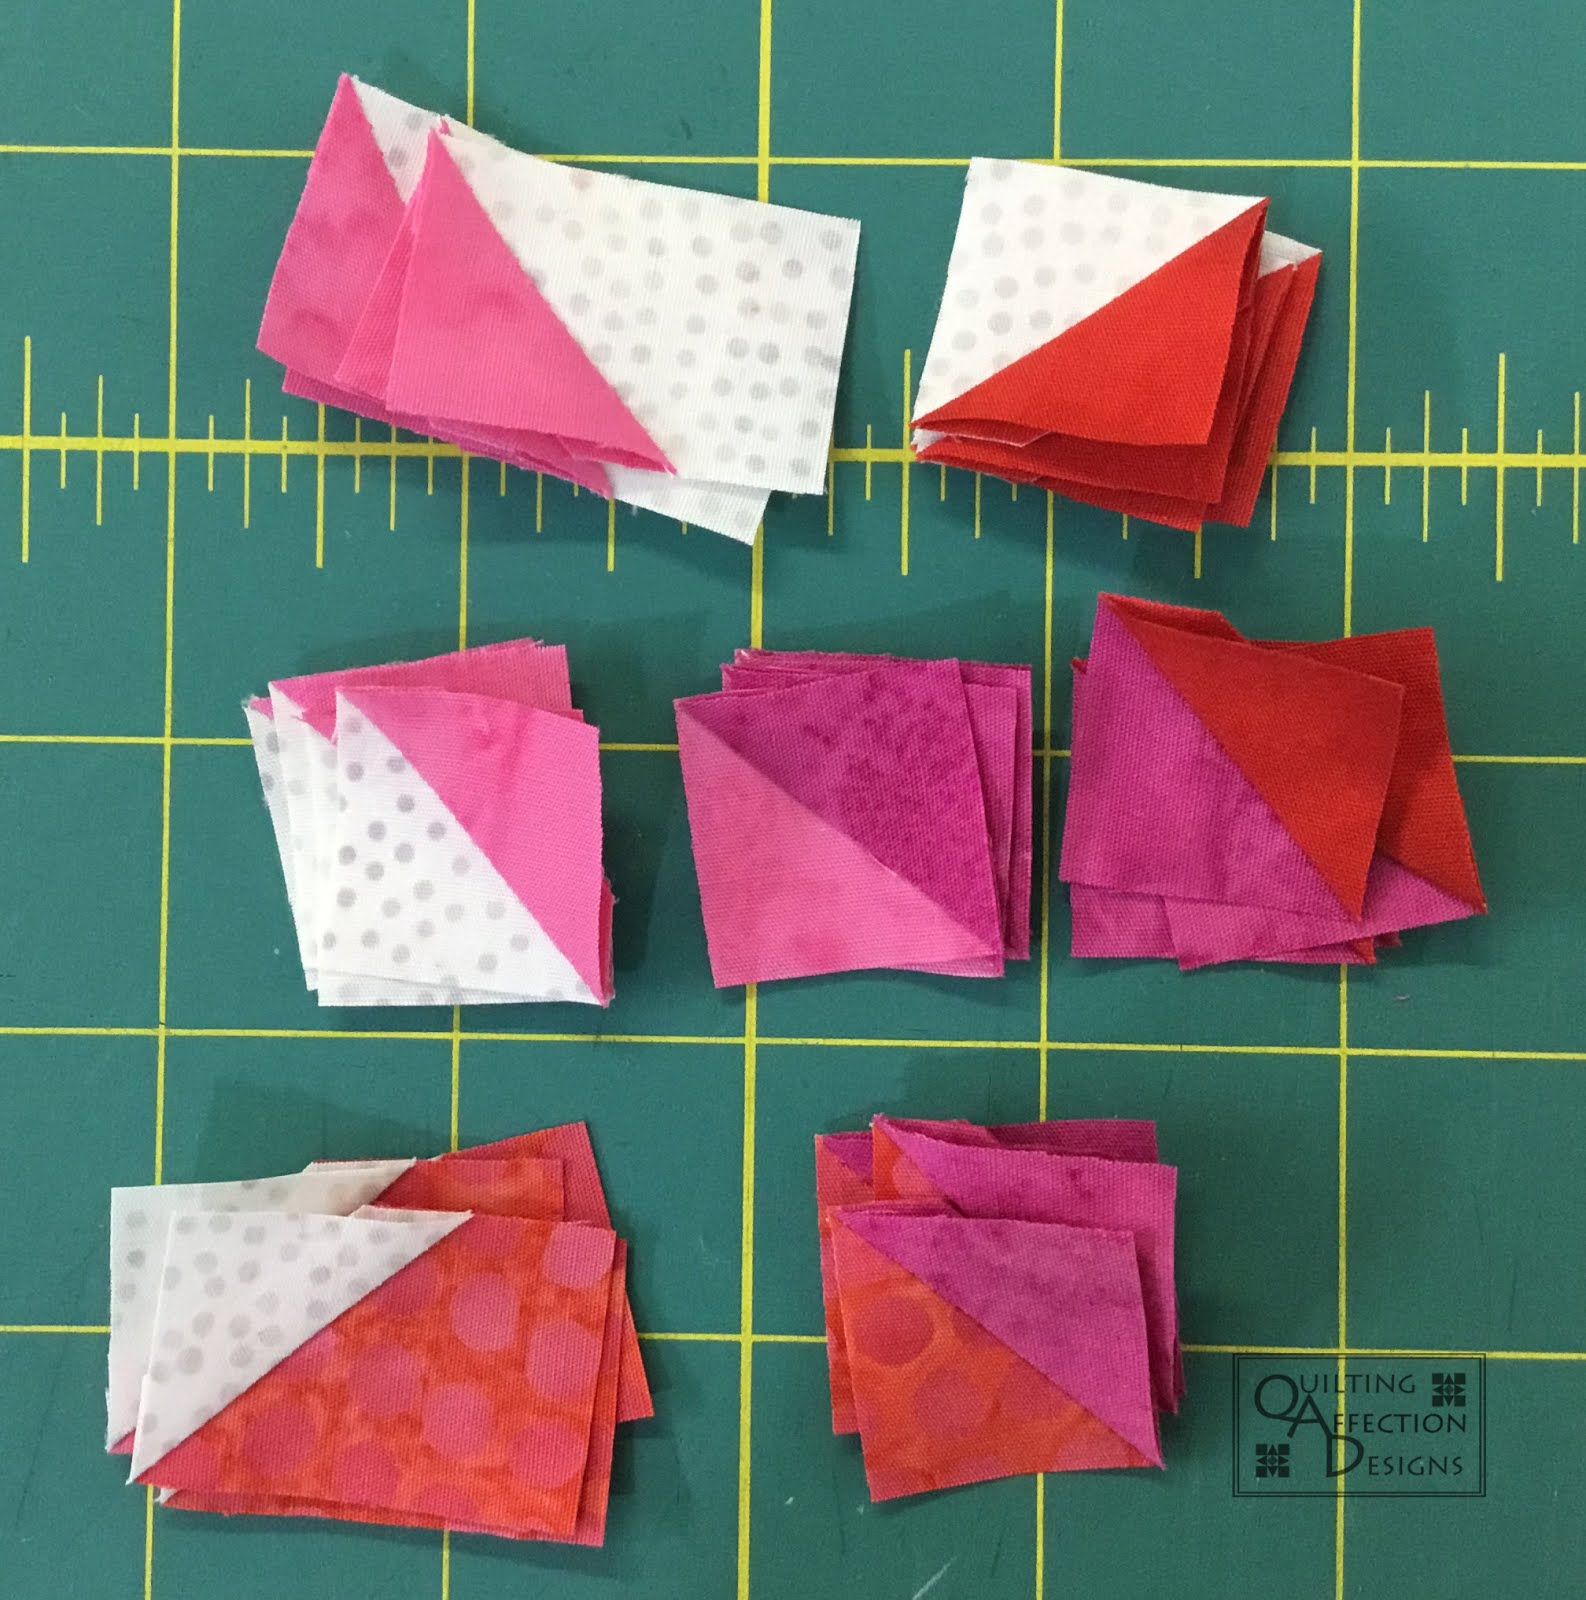
To get started with your unit 4 blocks you will need to cut all your 5" and 3 1/4" squares that are listed in your pattern on Page 10.
Next, you will make all your 5" squares into 3 different Half Square Triangles. Once you have all your Half Square Triangles made you will need to press them according to the pattern and go ahead and trim to 4 1/2" squares using your Tucker Trimmer® 1.
Once your Half Square Triangles are completed, you will need to take your 3 1/4" squares and cut them once on the diagonal to yield 2 triangles per square. Now that we have everything prepared for units let begin replacing all the corners with the triangles we have just completed.
First, we will be removing the top left corner of the HST, using the "Cut Away Corner" side of the Corner Pop® tool. You will need to be using the 2" mark on the tool.
Note: Please keep in mind that I will be demonstrating in the Left handed positions and please refer to your tool instructions for the right-hand positions.
Now we have the first 2" removed we will need to replace the first corner with the Wine color. You will position and stitch the triangle on the bottom and the Half Square Triangle on top, using your best 1/4" seam allowance.
Press the triangle away from the Half Square Triangle unit.
Now we need to trim that slightly oversized triangle. Position your Corner Pop® Tool on top of your triangle unit. Assuring that the "Corner Trim Down" section is on top of the new triangle. You will be lining up on the 2" diagonal line.
Now that the first corner is done, we can move on to the next corner. This time we will be removing from the blue fabric of the Half Square Triangle. Again using your Corner Pop® tool remove 2" from the corner.
You will be replacing that corner with an Azure triangle. Again Position, Stitch and Press. This time when you press, you will press the unit toward the Half Square Triangle unit. Followed up with trimming the unit, remember to use the 2" diagonal line from the Corner Trim Down Section.
Now we will replace the opposite side corner of the unit. Removing from the Cherry fabric of the Half Square Triangle. Removing the 2" using our Corner Pop® tool.
Replacing it with a Fushia triangle. Stitch and Press outwards away from the center.
Again, Trim the unit up using the Corner Pop tool.
Now you will replace the last corner with the Grape triangle. Pressing away from the center, and trimming the triangle to complete the full unit.
Now your first Unit 4 is complete, following the diagrams on Page 11 & 12 of your pattern, make the rest of your units.
When you have all your Unit 4's complete, you can lay out your first couple of blocks and start stitching them together.
The week of 11/6/18 we will be wrapping up the Rainbow Serenade QAL. We will be discussing the units and following up with any last minute questions.
Please remember if you have questions, please post them in the comment section below, you can also refer to the video above.
Please remember there are pattern corrections made to this pattern, refer to my pattern correction page HERE. Also, note once the quilt along is over I will be emailing our a new revised pattern to all the people that purchased the pattern.
If you would like to participate in the Rainbow Serenade QAL, you can purchase the pattern (also find the yardage requirements) HERE and Purchase the Studio 180 Tools HERE.
This week’s Quilt Talk Tuesday continued getting you ready for the Rainbow Serenade QAL which starts September 11th. The focus was to give you a better understanding of the Studio 180 Design Corner Pop® Tool and to provide a sneak peek to one of the units, you will be making in the QAL.
The Studio 180 Design Corner Pop® tool is an excellent tool for adding fabric corners to basic shapes and blocks successfully every time. The tool was designed to give you perfect filled four corners with less waste. You can apply this tool to any unit or block that you want to add color to, by just referring to the tool’s instruction cutting chart.
Initially, you would use the folding corners method, where you would layer small squares on a big square, then you would have to mark each of the small squares and stitch them to the larger square. Then when finished, hope it lines up correctly so it doesn't come out crooked or the wrong size. This was both wasteful of time and fabric.
With the Corner Pop® tool, you will only have to trim rather than a mark by add an oversized replacement triangle and then square everything to a perfect size. The tool has twenty-two different sizes options, which include whole, half and quarter inch increments.
Find out more about the Corner Pop® Tool by watching this video from this weeks Quilt Talk Tuesday.
Rainbow Serenade QAL
The Quilt Along will Start September 11th and will run for about 4 months. I will be demonstrating each step of the process by making the units and blocks every Second and Fourth Tuesday at 2:30 pm EST, on my Facebook page. You can find the link to my Facebook page HERE.
Not on Facebook, no problem, all the Facebook Lives are recorded, and I put them on my YouTube Channel so you can subscribe HERE so you don't miss an episode. Plus you can follow along with my blog post on Thursdays.
Also, over the next couple weeks on QTT, I will be preparing you for the QAL, with discussions on how to use the tools and other Tips. So you don’t want to miss a thing.
I hope you will join me on this Quilt Along. If you have any question about this Pattern or Quilt Along, please post in the comments section below.
This month has been a busy month for the Island Batik Ambassadors, with receiving our first ambassador box, making our little Galentine Project and now we are finishing up the month with a Mini Love project.
Galentine Project
I just finished my Mini project. The goal was to make something that measured under 24" x 24" in size. So I designed a little project I call "Love Swirls." I normally don't design blocks that measure 1 1/2" when finished. This was kind of fun to make and put together.
I decided to use the fabric that came in my box that was labeled for my Galentine project since I had completed my Galentine project already. These Island Batik fabric come from the Basic, Neutrals, and Blender Collections.
In my project designed, it called for making half square triangles and picket fence units. I started with cutting out my squares and rectangles that all measured under 2".
Once I got my half square triangles, and picket fences units stitched together and pressed, I began to trim them to size. So I brought out my favorite tool the Tucker TrimmerⓇ 1 and the WingClipper® 1 rulers. They worked great for trimming these units, I was so glad I didn't make the units any smaller.
Once I had the units trimmed, I then laid them out and began stitching them together to make my 1 1/2" finished blocks.
Once the blocks were completed, it was time to sew them together to make one 3" finished block. Then I repeated to make a total of four 3" blocks.
Then I stitched all the four blocks together to make one 9 1/2" unfinished block.
I then add two small borders around the quilt center. One measured 1/2," and the other was 1".
Then I quilted together with some stippling and finished it with some pink binding.
This cute mini quilt was a fun weekend project.
Now that this project is complete it is time to get started on my next Island Batik Ambassador project for March.
If you haven't seen the other Island Batik Ambassador Mini Projects be sure to check them out.
This week is just of one of those weeks that the days melt into one another. I feel I didn't really get as much done as I wanted, but I did make sure I got my next blockbuster block done.
BlockBuster #4, Capital T Variation uses the Studio 180 Designs Wing ClipperⓇ 1 and the Tucker TrimmerⓇ 1 rulers. Block 4 is made up of three units, Flying Geese, Combination and hourglass units.
This week I chose the 9" block and picked out 3 different colors of my Island Batik Fabrics.
I started off making my flying geese units as we did in blockbuster #3, but this week I made two different sets of 4 flying geese.
One set was made up of brown/green, and the other will be green/brown set and trimmed them to 2" x 3 1/2" using the Wing ClipperⓇ 1 ruler.
Next, I made the Combination units, which are so much fun to make.
You start off making green and brown half squares triangles units. Once the half square triangles are completed, you lay them on top of the leftover square; mark two stitching lines 1/4" on either side of the center diagonal on each side.
Once you have the lines stitched, you can separate them apart by cutting them down the middle. You will get two mirrored units out of one combination. Then just press and trim to size using the Tucker TrimmerⓇ 1 ruler.
Next was to make one hourglass unit, out of two colors. We made several of the hourglass units in the Blockbuster #1 and #2.
You make one set of half square units, and lay them on top of one of another, so the seams are on the opposite side one of another. Mark two stitching lines 1/4" on either side of the center line on each side. Stitch on those lines, cut them apart and press.
Then you will need to trim to size using the Tucker TrimmerⓇ 1 ruler, you will only need one hourglass unit for this block.
Now we can lay the units out and stitch them together.
Once you have them all stitch together, your Capital T Variation block will look like this. Very interesting block that has great potential for a lot of pattern designs. Well, next Friday will be BlockBuster #5, and I will be playing with Pickets and Quickets Technique sheet. Lots of fun! If you are new to the blog series, please you can catch up on the previous BlockBuster HERE. See you next week, Tina