Pages

Friday, March 30, 2018

2018 Master the Rulers: Studio 180 Design Blockbuster 12


Week 12 in my master the ruler's challenge I learned a new technique.

Blockbuster #12 Double Trek, was made with the Studio 180 Design Corner Beam® tool which worked within blockbuster #11.  I was also introduced to the Sliver Technique, which can be complicated if you don't read the directions on the sheet.

So, Let's start the Double Trek block with making the Unit A, the Corner Beam® Units, first.  I started out by cutting out the Side Triangles pieces, using white Island Batik Fabric, then I cut out a square using a yellow and purple fabric according to the size block I was making and the chart in my Corner Beam® Tool instructions that came with it.


From the yellow fabric, I began cutting out the center beam piece, I needed.  Using my Corner Beam® tool, I laid it on one side of the yellow square, lining up the tool on the Center Beam Trim #1 line and made my first cut.


Now that the first cut was done, I then placed the Corner Beam® tool back down on the fabric and lined up the Center Beam Trim #2 line on the trim edge that was made from the first cut.  Once everything was lined up I then made my second trim cut.


Now that my side triangles and my center beam were cut, it was time to lay them out for stitching.  Lining up the narrow end at the top of the center beam piece and assuring that the angle sides were next to the beam also.  


I then flipped the first side triangle over and stitched them together.  Once that was complete it was time to press toward the side triangles.  I then repeated on the other side.  


I then trimmed them to the size of units I needed for the Double Trek block.  I repeated the process over to make a purple beam unit as well.

Sliver Units were up next.  With the Silver Technique Sheet in hand, after reading the sheet very carefully, I learned it is very important to pay attention to the color placements and the trimming off in the second step.

 I began by making oversized half square triangles.  White/Yellow and White/Purple half square triangle units.

Now, I need decide how my units needed to slant. I need to make two units that Slanted to the left and two that Slanted to the Right.  


Once you know that you can start trimming your slants. I start off with making the Slant left, trimming away from the dark side.  Placing the Corner Beam® tool on the dark side of the half square triangle, I lined the Center Beam Trim #1 line on edge of the Half Square Triangle and trimmed to the size needed.


Next, I need to cut out the side triangles, that would replace the piece, that was trimmed off and stitched.


After all the side pieces were press to the side, it was time to trim the unit to size. 


The completed Slant left and right units with the purple sliver middle.


The yellow sliver units were also made for this unit.


  It was now time to cut out the last squares for assembling the blocks together.  


Now, that all my units were ready it was to lay them out to prepare for assembly of the block. Starting by stitching the rows first.


Then, by stitching all the rows together to finish off the block.


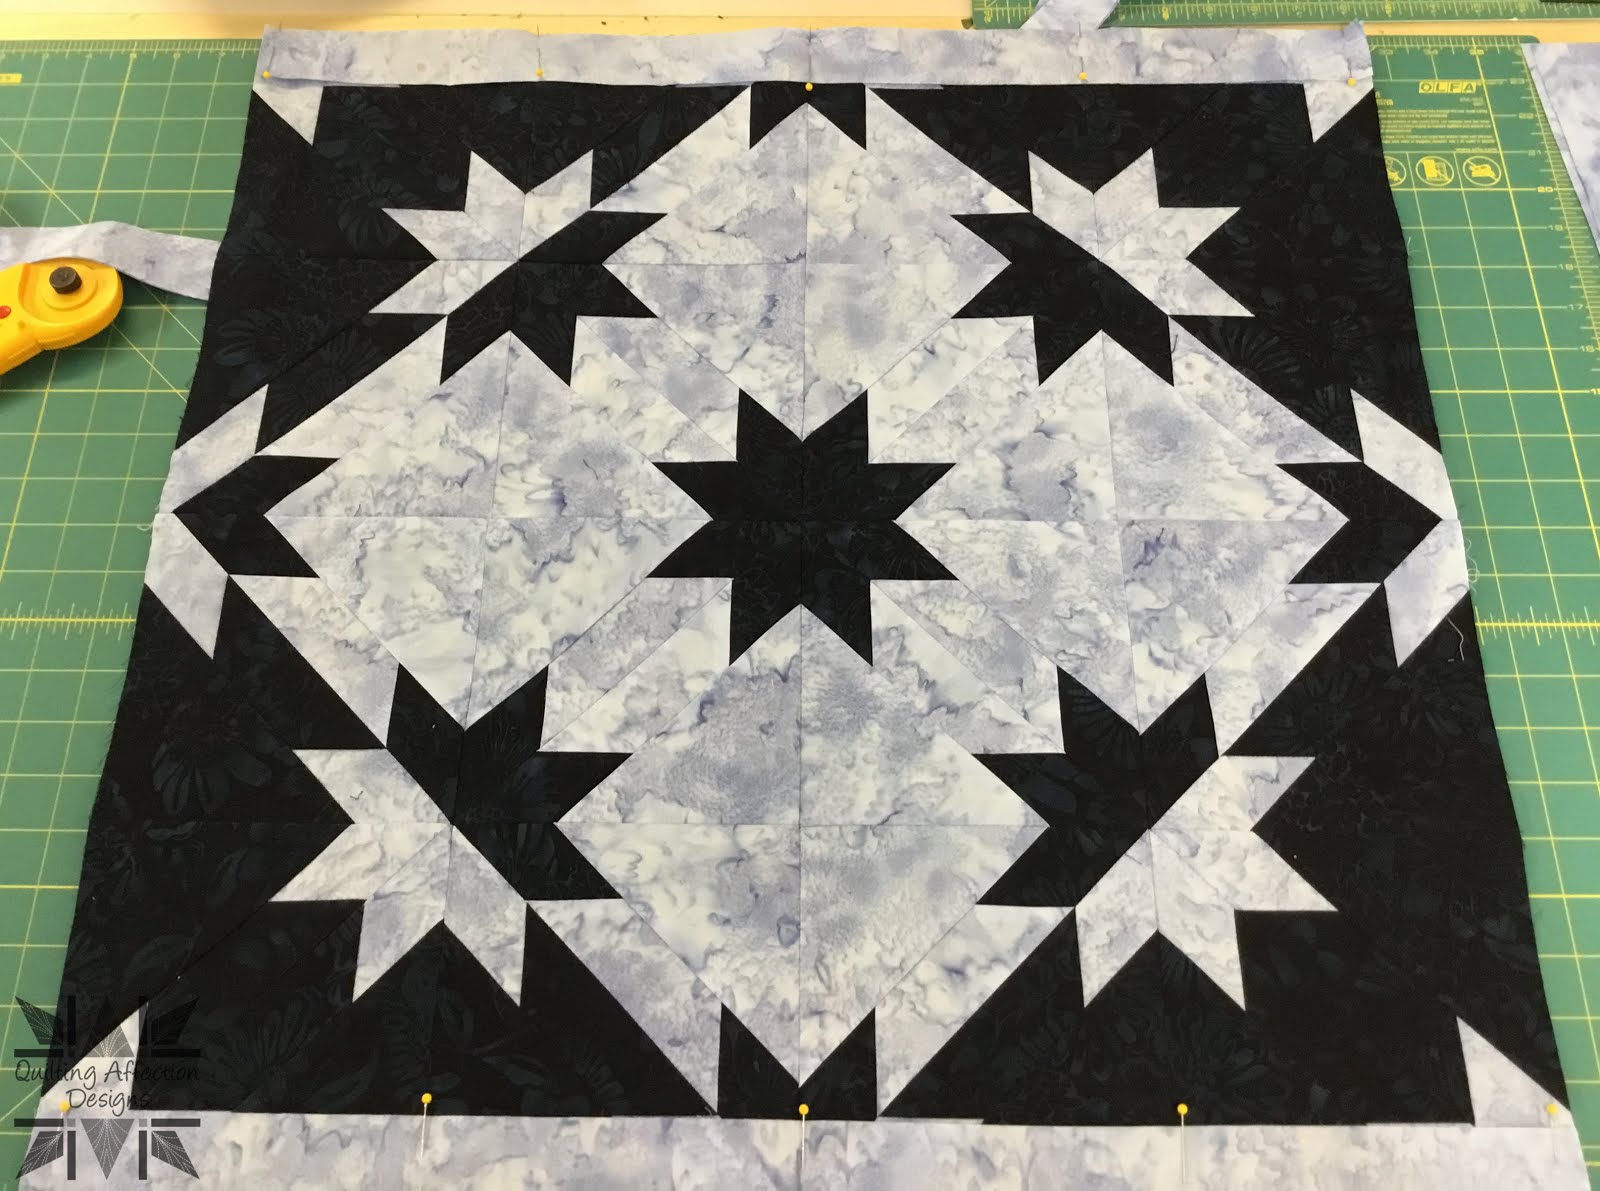
My Double Trek block is now complete.  It was a fun and challenging block to make. I definitely need more practice in making the sliver units. 

Series 1 of the Blockbusters are near the end, I now have 3 more blocks to finish to complete the series.  Next Week, will be fun with #13, using the Split Rects® tool.

Talk to you next week, and remember if you have missed the first 10 Blockbuster blocks you can catch up HERE.

Have a great weekend of Creating!

Tina
"Designing to Inspire"


Wednesday, March 28, 2018

Island Batik Ambassador Challenge: Try a Technique


March's Challenge for the Island Batik Ambassadors was to try a new technique.  Once I saw the theme of the month, I knew what technique I wanted to try, right away.


I have wanted to try out the Studio 180 Design Rapid Fire Lemoyne Star technique and ruler for the longest time, so I thought this was the perfect time to practice with the ruler and have a little fun.


I decided to make the stars from the Island Batik "Northern Woods" Fabric Collection. The fabric collection is part of the Winter Collection.  


The Northern Woods fabric collection brings the forest colors to you.

My goal for this challenge was to make at least one of the stars.

So, I began reading the instructions thoroughly that came with the ruler and watching the Deb Tucker demonstration Videos, which made making my first star easy.


The first-star block was made from two different star strips and one color for the background.


Following the directions that came with the tool, all the pressing and cutting was easy to follow.  I even found that using the Rapid Star Lemoyne Star Ruler was really easy.


My first Lemoyne star block was now complete, and I fell in love the Rapid Fire Lemoyne Star tool and technique.  So, I wanted to make a few more, but I changed a few things up this time to make the blocks more challenging.


This time I decided to make two more star blocks that had two different backgrounds colors and make the stars one color.


I made two of these stars. It was really amazing how fast I picked up making these blocks.


I then stitched the blocks together with sashing pieces, on the top and bottom of each of the blocks.  Followed up with side sashing pieces.  I used the green coordinating fabric from the Northern Wood Collection for the borders and the backing of this little wall hanging.


After I quilted this little wallhanging I made a multi-colored binding for binding the quilt together.


My finished Lemoyne Star wallhanging/table runner is now complete.  I only used 5 fat eight bundles and a little extra coordinating fabric for the borders and backing.  I really had fun learning this technique, and want to play with it some more.  I'm even thinking about getting the technique sheet that are companions to make more challenging Lemoyne Star blocks.


Now that this project is complete it is time to get started on my next Island Batik Ambassador project for April.
You may want to check out the new techniques projects that the other Island Batik Ambassador have made this month. 


Tina


"Designing to Inspire"


Friday, March 23, 2018

2018 Master the Rulers: Studio 180 Design Blockbuster 11


This week’s master the ruler: Studio 180 Design Blockbuster 11 was a fun one to make.  Search Light uses the Deb Tucker Studio 180 Design Corner Beam® Trimmer.  This ruler is not new to me, I used it in my upcoming pattern, Ramblin' Star, in the Medallion Center Block.

The block was the highlight of my weekly Facebook Live Series, Quilt Talk Tuesday, Episode 11: Making Corner Beam units.  You can check out the video here:


This week’s master the ruler: Studio 180 Design Blockbuster 11 was a fun one to make.  Search Light uses the Deb Tucker Studio 180 Design Corner Beam® Trimmer.  

This ruler is not new to me, I used it in my upcoming pattern, Ramblin' Star, in the Medallion Center Block.


Next, you will cut your beams out using the Center Beam Trim lines. 


Now that the center beams are cut out, it’s time to cut out the side pieces.  Using the Side Triangle trim #1 line on the ruler. 


I used two different fabric colors, one on each side of the center beams.  Remember when you get ready to start to stitch the unit together, make sure that the longest edges of the side triangles are positioned to sew to the center beam.  Press away from the center beam.


Now it is time to trim the unit up. Place your Corner Beam® trimmer on the unit.  You will then line up the Seam Line Placement lines along the seams in the center of the unit.  The point at the top of the Seam Line Placement lines will line up with the very tip of the unit.  Then you will trim up and across.


Rotate the unit 180 degrees, not the ruler.  Again, align the Seam Line Placement lines just as before and assuring the 6 1/2" clean up edges are now on the nice clean, trimmed lines from the first trim. Once everything is lined up, you will trim up and across.


Now that all the blocks are trimmed, it’s time to assemble the units.


BlockBuster #11, Search Light is now complete.  I think this is a really cool block and it is easy to put together.  I now have 4 more blocks to finish before I complete Series 1.  Next Week, will be making something new with the Sliver Technique Sheet.  Looking forward to making this block.

Talk to you next week, and remember if you have missed the first 10 Blockbuster blocks you can catch up HERE.

Also, make sure to check out my "Live" Quilt Talk Tuesday, at 2:30pm on Quilting Affection Design Facebook page.  Also If you miss an episode, you can catch up on my YouTube Channel, while you are there remember to subscribe to my channel.


Have a great weekend of Creating!

Tina
"Designing to Inspire"


Monday, March 19, 2018

Quilt Qwazy Queens Blog Hop: Rapid Fire Hunter Star UFO


Welcome to the Quilt Qwazy Queens Blog Hop Day #3.  It is great to participate in this fun blog hop.  This year, the theme is UFO's.

Here is a list of today's participants:

Monday, March 19, 2018

I have many UFO's in my little closet that I have not finished or even started. Many of them have been sitting there long before I even dreamed of becoming a Full-time pattern designer and having my own business.


The one UFO that I choose this year to finish was my first Studio 180 Design Project. It is a Rapid Fire Hunter Star quilt, that just needed the borders added and to be quilted.  I started this project way back in 2011 or 2012; not really sure about the exact time. I took this as a class when I was starting to get back into quilting full time. I wanted to learn something new and to practice my sewing skills. To finish the quilt, I just needed to add borders and it would have been finished. However, it just sat in my closet, with all the remaining fabrics, I just never got around to finishing the borders.


I had to really laugh at myself when I pulled this quilt top out. It had so many points not lined up correctly. I couldn't believe I left a quilt in this shape, so I decided to take it apart and correct some of the major problems.


Once I had all the blocks apart, I figured out my main problem was with my seam allowance. It was not set to 1/4".  Which makes all the pieces off when you use the Rapid Fire Hunter Star ruler to trim the pieces.  


So, I decided to trim them up as much as possible and stitch it all back together using a true 1/4" seam allowance. When it was back together, it looked so much better, and I was happier with the outcome. It was not perfect due to some of the blocks needed to be redone from the beginning. Anyway, I decided to go ahead an add the borders to the quilt top and finish it the way it was.


After some quilting and the binding, you can't tell I had to take it apart. I have finally finished my first Deb Tucker Studio 180 Design project, that I started years ago.  I want to make more of these now, they are so much fun.

Now, I can cross that off my UFO list!  In the last couple years, I have come to love, and use the Studio 180 Design Rulers in my pattern Designs and projects.  

Be Sure to check out my website: www.quiltingaffection.com for my latest pattern designs, such as my Block of the Month that uses the Studio 180 Design tools, also sign up to for my newsletter and get a free pattern.


Also follow my blog here to keep up with my progress on the Studio 180 Design BlockBuster Master the Rulers challenge.

Thank you for joining me for this year's fun. Make sure you enter the fantastic blog hop giveaways. 

Tina
"Designs to Inspire"

We have two giveaways today.

Today's for Monday, March 19, 2018, Main Giveaway is:

Studio 180 Design -  Rapid Fire Hunter's Star Petite Star Tool

Shipping to the US Only - Value 25.50 - Shipping Is US Only


This giveaway will end at 11:59 est. Monday, March 15, 2018


The FatQuarter Shop March 15 - 22, 2018
150.00 Gift Certificate


Winners will be announced on the Seams To Be Sew, blog daily.  Be sure to read the following rules.

Giveaway Rules:

  • Rules and guidelines are also listed on the Rafflecopter window of each blog.
    Giveaways offered by sponsors are assigned to the various bloggers for their featured day.
  • There are no prior announcements on who is doing which sponsor except to the sponsor themselves.
  • You’ll have to visit the blog or the featured blog to enter the giveaways.
  • All giveaways can also be entered at Seams To Be Sew. You must have commented at each of the blogs prior to entering at Seams To Be Sew, Winners who win from entering at Seams To Be Sew will be checked for the comment. When you enter at Seams To Be Sew, you need to enter the name of the blog you are entering for. You can only create one entry at this site for one of the featured blogs of the day.
  • I will start announcing winners on March 15, 2018, and finish announcing winners on March 22, 2018.
  • In most cases, the blog where you won at also will announce their winners.
  • You must give a valid email address when you enter the giveaways, any email returned to me, loses the ability to win automatically.
  • With the exception of The Fat Quartershop and Aurifil, all giveaways run for approximately one day.
  • You are given 3 days to answer the email, if you do not answer within 3 days a new winner will be drawn. Check those spam/junk mail folders, you may miss that winning email if you don’t do so because there are no exceptions to this rule.
  • If you are notified that you are a winner, in all cases except for the Fat Quartershop winner, you will need to provide your name, address, city, state, zip code, country, telephone number, and email address.
  • In all cases except the Fat Quartershop, you will be asked to comment on the blog to enter the giveaway… do the right thing and thank them for the time it took to post and participate…
  • Thank the sponsor by buying their products for the giveaways. This helps them continue to offer great prizes for these types of events. You can also comment on their social media pages. Even if you don’t win, letting them know you love their products is a huge incentive and they really do love hearing from you.
  • No purchase whatsoever is necessary.
  • You must be 18+ in order to win a gift.
  • You are responsible for claiming and paying any tax owed on the value of any gift that you win. Prizes valued at $500.00 should be claimed.
  • All winners are chosen at random.
  • All winners will be announced on the blogs via the Rafflecopter entry form and/or post by the blogger at the site where they won and here at Seams To Be Sew. All winners must allow for their first name and first initial of their last name to be announced on this blog.
  • Odds of Winning a prize are based on a total number of rafflecopter entries during each week and in total for all giveaways.
  • This giveaway is void where prohibited by law.
  • Participating bloggers may enter any of the giveaways.
  • The word giveaways in the rules and guidelines are also known as sweepstakes.
  • I am not rich and I do not ask sponsors for money, they provide prizes only.
  • If they shipped the prize to me, you will be asked to pay for shipping.
  • All giveaways will be shipped that are in my home within 72 hours of my having heard from you.
  • An invoice will be sent to you via Paypal, and shipping will take place via Paypal, so your Paypal email will be needed to send the invoice. You will receive a tracking number except for overseas shipments. All shipping will either be at priority mail rates this year (due to the weight of gifts, none of the giveaways are less than 14 ounces. Paypal fees are added to that amount to cover that fee.
  • Please note, every effort is made to protect the prizes. They go into a plastic bin when I receive them, and it is covered by an airtight cover. I have a dog in my home and I have a smoker in my home, so I do everything possible to protect the prizes.
  • Most companies are very good about getting prizes off to customers quickly also, but some companies are overseas, so please allow all sponsors a 2-week time period before you report to me that you still haven’t received your prize. When the company is overseas, it can take 6 weeks to 90 days for an item to also arrive.
  • Whether or not you read the above, the rules for giveaways are in place to protect everyone. I do not want to hear you didn’t read them, they will be posted on my blog daily during each featured day. There is no excuse for not reading them.