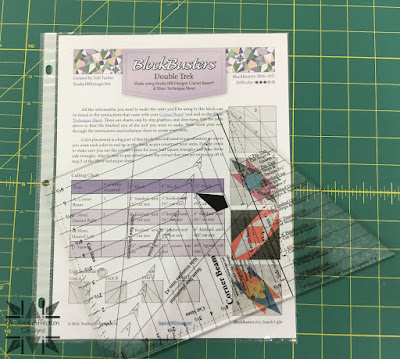
Week 12 in my master the ruler's challenge I learned a new technique.
Blockbuster #12 Double Trek, was made with the Studio 180 Design Corner Beam® tool which worked within blockbuster #11. I was also introduced to the Sliver Technique, which can be complicated if you don't read the directions on the sheet.
So, Let's start the Double Trek block with making the Unit A, the Corner Beam® Units, first. I started out by cutting out the Side Triangles pieces, using white Island Batik Fabric, then I cut out a square using a yellow and purple fabric according to the size block I was making and the chart in my Corner Beam® Tool instructions that came with it.
From the yellow fabric, I began cutting out the center beam piece, I needed. Using my Corner Beam® tool, I laid it on one side of the yellow square, lining up the tool on the Center Beam Trim #1 line and made my first cut.
Now that the first cut was done, I then placed the Corner Beam® tool back down on the fabric and lined up the Center Beam Trim #2 line on the trim edge that was made from the first cut. Once everything was lined up I then made my second trim cut.
Now that my side triangles and my center beam were cut, it was time to lay them out for stitching. Lining up the narrow end at the top of the center beam piece and assuring that the angle sides were next to the beam also.
I then flipped the first side triangle over and stitched them together. Once that was complete it was time to press toward the side triangles. I then repeated on the other side.
I then trimmed them to the size of units I needed for the Double Trek block. I repeated the process over to make a purple beam unit as well.
Sliver Units were up next. With the Silver Technique Sheet in hand, after reading the sheet very carefully, I learned it is very important to pay attention to the color placements and the trimming off in the second step.
I began by making oversized half square triangles. White/Yellow and White/Purple half square triangle units.
Now, I need decide how my units needed to slant. I need to make two units that Slanted to the left and two that Slanted to the Right.
Once you know that you can start trimming your slants. I start off with making the Slant left, trimming away from the dark side. Placing the Corner Beam® tool on the dark side of the half square triangle, I lined the Center Beam Trim #1 line on edge of the Half Square Triangle and trimmed to the size needed.
Next, I need to cut out the side triangles, that would replace the piece, that was trimmed off and stitched.
After all the side pieces were press to the side, it was time to trim the unit to size.
The completed Slant left and right units with the purple sliver middle.
The yellow sliver units were also made for this unit.
It was now time to cut out the last squares for assembling the blocks together.
Now, that all my units were ready it was to lay them out to prepare for assembly of the block. Starting by stitching the rows first.
Then, by stitching all the rows together to finish off the block.
My Double Trek block is now complete. It was a fun and challenging block to make. I definitely need more practice in making the sliver units.
Series 1 of the Blockbusters are near the end, I now have 3 more blocks to finish to complete the series. Next Week, will be fun with #13, using the Split Rects® tool.
Talk to you next week, and remember if you have missed the first 10 Blockbuster blocks you can catch up HERE.
Have a great weekend of Creating!
Tina
"Designing to Inspire"


No comments:
Post a Comment