Showing posts with label Longarm. Show all posts

Tuesday, May 19, 2020

My Pattern Design Business Experience - Part Four!


Welcome back to my blog series on starting and running a quilt pattern business. If you have missed any of this series, be sure to check out Part 1, Part 2, Part 3

Last week, I talked about the commitment to starting a business. First, I hit a little upon the research that should be done before starting, then the financial and time commitments that may be required. This week I want to focus on what my average day looks like and the type of work I am doing.

Now to start with, not every day is the same; it depends on what projects I have going on and what stage any given pattern is in. However, there are a lot of things that require my attention every day, which allows me to keep to a reasonably similar schedule every day.
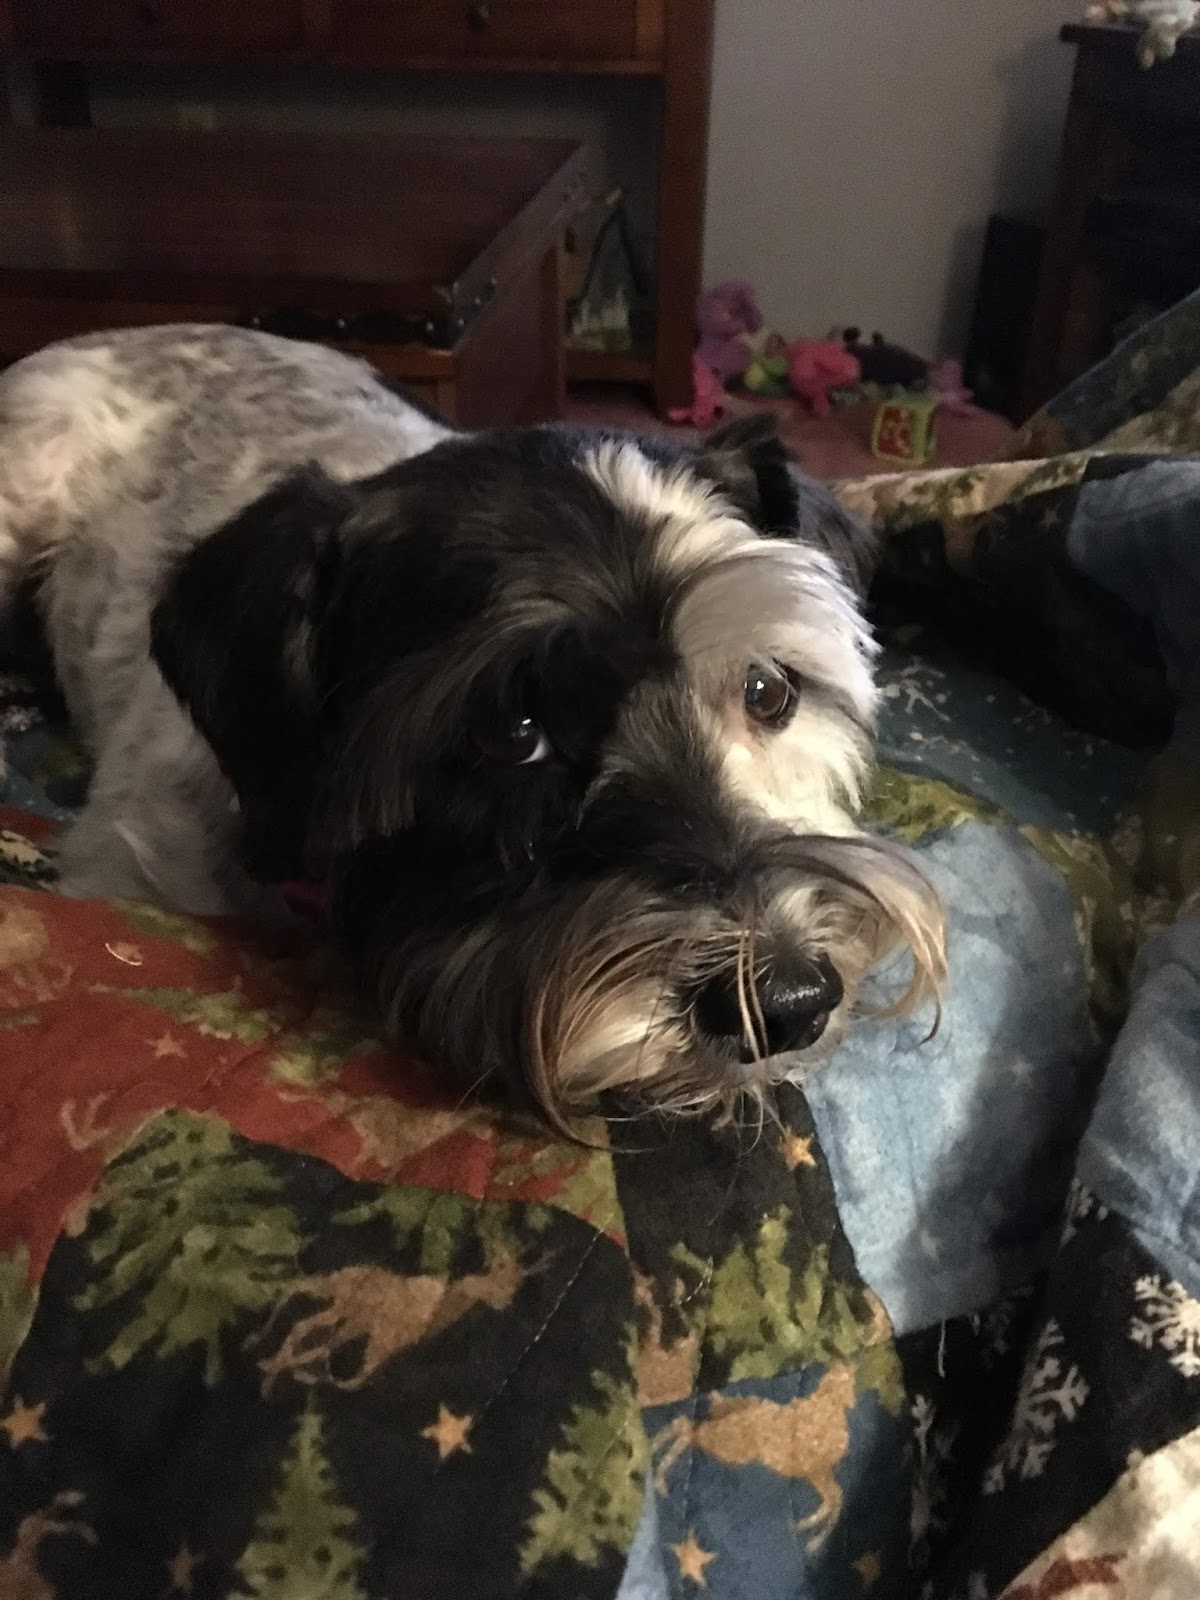
On most days, I try to get up between 6:00 and 6:30 am. Anna, one of my dogs, usually is my alarm clock because she is generally getting restless by then. Now, the first thing I do is get myself up and on the treadmill for my morning run. The treadmill is new to my house. Before that, I would try to get up even earlier and head to the gym for my exercise. However, that did not always work out, and that is a story that does not belong as part of this blog. Anyway, I find that running first thing in the morning wakes me up and clears my mind for the day’s activity.

After my morning workout, I am on my computer for at least the next several hours. This time is spent handling the business side of things, answering any emails, filling any orders, and anything else that needs my attention. I use this time also to focus on developing social media presents. 

After taking care of the business side of things, it is time to get to work. Of course, work for me is creating quilt patterns. That does not mean that I go straight into the design studio and start sewing quilts.
My days can vary depending on where I am in a specific project. Yes, some days, I will go into my studio and start sewing to work on a display quilt. Typically, I spend most of the first half of the day working on the computer writing pattern instructions, figuring out cutting charts, creating graphics for the patterns. I also work on any other elements that will go into the finished quilt pattern. If I was to take a guess, I only spend about 20% of my time sewing and making quilts. The rest of the time is spent on the computer.

Typically around 5:00 pm or so, my husband will text me saying that he is on the bus heading home from work. This is a 90+ minute commute depending on traffic, so I usually continue working for at least a little while depending on the project, then go and relax for a while until he gets home. Dinner is often a simple affair, and my husband enjoys cooking, so I usually leave that to him. Then after dinner, we both relax on the couch and binge-watch whatever current TV series or sporting event catches our attention. It is usually about this time I either pull out a quilt that needs the binding completed or my laptop and continues work on pattern development. This lasts until bed.

On the weekends, the schedule is not much different, besides a little house cleaning, food shopping, and general chores that need to be done to keep a house functioning. Of course, on the weekends, my husband is usually home and tries to help out where he can with varying levels of success. All told, I typically devote several hours on Saturdays and Sundays working just to say on top of everything and keep to the schedules I have set for myself.

Now, if I were to add up my hours for an average week, I would average anywhere between 10 to 12 hours a day—an additional 7 to 8 hours a day on the weekends. This adds up to an average workweek of 64 to 76 hours a week. Sometimes even more, but rarely less.

Now, again this works well for me and my current lifestyle. Everyone needs to take a close look at their lifestyles and determine what would work best for them. I have heard of people that run a small business from their homes set fixed work hours to keep the business from takeover their lives. They will only start working at a set time in the morning and will quit at a set time at night. Outside of those hours, they will not read emails or accept phone calls related to the business. There will always be more tasks that need to be done than time to do them. That is where good time management comes in. There are thousands of references devoted to time management in the bookstores and on-line, so I will not get into the details. The only thing I will highlight is that it is up to you to decide to set your hours and how much time you spend working. So give it some thought, because if you don’t, you may find your business taking over your life.

Well, that is all for this week. Join me next week to cover one of the unexpected benefits of running a business.


See you next Tuesday,
Tina

Tuesday, May 12, 2020

My Pattern Design Business Experience - Part Three


Welcome back to my series on starting and running a home-based quilt pattern design business. Over the last two weeks, I talked a little about my history and touched upon why I decided to start my own business. If you missed those blog posts, check them out here. Part One, and Part Two. This week, I want to talk a little about the challenges I ran into.

In starting a business, one of the first challenges I ran into was how to do it. Between my husband and me, we had to figure out the type of business, what laws governed running a business, how to handle the accounting, and figure out the taxes. Luckily, there are a lot of resources available to assist with this. I would recommend starting by visiting the website of the Small Business Administration for your state. They will have most of the resources and information you need to get started. Just know that starting a business is a process, and you will never know everything. It is a good idea to be patient and learn as much as you can before you start; this could pay off in the long run.

Next is the financial part of running a business. The old saying is that you have to have money to make money, and for the most part, I believe that is true. Starting and running a business can be expensive. I did not want to go out and get a loan for my business, although that may be the right direction for some. For me, my husband and I only took out loans to pay for my longarm and domestic sewing machines—everything else we paid for out of pocket. To give you an idea, we have invested around $90,000 to $100,000 into the business over the last eight or more years. That amount was spread out over the years, and we didn’t have to come up with it all at once. However, I did want to highlight it because you should know that running a business does take financial resources. Also, understand that the amount invested will be different for different people depending on how the business was set up and what resources are available.

Finally, I want to talk a little about the time commitment to running a business. Over anything else, I believe the time required may be the biggest surprise to most. When I worked for the
government, I was up early to get to work and then did not get home until early evening. I was working 12+ hours a day or 60+ hours a week, counting commuting time. In starting my business, I found I was doing far more hours than that. Now it is very common for me to be working every day of the week, including weekends, and if I calculate correctly, I put in up to 70+ hours a week. Knowing the possible time commitments of running a business is essential to develop a good work/life balance. I put in the hours because I enjoy what I do and have a real love of quilting. My kids are grown, and my husband works long hours at his government job, so the hours I put in work well for me. For someone else, that may not be the case, and the time commitment will be a lot less per week. The point of this is twofold. First, know that running a business is a big commitment in time. Secondly, a good work/life balance will need to be reached for the business to survive in the long run. If not, running a business will become more of a chore than a joy and burnout will occur.

Now with this week’s blog post, I am not trying to scare people away from starting a quilt pattern business or any other business for that matter. I just want to ensure that if you are considering starting a business, what the financial, time, and knowledge commitments could be. Also, these are my experiences, and yours may be different.

For next week’s blog post, I am going to talk about what my average day looks like.

See you next Tuesday,
Tina

Tuesday, May 5, 2020

My Pattern Design Business Experience - Part Two!


Welcome back to the second part of my blog series about my experiences in starting and running a quilting business. Last week, I gave a quick introduction to myself and how Quilting Affections Designs came about. This week I am going to focus on the question on if starting a quilt pattern design business is right for you.


To start, I know everyone is different, with different dreams, talents, lifestyles, and financial needs. Which means that everyone’s reason for wanting to start a business will be different. For me, I think it came down to wanting to quit the long commutes and long hours of working for the government and do something that I loved. When I decided to first start my business, I was working as a GS employee at the Department of Agriculture in Washington, DC.

At that time, my average day was getting up very early to catch a commuter bus a little before 6:00 am to get to work by 7:30 am. Then work a 9-hour day and then getting back on the bus to get home around 6:00 pm or later at night, depending on traffic. I can’t say I hated my job, but the long hours with the commute left me tired and drained. The best way I can describe it is that this was not taking me where I wanted to go.

In 2011, my husband retired from the Air Force after 23 years and was now working for a contracting company in DC, earning a good wage. Then in 2012, my youngest son graduated high school and joined the Air Force. With these changes, I decided it was time to start making changes in myself. With the support of my husband, I purchased an APQS Millennium and started to learn how to use it. Then in 2013, I quit my government job and started my own business.


I bring up this history to help explain a little of the background for the reason I started my business. While working for the government, I was tired, felt empty, and was not 100% happy with myself. Life is too short for that, so I decided to make a change. Luckily, from a financial standpoint, my husband and I was at a point where we could not only support ourselves but also finance a small business. Which I learned early on can be a costly endeavor.

Now I want to ask you, are you at a point in your life where you are not happy with the direction your career is going? Do you have a desire to do something different, maybe a creative drive? Starting a small business could be that change in your life that will make a difference.

I do want to throw out a word of caution, starting and running a home-based business is a lot of work, can get very expensive and create challenges that you never dreamed of. That will be the subject of next week’s blog; the challenges of starting and running a business from home.

Tuesday, April 28, 2020

My Pattern Design Business Experience - Part One!


Starting a quilt pattern design business may sound like a lot of fun and a great way to earn extra income. The reality is that quilt pattern design is a challenging profession that requires and a lot of time and dedication with a lot of hard work. With that in mind, I decided to devote a blog series to my experiences in running a pattern design business from my home. I hope that in sharing the struggles that I have faced and what I have learned will help others decide whether they would want to take the challenge of professionally designing quilt patterns.


First, a little bit about myself and how Quilting Affection Designs came to be. My quilting inspiration comes from my mom and my aunt. I began sewing at an early age on my Holly Hobbie sewing machine. In addition to taking home economics classes, which included sewing.  My love of quilting started while watching my mom make and hand quilt several quilts. After I was married, I took my first quilting class at a local fabric store. Here I discovered my talent and passion for quilting. I even got my first quilting job from my quilt instructor.

For many years while my husband served in the military, I quilted when I could. However, some places we stationed did not make getting quilting supplies easy to understand. So, I would find myself taking long breaks from quilting. We finally ended up in the Washington DC area, and while working, I was again able to take up quilting. Over the next few years, I dedicated myself to learning all could about quilting and all the new tools and technics. 
 
When I first got the idea of starting a home-based quilting business in 2012. I was focusing on becoming a Longarmer and running a quilt finishing service. My youngest son had just gone to basic training in the Air Force, and my husband and I had the opportunity to go to an APQS demonstration in Fredericksburg Va. I have been looking at different longarms at quilt shows for a while. I fell in love with the APQS Millennium, and the time seemed right,

so we took the plunge and ordered one. As I was getting my feet wet in the longarming business in 2013, I decided to design and enter a quilt in the Charles Maryland County fair for fun. I was surprised and excited to find I won best in a show that year. As time went on, I found myself devoting more and more time to designing quilts while my longarming service never really took off. So, in 2016, I decided to spend my time to pattern design and ended my longarming service and Quilting Affection became Quilting Affection Design.

From 2016 to the present, I have been a full-time quilt pattern designer, and what an enjoyable experience it has been. I genuinely love the challenge of coming up with original designs, choosing colors, and working with beautiful fabrics. Above all, I love that my job is to see my creations come to life.

Now, I also need to leave a word of caution because it is not all fun and games. Running a business is a lot of work and requires a lot of time and dedication. I am not trying to scare people away from doing something they love. I just want to ensure that if you are thinking of taking the plunge, you know what you may be getting into.

For the next several weeks, I am going to post about my journey into the world of quilt pattern design, what I have learned, and what I have experienced. Additionally, I will cover what my average day looks like, the tools I use for designing, working with other quilting companies, and the joys/challenges I run into every day. 

Now I want to make clear that this is not a step by step how to start a business blog. The purpose of this blog is to share my experiences and what I have learned in the hope that you will find the information enjoyable and maybe even useful.

Thursday, June 26, 2014

Customer Quilt Top

Old Glory Life has been crazy the last couple weeks.  I been working hard on completing and finishing up several quilts for the patterns we have in final stages of development.  We hope to be going to the printers here in the next couple weeks. 

I finally received another quilt top to finish for a customer yesterday.   I finished it up late last night.  The quilt top is named "Old Glory". This Red, White, Blue star quilt top measuring 71 1/2" x 91 1/2" was made by a first time quilter.  She did a fabulous job for her first time. 

Longarm Quilting ServiceThe customer requested a star design pantograph.  Old GlorySo we found "Star Dance" on the Digi-Tech Designs website.  The batting that I used was Quilters Dream Black Poly with Superior So Fine Thread.

The quilt came out beautiful. Now, just waiting for the customer to pick up the quilt.

Time to get back to work on these pattern and quilt designs.

If you have a quilt that needs to be quilted, please check out our services

Live, Inspire and Create,

Tina

Sunday, February 2, 2014

Women of Courage Top Finished

Women of CourageWhile I was waiting for the new site to go live the last couple days, I was finishing assembling the Women of Courage Quilt Top. 

I first of all had to fix a block that was put in the wrong spot that was near the top and middle of the first half of the quilt top.  Once I finished that I put together the bottom half together. 

Women of CourageThen I
sewed the to half together to make the full top.

It is a beautiful top even with out the borders.  But, the borders were next,  I cut strips out of the f
Women of Courageabric to make the borders.  The borders were mitered finished to make an nice flow around the quilt top.

Women of CourageOnce the quilt top borders were ready I prepared the backing for the quilting.  And Today I got the quilt loaded on the longarm and now is ready for some custom quilting.

I'm looking forward to getting started on this quilt tomorrow.

Tina


Tuesday, June 25, 2013

Quilting and Catching up!

Tulip quilt is now on the longarm and the quilting has started.  Started with all the stitching in the ditch first, which will probably take the rest of the week to complete.  Then, I will add the details to the quilt.  Make sure you follow my Facebook or Twitter Accounts for updates on the quilting progress.


While, the tulip is on the longarm, I decided to do a little catch up on some of my 2012 Designer Mystery BOM, I left off on Block 9.  So, I pulled out #10 "Sunday Drive".  I was fairly easy of a block to do, like the others in the past.


Now all I have left is #11 & #12 and I can start putting this quilt top together, which I'm looking forward to since 2013 Designers BOM has started.

Tina

Quilting and Catching up!

Tulip quilt is now on the longarm and the quilting has started.  Started with all the stitching in the ditch first, which will probably take the rest of the week to complete.  Then, I will add the details to the quilt.  Make sure you follow my Facebook or Twitter Accounts for updates on the quilting progress.


While, the tulip is on the longarm, I decided to do a little catch up on some of my 2012 Designer Mystery BOM, I left off on Block 9.  So, I pulled out #10 "Sunday Drive".  I was fairly easy of a block to do, like the others in the past.


Now all I have left is #11 & #12 and I can start putting this quilt top together, which I'm looking forward to since 2013 Designers BOM has started.

Tina

Thursday, June 20, 2013

Preparing the Backing for Longarm!

Today I prepared the backing for the tulip quilt.  This process takes awhile and is little harder when you are dealing with a larger quilt top.  

The first step in the whole process is figuring out what size I needed for the backing.  When making the backing for the Longarm remember to add 4"-5" all the way around. 

Next, is to cut the number of pieces needed which was 3 pieces at 98" long.


After cutting the pieces, I removed the all the savage pieces.  This allows the backing to give a little more.  Savage need to be removed to make sure that the quilt backing can move around.

Once all savages are removed I laid the backing out flat with right side up and place another piece on top of it with the right side down.  This puts the right sides together.  Then pin the longest sides the pieces together.


Once pinned, I took the backing pieces to the sewing machine and using a running stitch made a 1/2" seam along the side that was pinned. After I finished the first set, I layed the pieces out again and layed the finally piece on top and of the now larger piece with right sides together, then pinned and sewed again.


Once all your pieces are sewn, I press open all the seams.  If I lay the seams to one side this will make the seam area too bulky for the long arm to stitch through. 


Now all the sewing and pressing is done, I made sure all the sides are square and will lay flat.  Now that it is square it is ready for the longarm.
 

Now to pinned on the long arm!


Tina

Preparing the Backing for Longarm!

Today I prepared the backing for the tulip quilt.  This process takes awhile and is little harder when you are dealing with a larger quilt top.  

The first step in the whole process is figuring out what size I needed for the backing.  When making the backing for the Longarm remember to add 4"-5" all the way around. 

Next, is to cut the number of pieces needed which was 3 pieces at 98" long.


After cutting the pieces, I removed the all the savage pieces.  This allows the backing to give a little more.  Savage need to be removed to make sure that the quilt backing can move around.

Once all savages are removed I laid the backing out flat with right side up and place another piece on top of it with the right side down.  This puts the right sides together.  Then pin the longest sides the pieces together.


Once pinned, I took the backing pieces to the sewing machine and using a running stitch made a 1/2" seam along the side that was pinned. After I finished the first set, I layed the pieces out again and layed the finally piece on top and of the now larger piece with right sides together, then pinned and sewed again.


Once all your pieces are sewn, I press open all the seams.  If I lay the seams to one side this will make the seam area too bulky for the long arm to stitch through. 


Now all the sewing and pressing is done, I made sure all the sides are square and will lay flat.  Now that it is square it is ready for the longarm.
 

Now to pinned on the long arm!


Tina

Wednesday, April 3, 2013

Next Quilt Top

This week with my husband working the evening shift, I have been taking advantage to some evening quilting time in the sewing room.  So last night, I prepared the backing and batting for the Meadow Friends Quilt Top, now they just have to be loaded on the Long-arm.  Now it was time to start a new a new quilt top, for a little boy that loves star wars, whose sister is getting the Meadow Friends quilt.

Making this quilt into a laps size in the Rail Fence patten.  This pattern is easy to make, you are cutting strips of fabric and cutting them to size. I will do a tutorial on this in a couple days, once completely done. Now, that I have all my pieces cut down to size, I having a hard time decided which layout I want to use.  Pinwheel or Fence layouts.  I'm thinking that it will be the Rail Fence to this one.  What do you think?
Pinwheel Layout

Rail Fence Layout
  Tina

Next Quilt Top

This week with my husband working the evening shift, I have been taking advantage to some evening quilting time in the sewing room.  So last night, I prepared the backing and batting for the Meadow Friends Quilt Top, now they just have to be loaded on the Long-arm.  Now it was time to start a new a new quilt top, for a little boy that loves star wars, whose sister is getting the Meadow Friends quilt.

Making this quilt into a laps size in the Rail Fence patten.  This pattern is easy to make, you are cutting strips of fabric and cutting them to size. I will do a tutorial on this in a couple days, once completely done. Now, that I have all my pieces cut down to size, I having a hard time decided which layout I want to use.  Pinwheel or Fence layouts.  I'm thinking that it will be the Rail Fence to this one.  What do you think?
Pinwheel Layout

Rail Fence Layout
  Tina

Tuesday, February 5, 2013

Basic Meandering

Today was my telework from home day, and since I had extra time, I thought it would be good to do some practicing of free handing on the longarm. 


Since the longarm was empty, I quickly loaded some muslin practice fabric and I was off. I was looking through a Freehand book, and decided to practice my basic meandering.

The book I was talking about I got from the Gadget Girls website, called "Pocket Guide to Freehanding", by Darlene Epp ~ Meandering, from Trillium House Designs.  

At first, I had big loops and sometimes I would get a point.  The first row was just to get the hang of working in the front of the machine plus getting into a flow. 


The next row, was a little better, remembering that you have to keep even spacing  and rounded nodes.  The flow got better, I got the meandering down to a medium size.  I think I'm getting the hang of it, just need more practice.


I think I will relax for the rest of the evening and work on the Jelly Roll binding and attach the label.

Tina