

Welcome to Day 1, "Tuckerize Your Quilt Blog Hop" Hosted by "Tamarinis," Tammy Silvers. Tammy and I are getting this Blog Hop started today. During the blog hop through July 20th, 11 of Deb Tucker Studio 180 Design Certified Instructors will be blogging about her tools, plus giving you tips and tricks. Be sure to check out the bottom of the page for a complete list of bloggers and their scheduled blog dates.

As a left-handed quilter, one of the reasons I fell in love with the Studio 180 Design tools and techniques is that you can use them Right Handed or Left Handed. Each of the tools come with a fully detailed set of directions that show you how to use it. Plus, they give you cutting charts that provide the size of squares and strips needed to make the units you desire.
Did you know that you can download PDF versions of the Tool Instructions from the Studio 180 Design website, check it out, HERE!
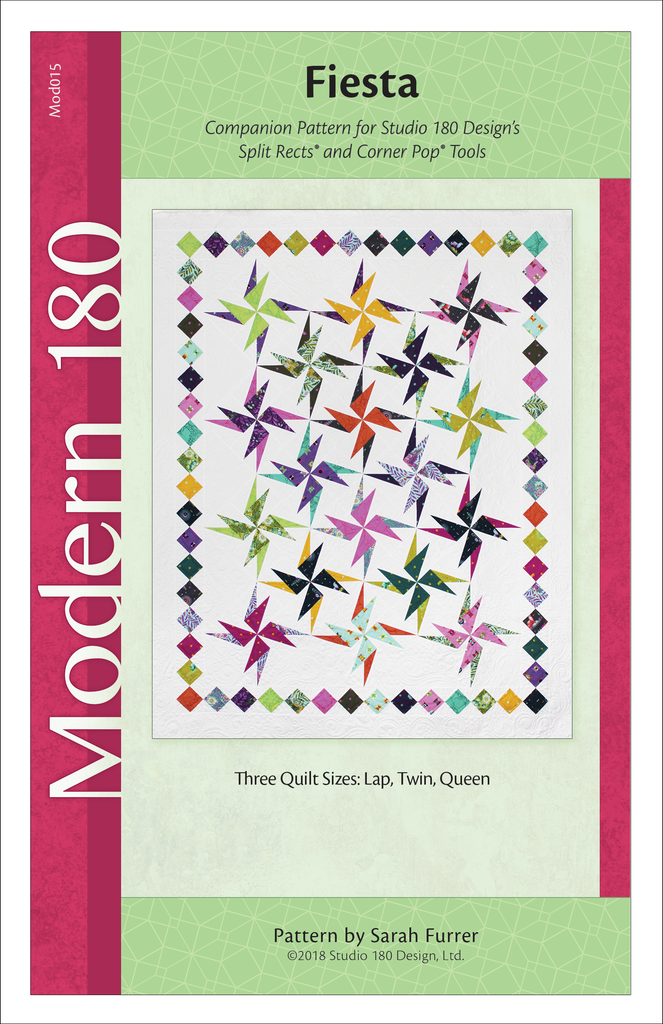
The Split Rects® tool can make up to 8 different Split Rectangle units sizes. You will make each unit oversized and trim down using the tool. There are currently 8 separate Studio 180 Design patterns that use the Split Rects® tool, including my favorite, Fiesta.

Split Rects the Left Handed Way
You will start by referring to your tool instructions to cut out the correct size of strips. Note: The strip size can be found on the cutting edge of your Split Rects® tool.
Once your strips are ready, place them on your cutting mat. Determine what type of seam slant your block will need. Below are the three different types of unit seam slants.
For all the unit types below, Left Handers will place your strips on the mat vertically and cut from the bottom up.
Type #1 - Lower Right to the Upper Left

You will want to lay your strips with right sides facing up.
Type #2 - Lower Left to the Upper Right

You will place your strips with wrong sides facing up.
Type #1 and #2 - Mirror image units

You will place strips either facing right sides together or wrong sides together. Note you will need to cut each color separately to get the mirror image work out correctly.
Cutting the Rectangles
Once you determine your seam slants, you can begin the cutting process. Start by trimming the end off to make a straight clean edge.

Trim #1 - Locate the bold line near the slant edge of your Split Rects® tool labeled and the Finished size of your units you want to make. Position the bold line on the clean edge of your strip, and the desired size of your units should line up with the bottom of the strip. Trim along the slanted angle to get your first elongated triangles.


Trim #2 - Rotate your tool half a turn looking for the small second trim "nub" on the longest edge of the tool. Position the "nub" labeled "2nd Trim" on the top of the strip and placing the Second trim guideline on the clean slanted angle of the strip. Trim straight across to make another elongated triangle.
You will repeat this process unit all the slants you need for your projects are cut.

Stitching and Pressing
Stitching the elongated triangles is easy and straight forward. After you have your elongated triangles pieces layout based on the slant, you can stitch them. Place them right sides together and aligning up the bias edge. Center your two pieces by having a bit of overlap at the ends.

Pressing can be done by pressing to the dark, or you can press them open. Please remember your units will be oversized so now we will talk about the trimming.
Trimming unit to Size
Trim #1
The trimming of the units is based on the type of unit you are making and the size. Position the unit on the mat vertically for us Left Handed quilters. Align the "Common Diagonal" or "Size Diagonal" depending on the slant unit you are making. Make sure your unit is contained inside the size of the unit you are making. Trim along the side and across the top.

Trim for Unit type #1 - Seam aligned up with the Common Diagonal.

Trim for Unit type #2 - Seam aligned with the size diagonal.
Trim #2
With Trim #2, you will pick up your tool, rotate your unit 180° and reposition the tool on your unit. Aligning the "Cut Size" measurement on the cleaned up corners of your unit and aligning the diagonals once again make your second trim.

Trim unit type #1.

Trim unit type #2.
Left Handed quilters can rejoice that Deb Tucker is making tools that help us out so we do not have to attempt to work right-handed. Be sure to check out the other Studio 180 Design tools that can make the basic quilting units easy.
I'm was delighted to be part of the Tuckerize your quilt Blog Hop, and I hope you will check out the other bloggers below each day now through July 20. We will have a few guest bloggers on during the blog hop as well, so make sure to check out those special blogs. While you are reading the blogs, don't forget to sign up for their newsletters and blogs.
Monday, 7/15/19
Tammy Silvers, Tamarinis
Tina Dillard, Quilting Affection Designs
Tuesday, 7/16/19
Karen Overton, The Quilt Rambler
Wednesday, 7/17/19
Gail Renna, Quilt Haven Threads
Marie McKay, Ribbon Star Studio
Thursday, 7/18/19
Deborah Chiarelli, Guest Blogging for Tina Dillard
Friday, 7/19/19
Michelle Hiatt, Sew On the Go
Rosella Hanson, Guest Blogging for Tammy Silvers
Saturday, 7/20/19
Bonny Peters, Cat Den Mountain Quilts
Lydia Zeigler, Guest Blogging for Karen Overton
I am uncertain about using a "perfect" quarter inch seam or a scant quarter inch seam with Deb's tools. Does it matter as long as one is consistent?
ReplyDeleteYou can use either as you are consistent. So I recommend it starting with making one unit at first then trim down to see if everything lines up for you.
DeleteThanks!
DeleteFigured out how to log on to blogger. Now how do I follow these blogs?
ReplyDeleteForgot to add...I love all things Tucker! I convert all my purchased patterns to use the tools.
DeleteI like how the time has finally come to discuss & list ways in which one can "tuckerize" the rulers to common "non-Studio180" patterns & get more mileage for the rulers. Afterall, what good is a ruler that has only 1 use these days? Nice job doing this.
ReplyDelete