

Block Party Block #56—Birthday Cake is a delightful project to create. This block requires the Studio 180 Design Tucker Trimmer, Wing Clipper, and Square Squared tools. Additionally, it uses the Flock of Birds Technique Sheet for the corner pieces.
In this blog, I will provide a tutorial on the Flock of Birds Technique. Part 2 will include the Flying Geese and Block Construction.

The fabric I used is leftovers from my February Blog Hop Collection. The block is made from Jackie Kunkel’s Canton Village Quilt Works “Cosmic” fabric collection for Island Batik by Lumin Fabrics. This collection is perfect for this quilt, as I aim to create a bright and bold block that lives up to its name. Feel free to mix and match fabrics for your version of the block!
Download your block:
First, you need to determine your block and unit sizes. Then, refer to your tool or technique sheet cutting charts to find the starting shape size for each unit you make.
Flock of Birds

The Flock of Birds is among the newest and most sought-after Studio 180 Design Technique Sheets. This unit is a variation of the Shaded Four Patch unit and is easy to create using pieced squares and rectangles. You can use the Tucker Trimmer II and Tucker Trimmer III for this project.

I recommend looking at the unit diagram on the Flock of Birds Technique Sheet before cutting out your squares and rectangles. This will help you understand where each square and rectangle should go in the unit. To make two units, you will need two small rectangles, two Starting Squares, and one large rectangle.

To begin, you need to determine the size of the finished unit you are making. Next, cut out your Starter Squares pieces. These Starter Squares will be used to create Half Square Triangles. Start by marking the stitching lines on the back of one of the squares with your Quilter’s Magic Wand.

Place the two starting squares right sides together and stitch along the marked lines. Cut down the middle and press the units open or to one side. The triangle will be centered in the pieced unit. I prefer to open these units to avoid confusion.
 |
| Right-Handed |
 |
| Left-Handed |
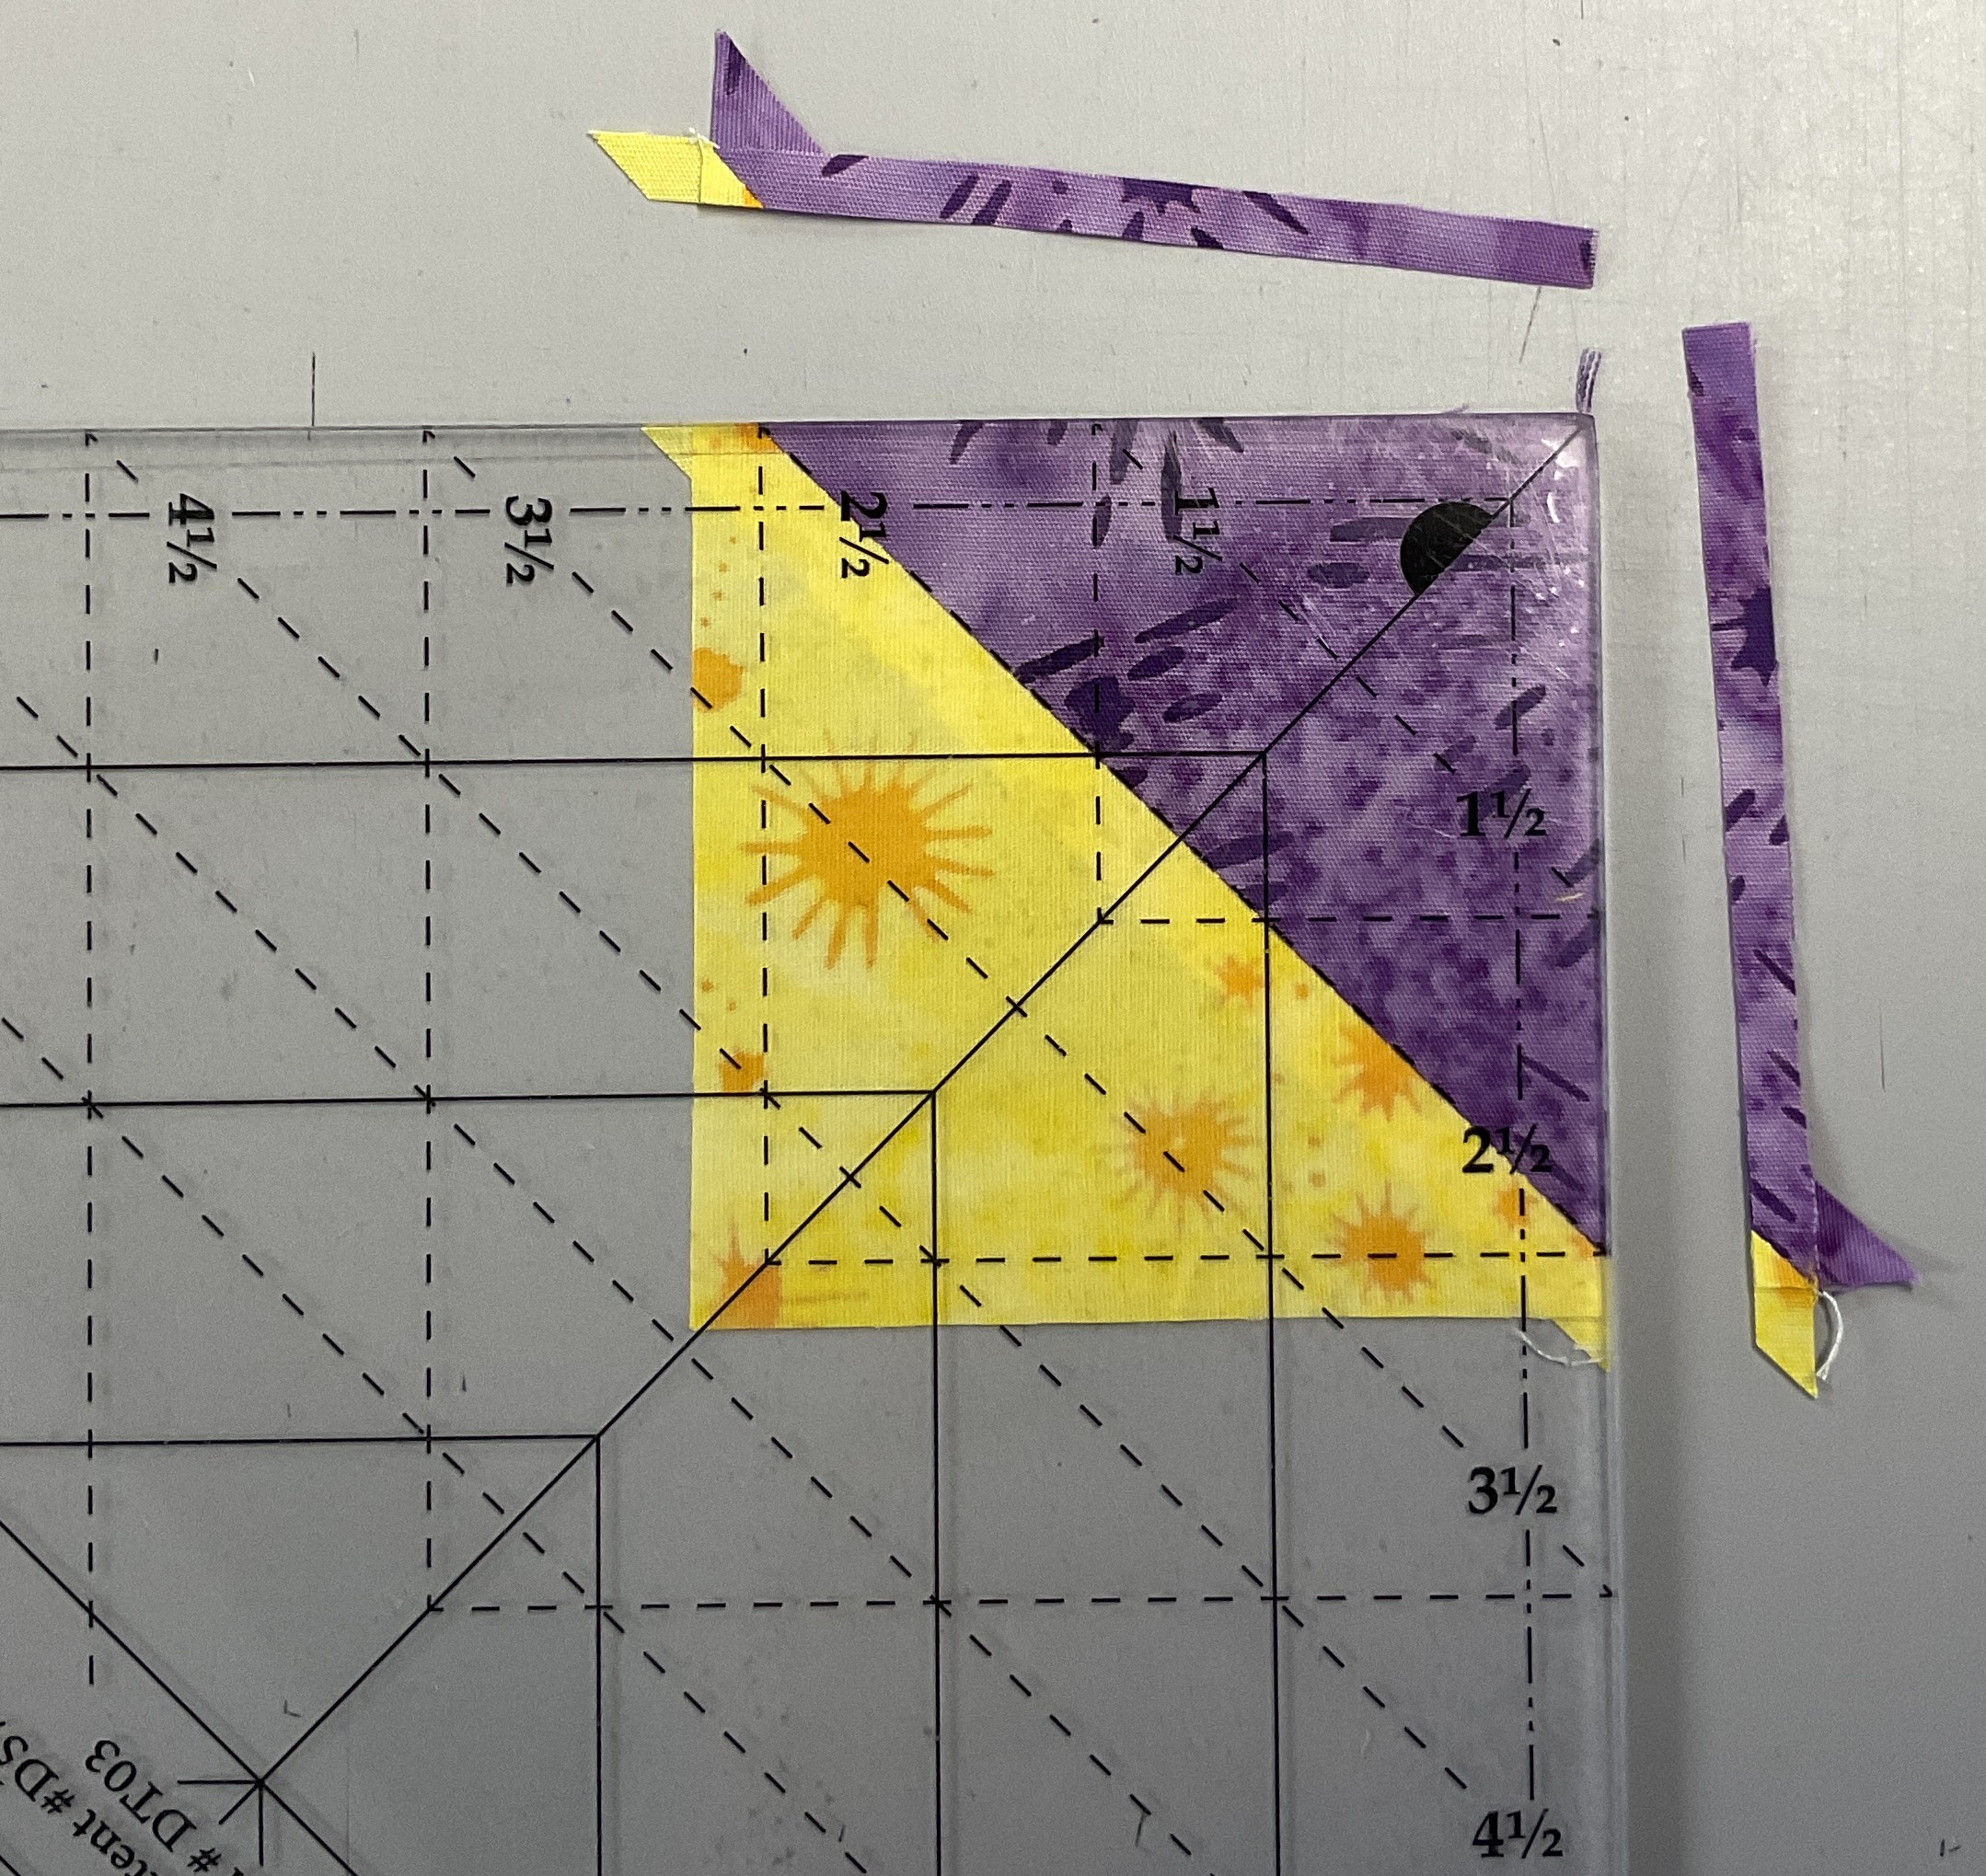
Next, find the Pieced Square Trim Size on the Cutting Chart in the Technique Sheet. Position the unit on the cutting mat to trim the center triangle side of the pieced square. Using your Tucker Trimmer, align the Pieced Square Trim Size with the seam of the pieced square unit. Trim up and across the unit and repeat for the other piece square. Do not rotate the unit; you only need to trim the center triangle size.

Gather your two small rectangles. Position the pieced square so that the center triangle aligns with the inside short end of the rectangle, as shown in the image above. Stitch along the short side of the rectangle and then press it toward the rectangle. Repeat these steps for the other rectangle and pieced square squares.

Position the two stitched rectangles so the center triangles are aligned toward the center and opposite each other, as shown in the image above. Place the right sides of the unit together and sew along the long edge.

Locate the halfway point between the pieced squares and the stitching size, then snip to the seam at that halfway mark, pressing the seams away from each other.
 |
| Right-Handed |
 |
| Left-Handed |

Sew along the drawn lines and trim ¼” away from the two seams. Press toward the larger triangle.
 |
| Right-Handed |
 |
| Left-Handed |
Using your Tucker Trimmer, align the Sizing Diagonal line with the sewn seam and the common diagonal down the center along the other seam. Trim up and across the unit.
 |
| Right-Handed |
 |
| Left-Handed |
Rotate your unit 180 degrees, replace the Tucker Trimmer, realign the sizing and clean-up lines on the previously trimmed edges, and cut the final two sides of the unit both up and across.

For this block, you will need four flocks of bird units. We will cover the remaining units next week.
Love the colors & materials' designs, and, I also love the block's pattern❣️
ReplyDelete