

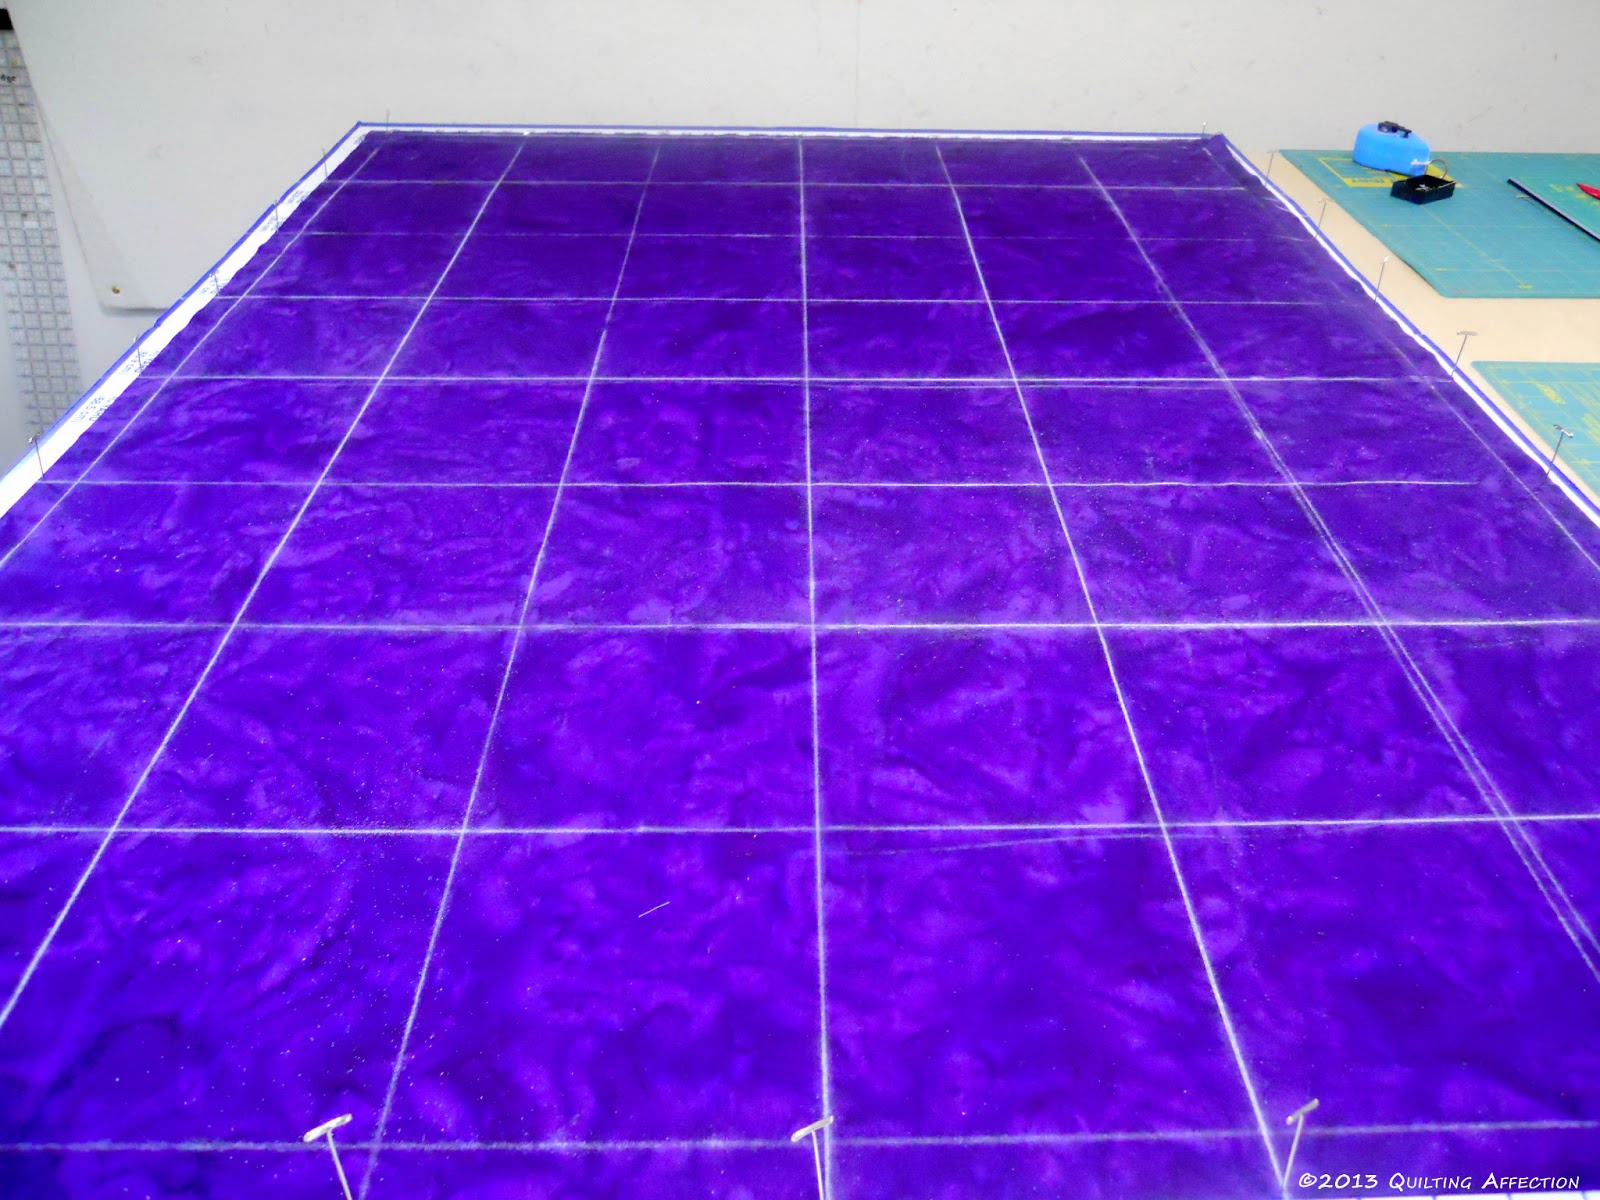
 I put all the melons to a side and set up the pattern board with the background fabric to add the grid on the fabric. To set up the grid I laid the background fabric on the pattern board using the grid lines marking the 1" by sticking T-pins in the pattern board, then marking with T-pins every 6" between the the 1" markers. Once I place all the T-pins I used a quilters chalk line and snap lines making 6 x 8 grid on the fabric.
 After I had all the grid lines in place I laid out all the melons on the grid lines, leaving the half melon shapes until all the center melons placed on the top. Once I had all the full melons in placed I placed all the half melon shapes on the outer line with the flat part hanging over 1/4" the line for the seam allowance.
After I placed all the melons I press them down with a small iron to make sure everything was fused correctly to the background fabric.
My next step will be to sew all the melons to the background with a decorative stitch, and sew on the borders, but probably won't happen until next week, due to there is yard work to be done this weekend.
Tina
No comments:
Post a Comment