Last week, I released Block Party Block #54, titled "Compass Twist," along with part one of a two-part tutorial on how to make this block. If you missed last week's tutorial, you can find it here: https://quiltingaffection.blogspot.com/2025/01/block-party-block-54-compass-twist.html.
This week, we will cover Units C and D, starting
with the same base: a combination unit. We will apply the techniques we
learned last week to pop our corners.
Please consult the cutting charts in the tool
instructions to find the starting sizes for the squares and strips required for
your block.
Let's start by discussing how to create this combination
unit.
Unit C and D Combination Units.

For these units, you will need three different-colored fabrics: a background, a medium, and a dark fabric. I used white for the background, light purple for the medium, and teal for the dark fabric.

Using your Quilter’s Magic Wand, mark the background fabric with two diagonal lines ¼” from the center diagonal.

Place the background fabric on top of the medium fabric, with the right sides together. Stitch on the drawn lines. Cut down the middle of the stitch lines to make two triangles. Press toward the medium fabric.

Now, we will place our untrimmed units on top of dark fabric with the right sides together. Center the half-square triangle, ensuring the diagonal point matches the larger square. Using your Quilter’s Magic Wand again, mark two diagonal lines ¼” from the center diagonal through the seam of the half-square triangle.

Stitch on the newly drawn lines and cut down the middle. Press toward the dark triangle.
 |
| Right-Handed |
 |
| Left-Handed |
Place the Combination unit on the cutting mat. Place the Tucker Trimmer on the unit using the Cutting Size listed on your block pattern, lining up the sizing line across the sewn seam and the common diagonal down the center along the other seam. Trim up and across the unit.
Rotate your unit 180 degrees, replace the Tucker Trimmer on
the unit, realign the sizing line and the clean-up lines on the previously
trimmed edges, and trim up and across the final two sides of the unit.
You will repeat this for all the Combination units.

Now, sort your Combination units into two stacks for Units C and D. The Combination Units' large dark triangles will point toward you and to the center. See the above image.
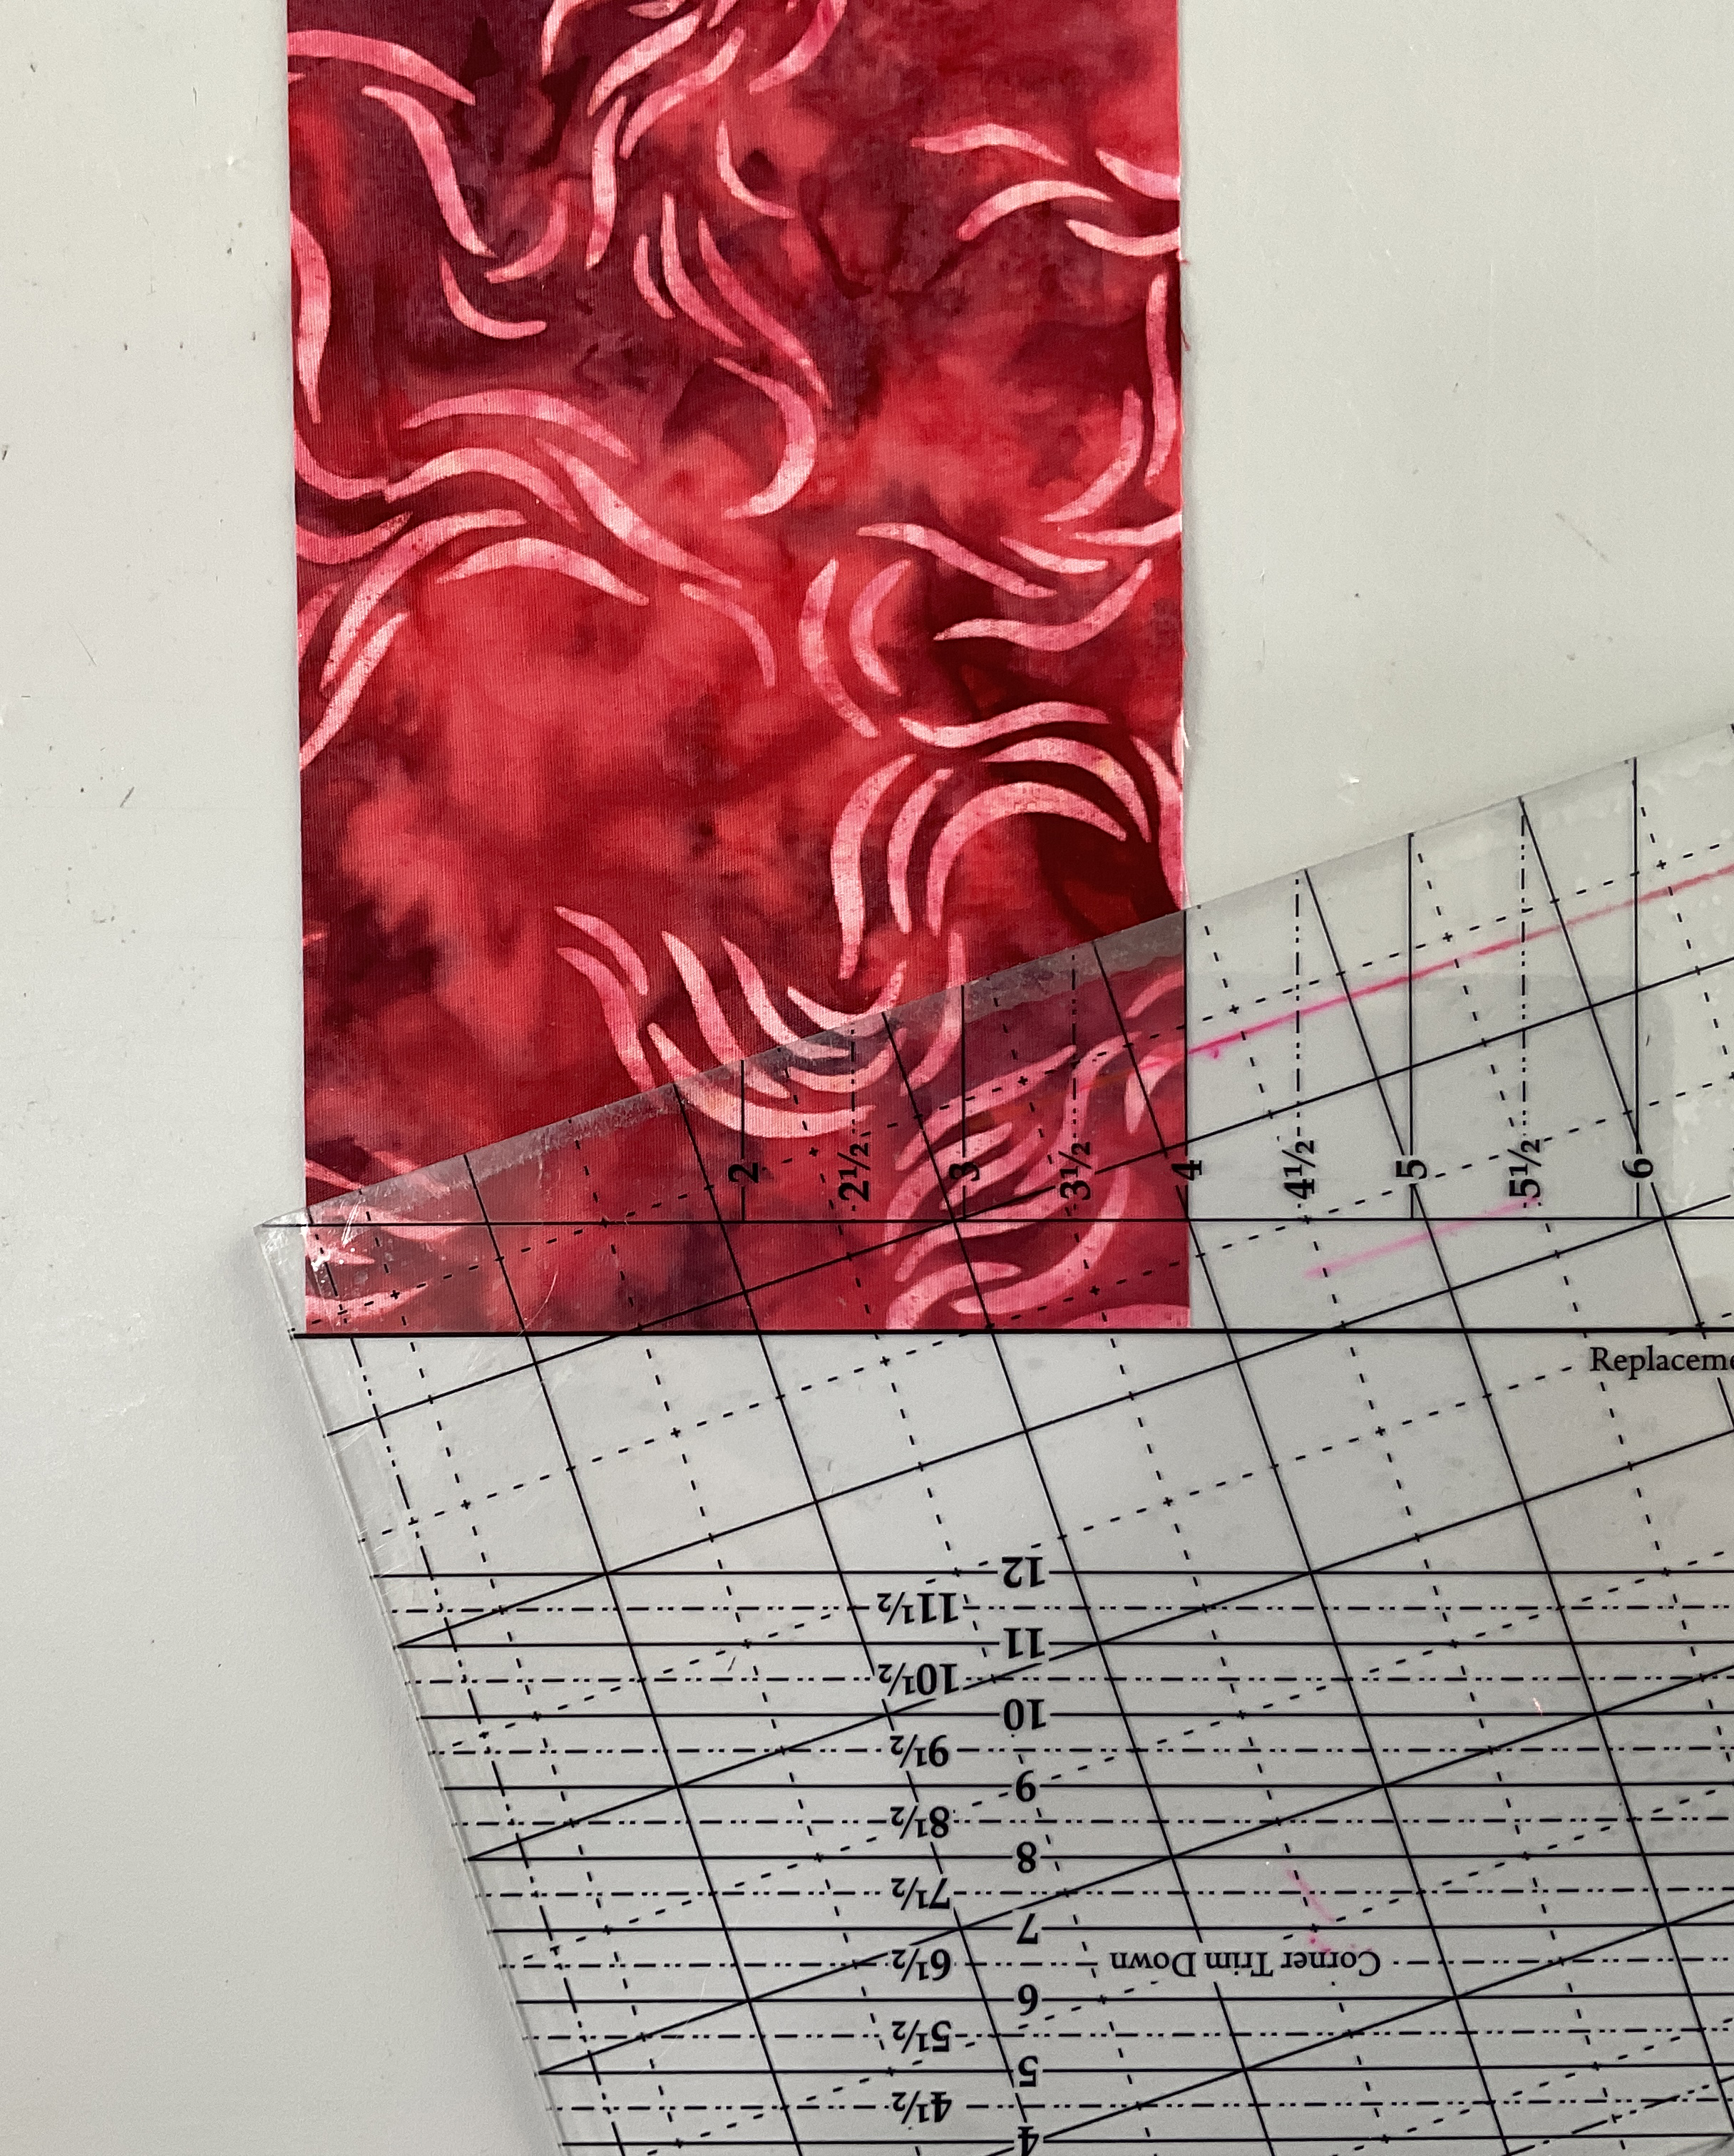
Cutting Type 1 and 2 Replacement Triangles

Consult the Cutting Chart in the instructions for your Corner Pop III tool to determine the strip size needed based on the finished size of the unit you are popping. Gather your fabric strips for the replacement triangles; I will use dark purple fabric for the replacement triangles.
 |
| Right-Handed |
 |
| Left-Handed |

Right-Handed
 |
| Left-Handed |
You will need to perform a straight cut to make the next cut. Begin by aligning the tool's top edge with the strip's top. Position the ½” dashed line on the tool approximately 1/8” from the corner edge. Then, trim across the tool.
Repeat this process for the number of replacement triangles needed for your block. You will need four Type 1 Replacement Triangles and four Type 2 Replacement Triangles.
Popping Unit C Type 2 Combination Units

Gather your Unit C Combination Units and Type 2 replacement triangles.

Right-Handed 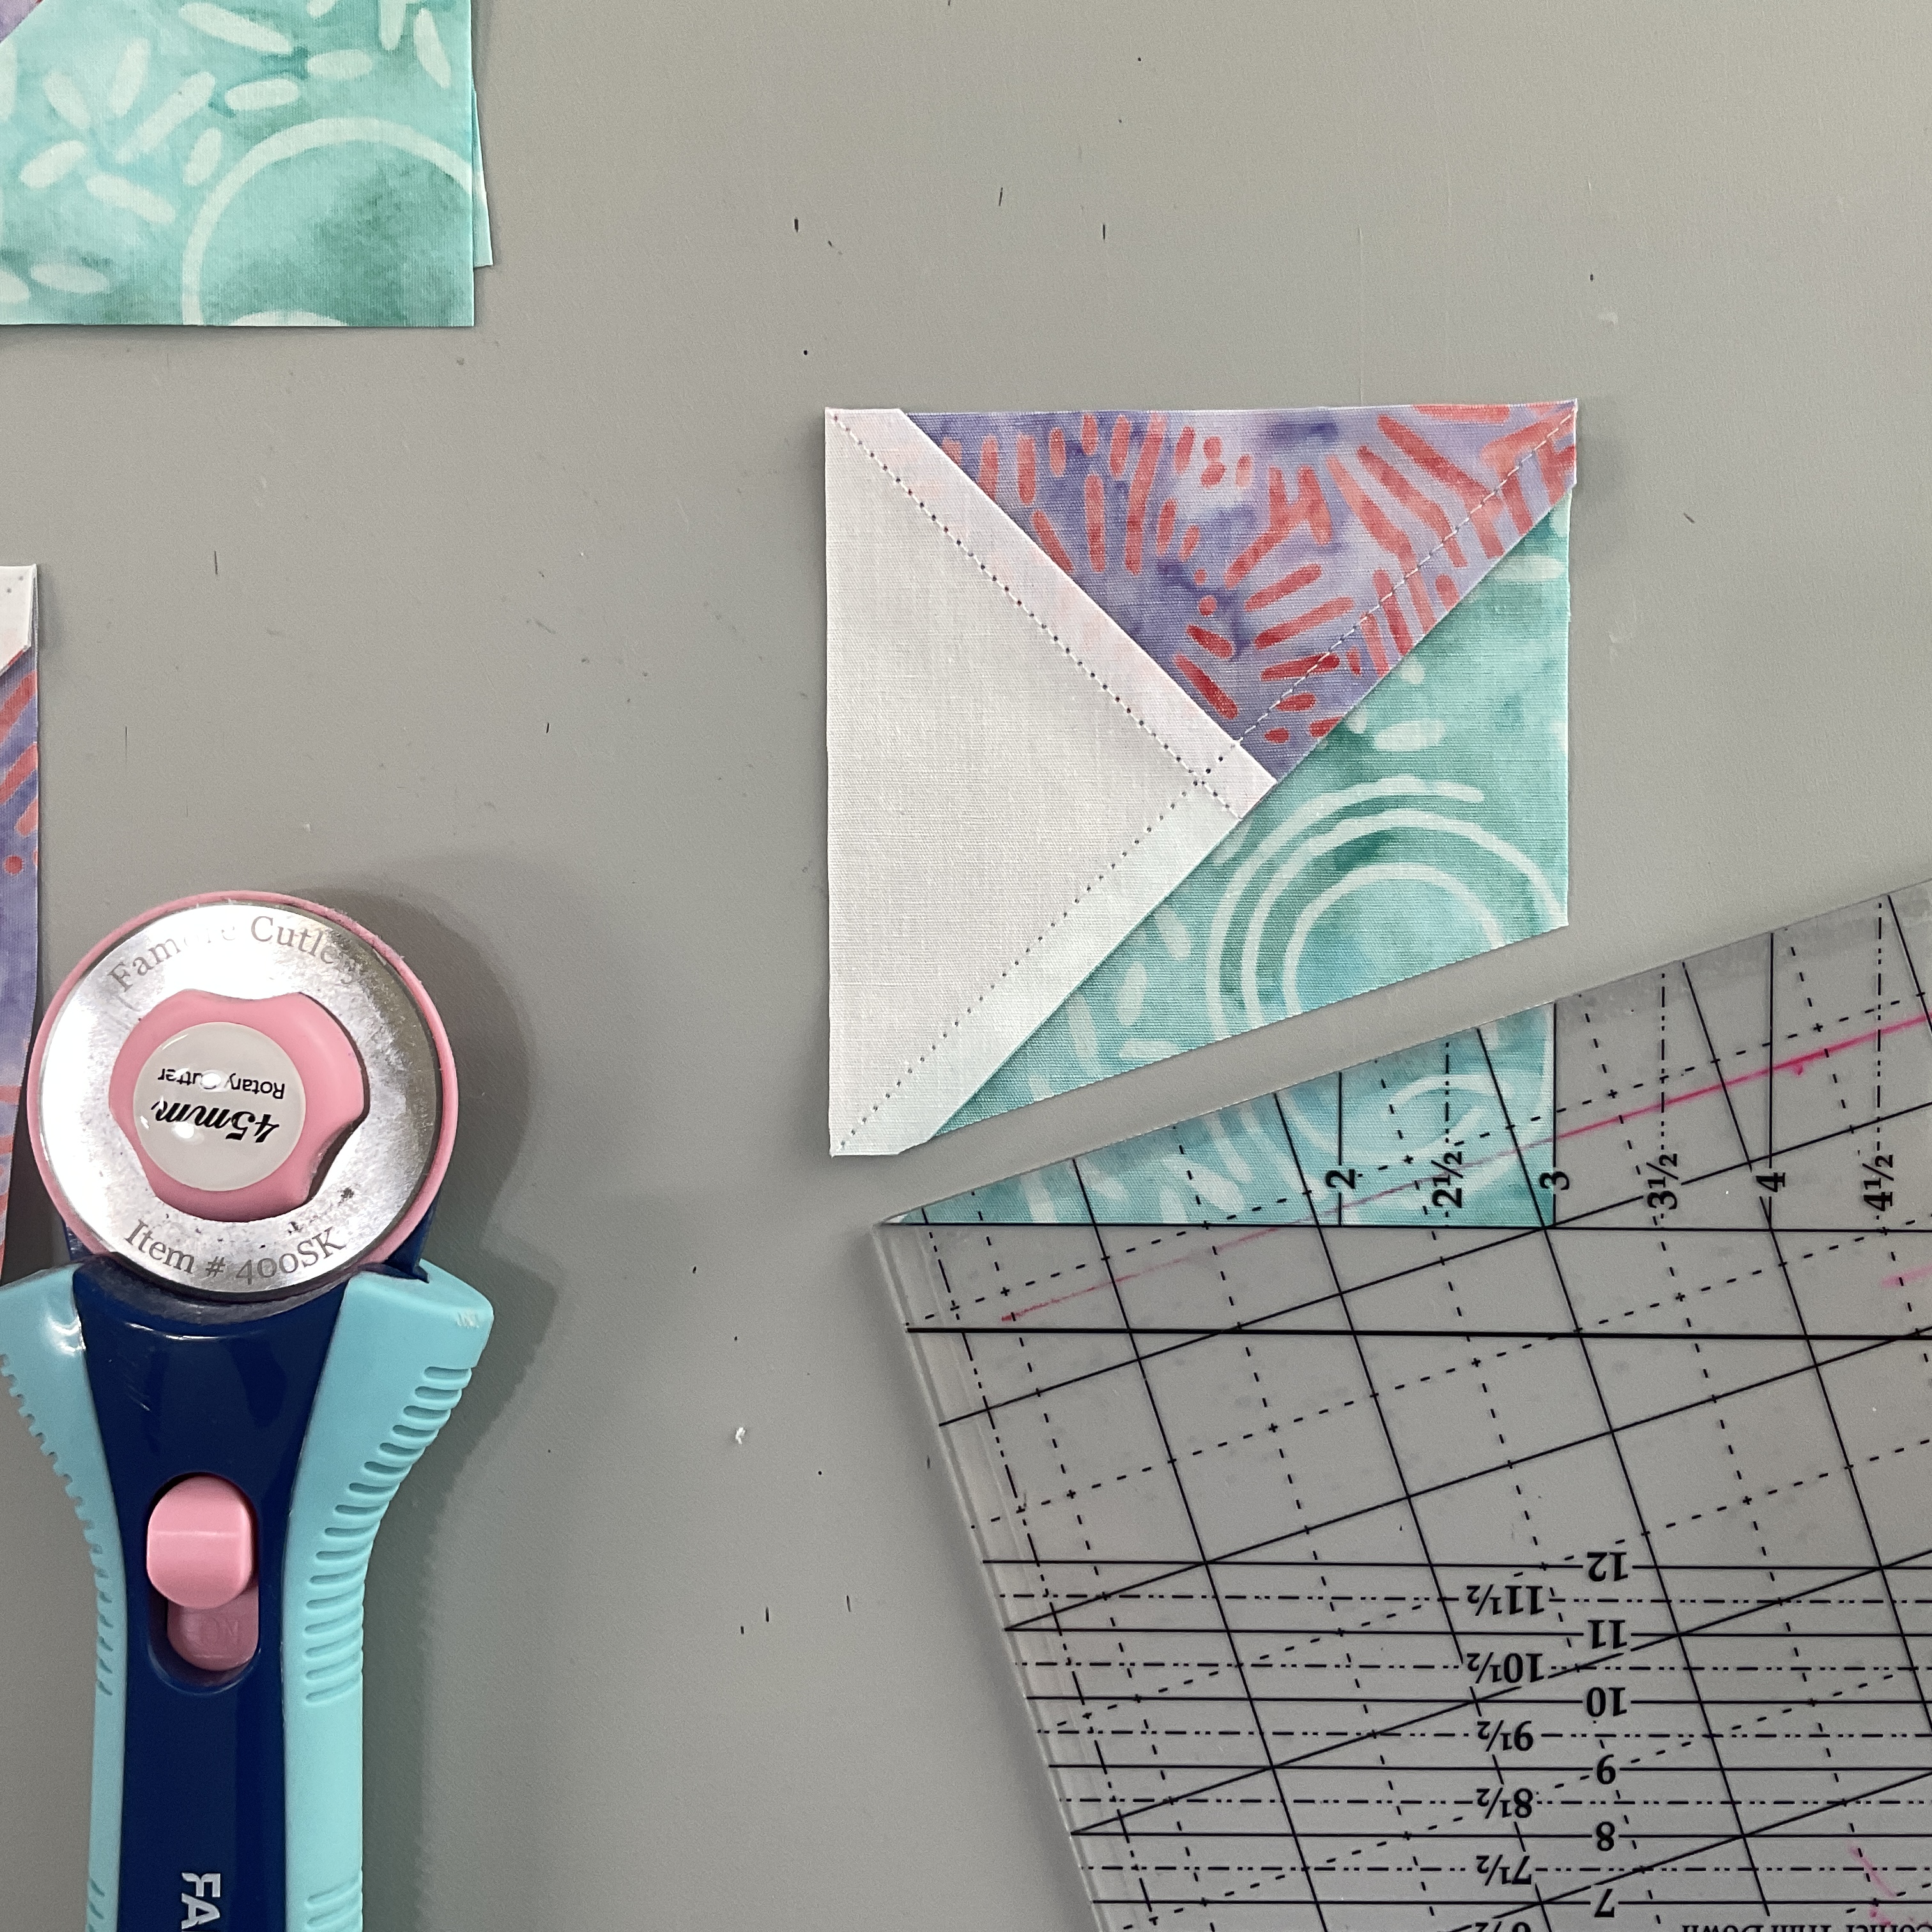
Left-Handed
Position Unit C Combination with the wrong side up
on the cutting mat. For right-handers, place the large, darker triangle in the
bottom left-hand corner. For left-handers, place the large, darker triangle so
it faces toward the right and you. See the images above for placement. Use the
Unit Cut Away Size indicated on the cutting instructions for the block pattern to
align the Corner Pop III tool Cut Away Corner tool lines on the unit, as shown
above. Position the Trim along the angle to remove the triangle.

Place the Dark Replacement Triangles on the right side of the trimmed unit.

Place the trimmed Combination unit on top of the replacement triangle and sew a ¼” seam allowance. Stitch a ¼” seam allowance along the angles with the Combination unit on top of the replacement triangle. Press the seams open. Repeat for all four Unit C units.

Right-Handed 
Left-Handed
Place the unit right side up on the cutting mat. For
right-handers, place the replacement triangle across the top; for Left-Handers,
place the replacement triangles on the left side. Locate the Corner Trim Down
section on your Corner Pop III tool. Place the diagonal line that indicates the
unit size you are making on the seam line; see the images above. Trim away the
access. Repeat for all your Unit C units.
Popping Unit D Type 1 Combination Units

Gather your Unit D Combination Units and Type 1 replacement triangles.

Right-Handed
 |
| Left-Handed |

Place the Dark Replacement Triangles on the right side of the trimmed unit.

Place the trimmed Combination unit on top of the replacement triangle and sew a ¼” seam allowance. Stitch a ¼” seam allowance along the angles with the Combination unit on top of the replacement triangle. Press the seams open. Repeat for all four Unit D units.

Right-Handed
 |
| Left-Handed |
Block Construction

Now that all your units are completed, it's time to assemble your block.

Start by arranging the units to form your block.

Next, stitch the units together into rows, remembering to press the seams open as you go.

Finally, stitch the rows together, pressing the seams open again to finish your quilt top.
You have now completed Block Party Block #54. I hope you enjoyed this tutorial. Please check back next month for another Block Party Block release. In the meantime, you can explore the other Block Party Blocks on my website.