

First we measured out how large we wanted to make the wall, and decided on 6ft x 8ft. So we cut down the two boards to 6ft lengths.

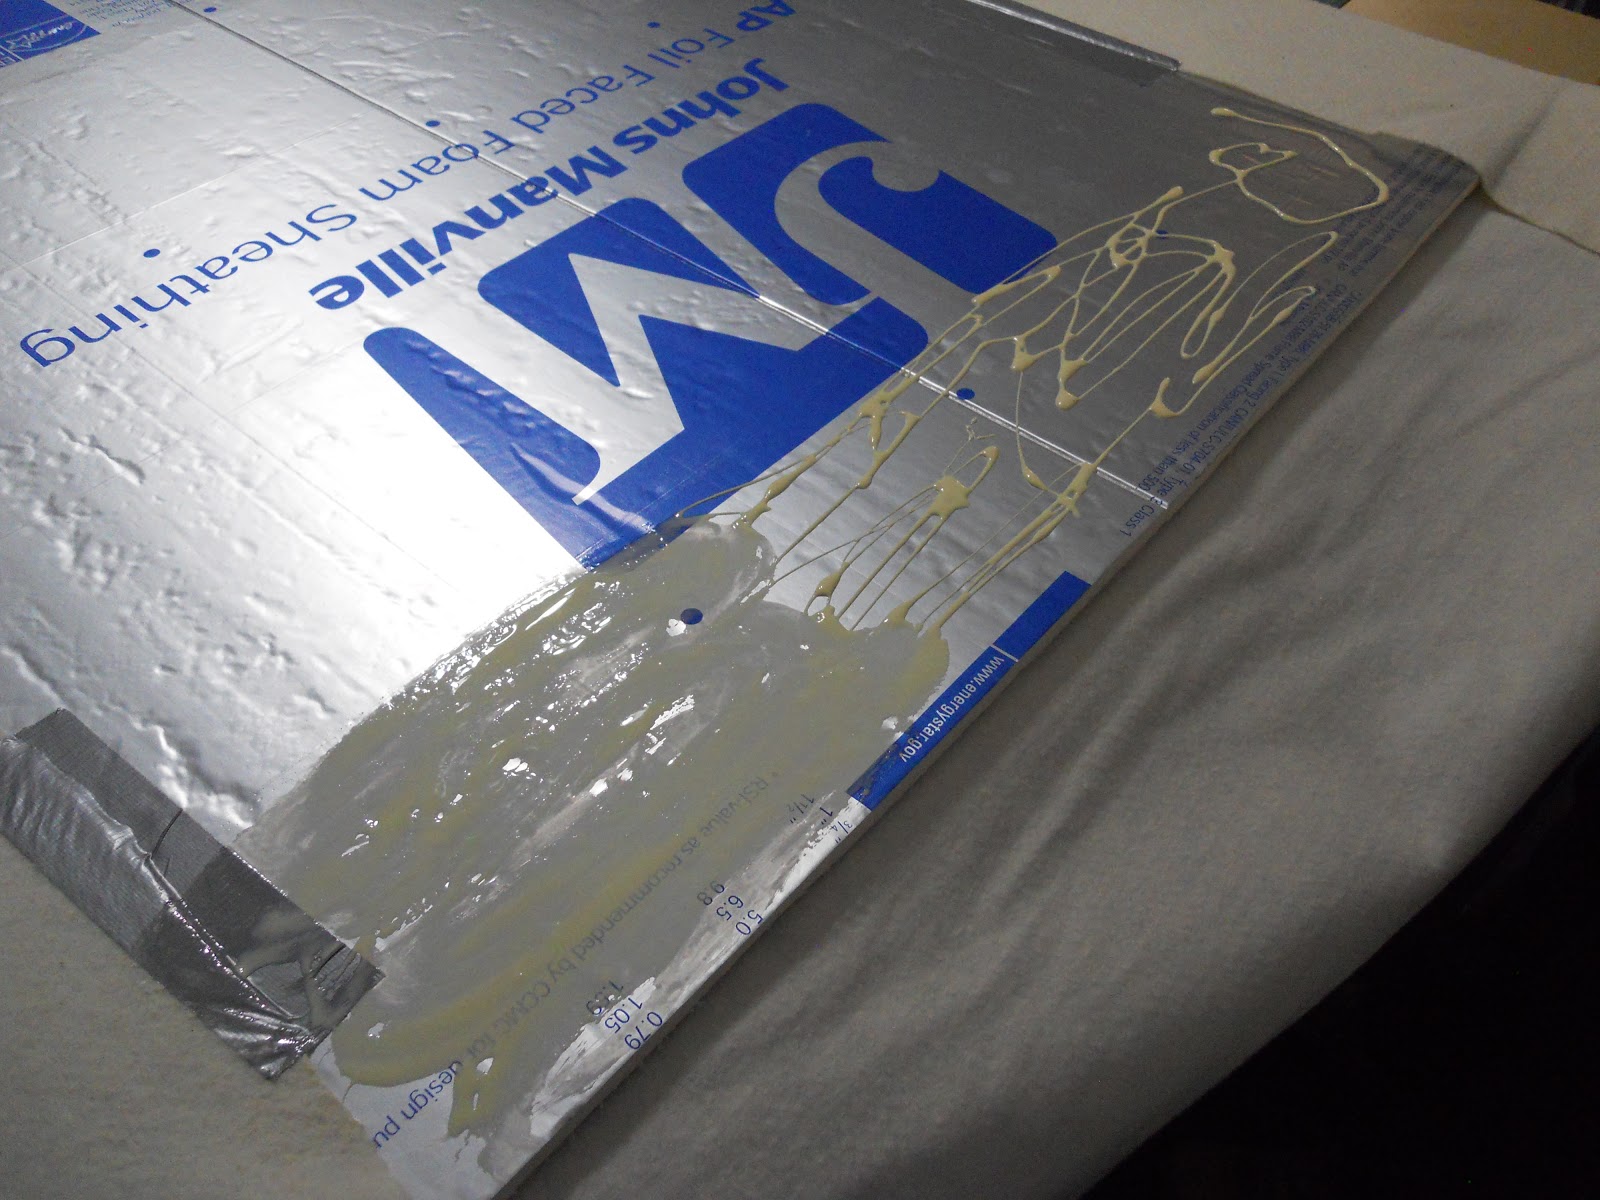 Next we unrolled some cotton batting on my cutting table and trimmed it to down to size the size of each board plus 6 inches all the way around to allow it to be glue and tape to the the back of the board. With the batting underneath the board, add glue to one of the sides of the board and pull the batting on top of the glue, and add a few pieces of duct tape on that side that was glued. Continue on the opposite side, making sure that pull the batting tight before attaching it to the glue.
 Then finish with the other tow sides. Remembering to pull the batting tight as you work your way around. When you get done gluing all the ends down, tape all the sides down to reinforce the glue.
 Now complete the other board in the same manner. Once completed, hang them on the wall. Since the boards were so lite we were not worried about hitting the studs on the walls. We attached the boards with brass color wood screws and screw washers. The washers make it so the screws would not pull through board.
 This is great, no pins are needed to hold the fabric on the boards. Now I have a place to put all my Block of the Month and other projects.
 Tina
Tina
No comments:
Post a Comment