

Today is the release day for the final instructions in the Graceful Point QAL. The download for the finishing instructions can be found HERE.
Be sure to read the Downloaded Finishing Instructions to get the correct cutting and trimming sizes for the King Size that are indicated in (Blue) parenthesis.
The below instructions are for the Wallhanging, please read the Finish Instructions for how to assemble the King Size.
Quilt Layout Assembly
Once you cut all the Background squares, Center Fill rectangles and make the Half Square Triangles we can begin assembly of our quilt top. When assembling the wallhanging, please pay close attention to how the quilt is assembled.

Center Section
We start with building a border around the center block Blockbuster #26
Begin by adding background rectangles and Half Square Triangles that will surround the center block. Note for the King Size, you will add an extra row of background rectangles and Half Square Triangles.

Next, you will add BG rectangles, Block 4, and Block 17 to the sides of the Center-Block. The center section is now ready to make Top and Bottom Inner Rows.

The Top inner row: assemble two Bonus Blocks, BG Rectangles and Block 18 together.

The Bottom inner row: assemble two Bonus Blocks, BG Rectangles and Block 2 together.

Attach them to the Center Section and press according to the instructions. Now we have the Center complete we are going to add two outer side rows.

The outer rows will use BlockBuster #9, BlockBuster #12 and BlockBuster #1, and Background Squares.

Finally, we add the top and bottom rows to finish off the quilt. The top row consists of the following Blockbuster #8, #10, #22, and #7 Blocks. The Bottom uses Blockbuster #6, #25, #20, and #9 Blocks.
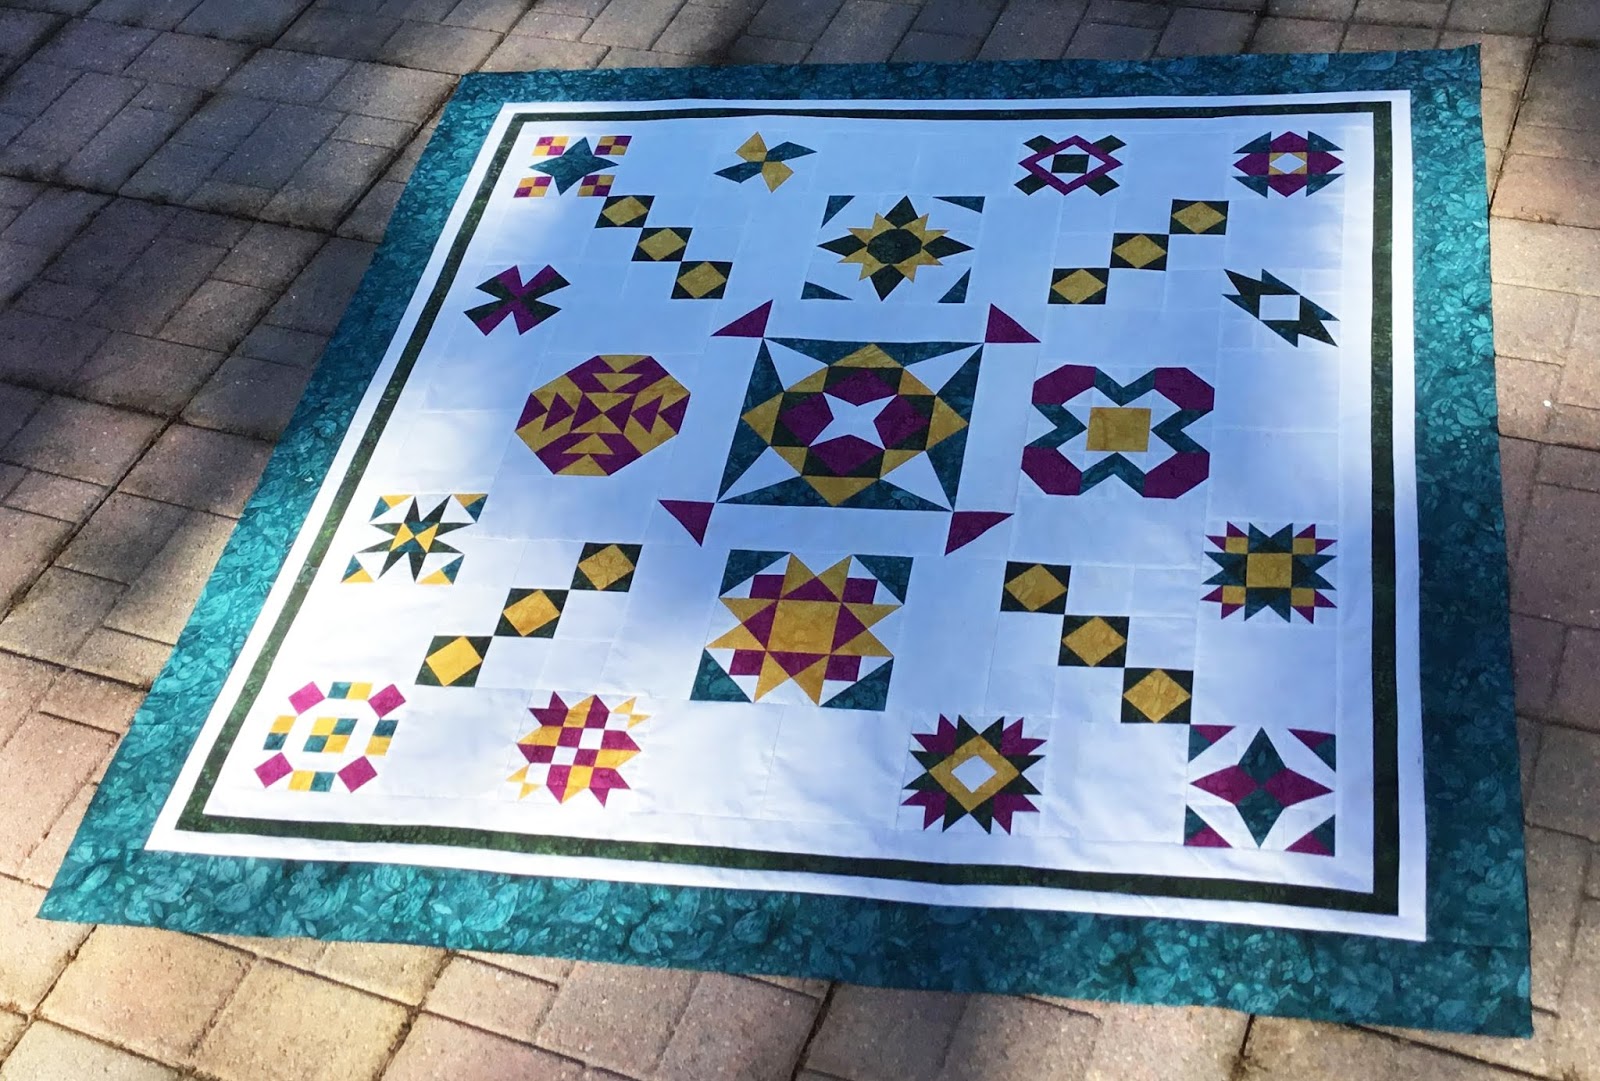
All we have to do now is to add the borders, and you have a completed quilt top.

This is the King Size, done in different colors.
Just love how both of these quilts turned out. I hope you enjoyed this Quilt Along and your finished quilts. Please share your photos in the comments section below or on the Graceful Points Facebook Group. Additionally, you can post your blocks on Facebook or Instagram, making sure to use the #gracefulpointsqal and/or #quiltingaffection designs.
Tina
"Designs to Inspire"
No comments:
Post a Comment