This method of making multiple Half Square triangle can be used for any size by changing the base square size. I was using the 4" square size for this quilt top.
First, you need to cut 2 pieces of different fabrics measuring 8 1/2" x 21". Then with the lighter color of fabric, turn it over with the wrong side facing up. You are now going to make a 2 x 5 grid on the back of the fabric, like below. You will have a 1/4" all the way around on the outer edges of the fabric, when you are finishing drawing all the squares. Then, draw diagonal lines to make the triangles.

Then put the 2 pieces with right sides together, pinning in the middle if needed.

At the sewing machine, start at the top left side of the fabric start sewing 1/4" from the diagonal line. Following the lines all the way around.

Repeat on the other side of the line.

When you are finished it would like this.

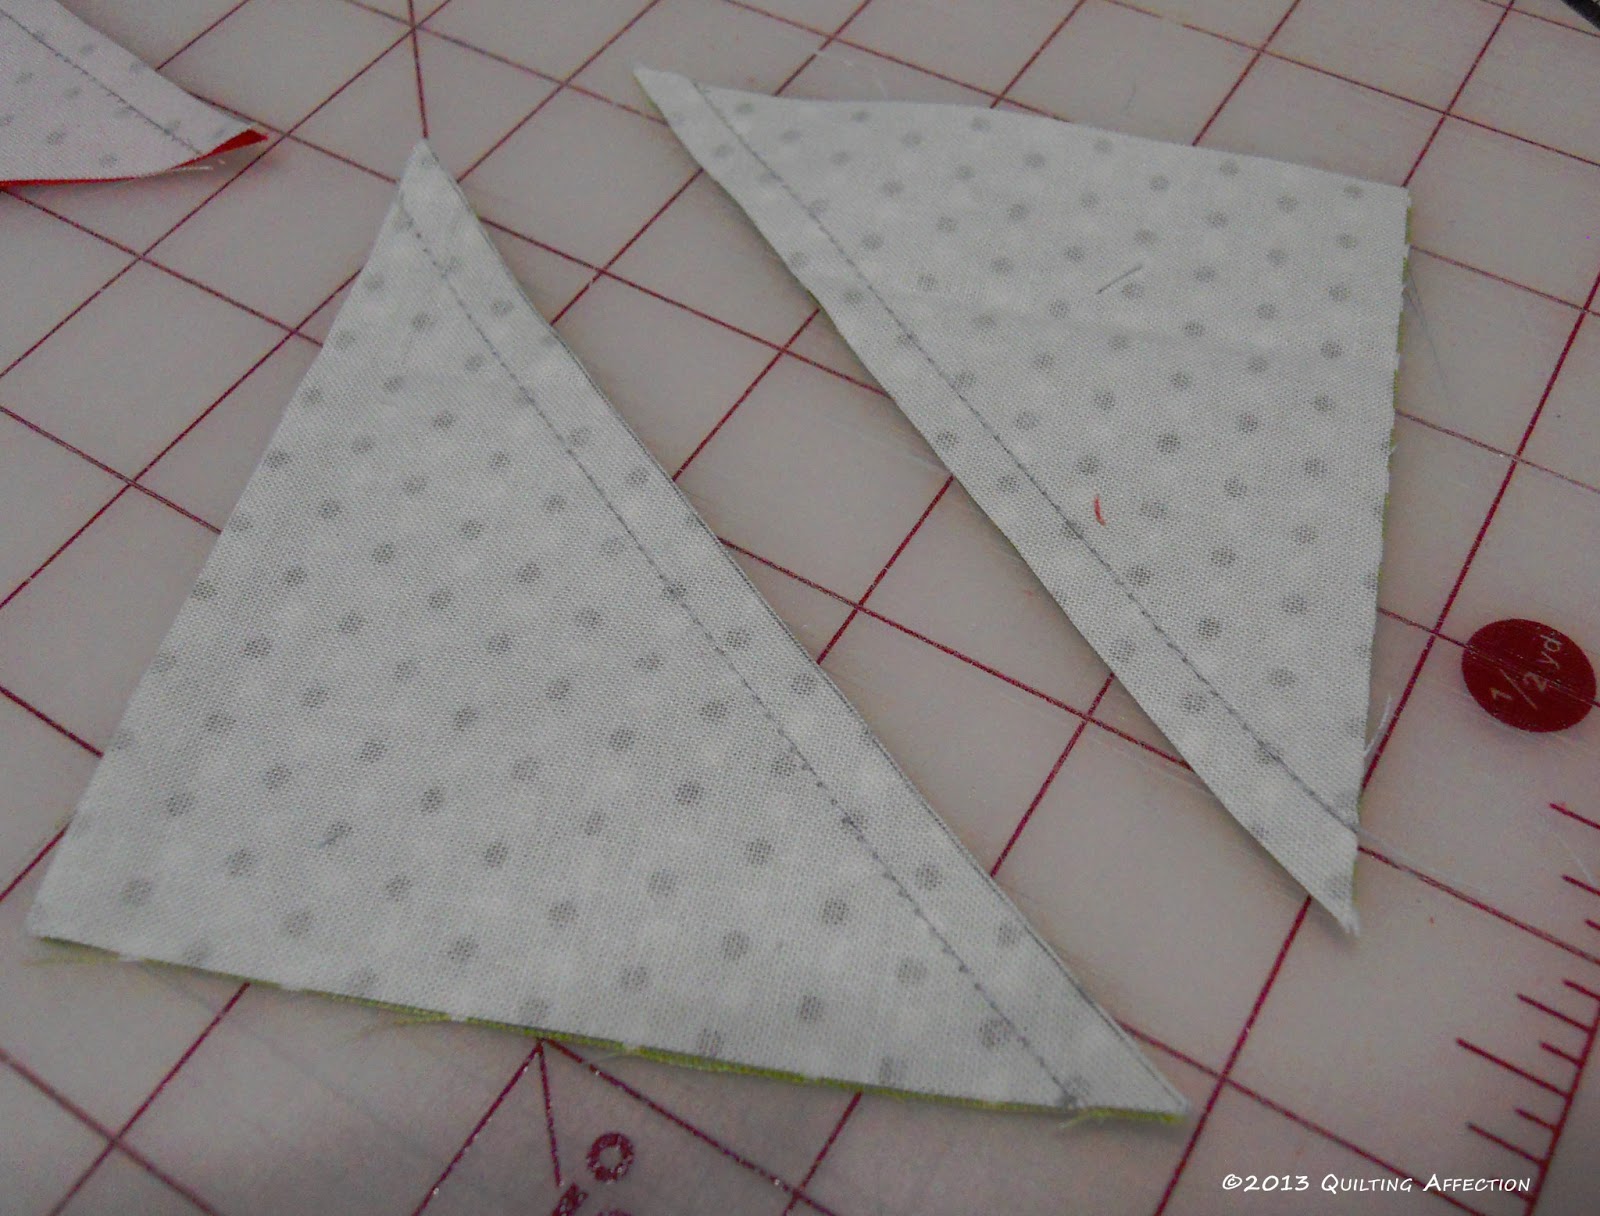
At the cutting board you are going to cut apart on all the drawn lines.


You will yield 20 half square triangles from the fabric. Press open and square to the patterns instructions.
This was a fast way to make multiple half square triangles at on time. If you want to make a 4 1/2" square size, use a 10" x 23" piece of fabric, and use the 2 x 5 grid.
Have a great quilting making day!
Tina