Well folks, it is Day 4 of “Tuckerize Your Quilt Blog Hop”! I
am guest blogging for Tina Dillard or Quilting Affection Designs and my name is
Debbie Chiarelli of Quilts by Debbie. I have been a Certified Instructor for
Studio 180 Design since 2016. When asked about participating in the Blog Hop I
thought…why not? I talk endlessly about
Studio 180 tools and the way they make the most difficult blocks, easy to create.
As a quilter of 30+ years, I am always trying to learn new tricks and find
alternative ways to create beautiful quilts. If you’re like me, you may choose
to avoid the unique skill of paper piecing. Today, I’m going to show you a
technique I’ve learned as an alternative method to paper piecing through the
use of Tucker tools. Happy quilting!
Two blocks that I love and have found very easy to do, include
the Snail Trail and the Pineapple block and these are the two
blocks I am going to demonstrate today!
Moving forward, the only tool you will need to complete these
blocks is the Studio 180 Large Square Squared®. There are quite a few patterns created by Deb
Tucker and the Studio 180 Design Group that utilize this tool so I think it
will come in handy in your quilting tool box!
To get us started, here are a couple examples of patterns that
have the snail trail block in them:
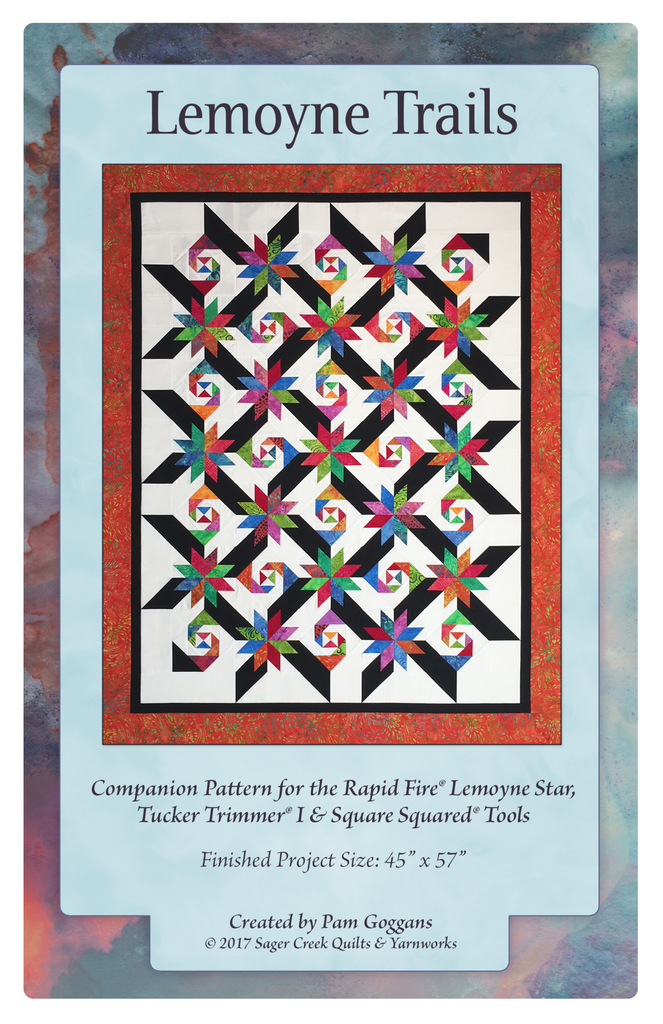
Leymone Trails
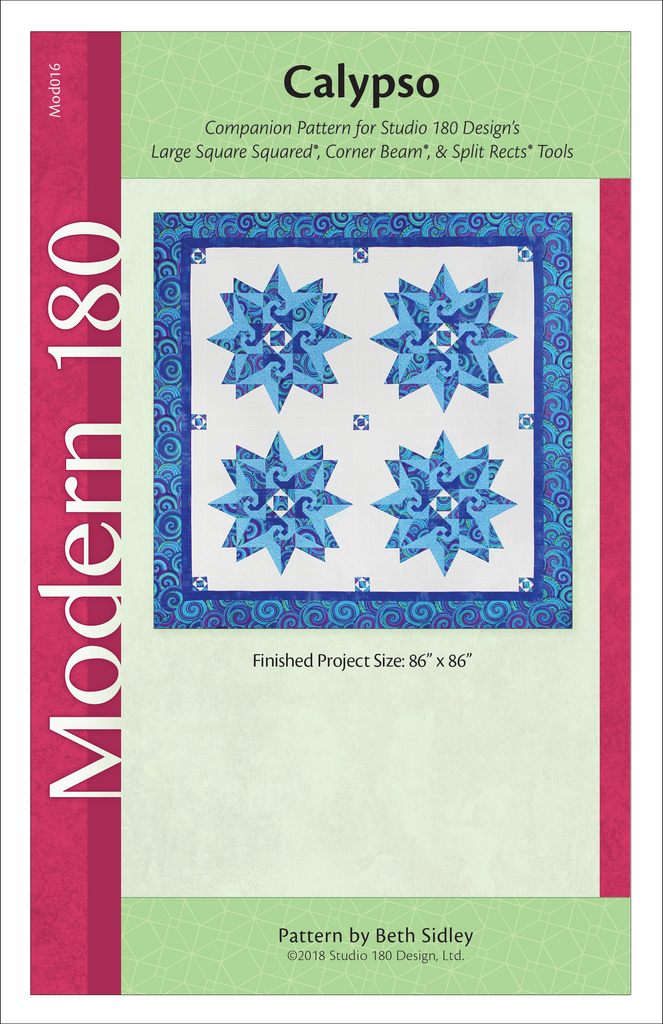
Calypso

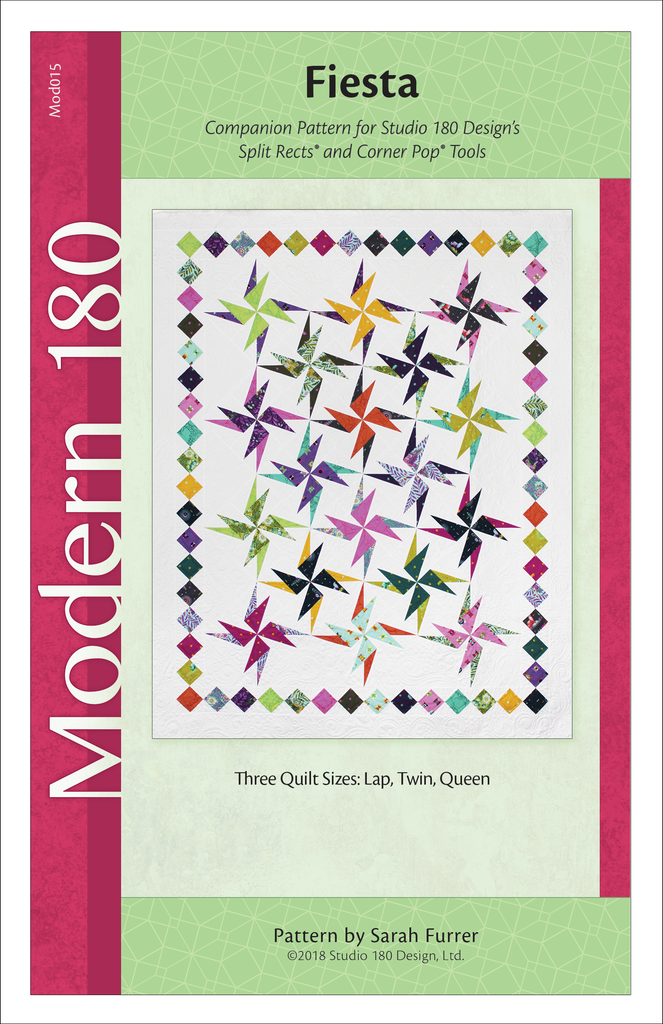
Filigree
Now, I am going to dive in and show you just how easy it is to
make a snail trail block of your own so you can make any of these stunning
quilts yourself! Hopefully, this demonstration will get you as excited as I am
to use this tool and will have you quilting something new in no time!
The Large Square Squared® has 2 parts to this tool:
Part A:
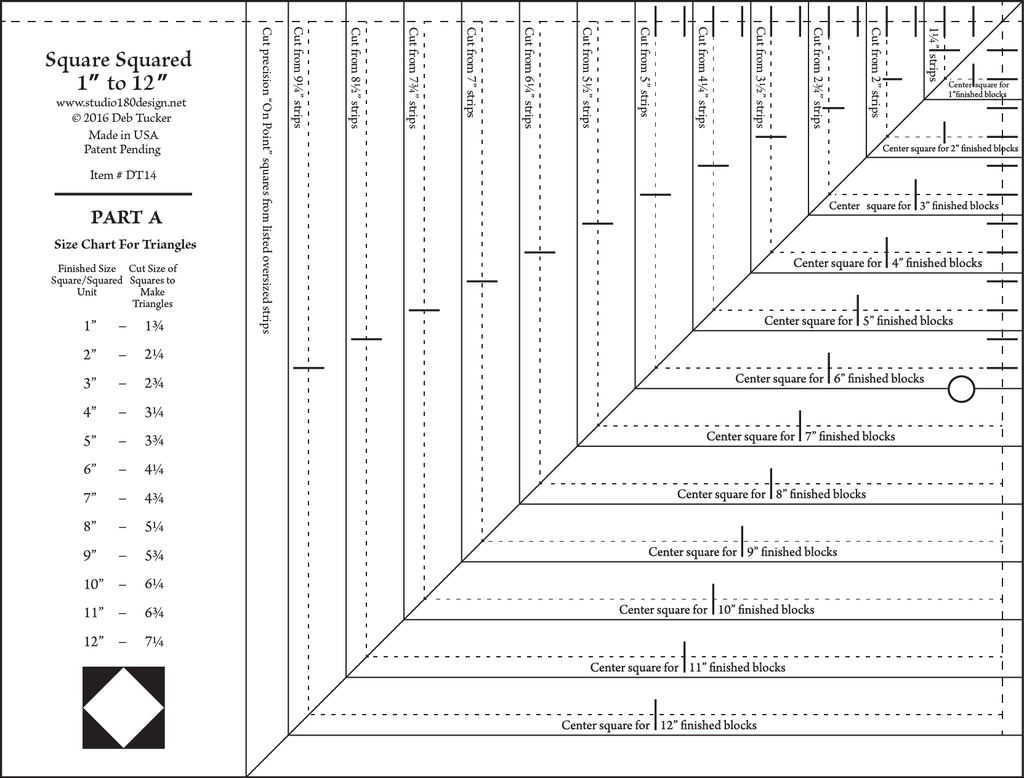
1Step 1: This is what you will start with to make
your center square. The tool has markings for strip sizes you will need to make
the center square. Here I am showing how to make an 8” square unit. I started
with a 2” strip to cut my starting square.

2Step 2: Then
you will start to build your snail. Add
the first set of triangles. Sew each
triangle on opposite sides first, iron, then sew on the next two triangles on
the remaining sides. Always sew with the square centered on top of the
triangle.

This is Part ‘B’ of the tool. This side is used for trim down
and the directions are as follows:

Step 1: In this step, you will place your pressed block under
the tool and line up the X marked with 2 for 2” block.
For righthanded folks, you will cut on the right side and top.
Lefthanded cutters will turn the ruler 90° so the X’s will be on the left. Cut
up the left side and across the top.

Step 2: Then, you will lift your tool and turn the unit 180°
and line up the X’s and the 2 ½” clean up lines and trim.

Step 3: We will now add the next set of triangles (round 2).
Now you can decide if you want your tail to spin left or right, but once you
decide here you will need to stick with it for the rest of the block. I have decided to spin to the right as you
can see in the photo. As before sew on
the triangles opposite sides first, press (seams to triangles) then sew on the
second set of opposing triangles.

Step 4: we will now trim down this round. We will be going
back to the Part ‘A’ tool. Locate the
center square for the 4” finished block window on the Part ‘A’ tool. You line
up the intersections of the seam with the center crosshairs the 4” finished
unit. The diagonal line on the tool will cross through the intersections of the
last set of seams. Trim.

Lift the tool and rotate the unit
and realign the block using the same crosshairs and also you will be able to
line up the trimmed edge with the lines of the center square for 4’ finished
block. Now you are ready to trim the opposite side.

Now you are ready to repeat. Continue to build by adding the remaining
rounds follow the diagram below. Remember to continue to add your colors to the
right (or Left) to continue as you started.
Round
#
|
Tool
Part
|
Trimming
Lines
|
Round
#3
|
Part
B
|
4”
X and the 4 ½” clean up lines
|
Round
#4
|
Part
A
|
Center
Square for 8” finished block
|
Round
#5
|
Part
B
|
8”
X and the 8 ½” clean up lines
|

Round #3

Round #4

Round #5

Finished Unit
Now with the Large Squared
Squared Tool® combined with the Stacked
Squares Technique Sheet you can make sizes from 1” up to 12” squares.
The other favorite of mine is the
Pineapple Block. This technique is
pattern specific as seen in the Peach Melba® pattern here

With this technique you use the
same method of adding rounds that are slightly oversized and trim down. I will show you a few pictures of how this is
put together.
You will start with a 4 patch
then add triangles for the first 2 rounds and then you add logs for less waste.


These are the Log and trim down examples. You work with octagon shapes till you add the final corners.

There are 4 rows of logs of background and 4 rows of logs of accent colors. Then you will add the final triangles of the accent colors then the final trim.

After the final trim you will get the following blocks:

I am working on the Queen size
Quilt of this pattern. I have a total of
48 of these to make and only 30 left to finish.
The Large Square Squared® has made creating these blocks so easy, that I
have been speeding through them.
I have enjoyed being a guest
blogger of Tina Dillard, Quilting Affection Designs. I hope you will check out
the other bloggers of the Tuckerize Your Quilt Blog Hop listed below. There are still 2 days left. Also, you can
always go back and see the previous blogs.
I really enjoy the Studio 180 Design Tools and how they have my quilting
adventure easier. Thank you and Happy
quilting!
Monday, 7/15/19
Tammy Silvers, Tamarinis
Tina Dillard, Quilting Affection Designs
Tuesday, 7/16/19
Karen Overton, The Quilt Rambler
Wednesday, 7/17/19
Gail Renna, Quilt Haven Threads
Marie McKay, Ribbon Star Studio
Thursday, 7/18/19
Deborah Chiarelli, Guest Blogging for Tina Dillard
Friday, 7/19/19
Michelle Hiatt, Sew On the Go
Rosella Hanson, Guest Blogging for Tammy Silvers
Saturday, 7/20/19
Bonny Peters, Cat Den Mountain Quilts
Lydia Zeigler, Guest Blogging for Karen Overton