
Today, is Friday, so it is time to show my next block in my 2018, Master the Rulers: Studio 180 Design Blockbuster Series. Block 3 - Flying Dutchman the next block in the BlockBuster Series.

For this block I got to put away the Tucker TrimmerⓇ 1 ruler. Instead I will using the Wing ClipperⓇ 1.
The Studio 180 Design Wing ClipperⓇ 1 ruler is used for making flying geese. The Flying Dutchman is made out of 8 of Flying Geese units.
For this block, You haave the choice to make an 4", 8" and 12" Finished blocks. For my block, I decided to make the 8" Finished block which uses the popular flying geese size of 2" x 4" units.

My choice of fabrics come again from my Island Batik fabric Stash. My color combination for this block will be based off of three colors, white, yellow, and purple.
No Waste Flying Geese Method

So to start off you will need to cut 2 large squares (I chose to use two in differant colors) . You will need 8 smaller squares. Note: You will need to refer to the Wing ClipperⓇ 1 Instructions for the cutting sizes.

Next, you will then using the Quilter's Magic Wand or a ruler mark two lines, each 1/4" away from the center diagonal on the wrong side of the small squares fabric.

Position two of the smaller squares diagonally opposite corners on a larger square as shown above
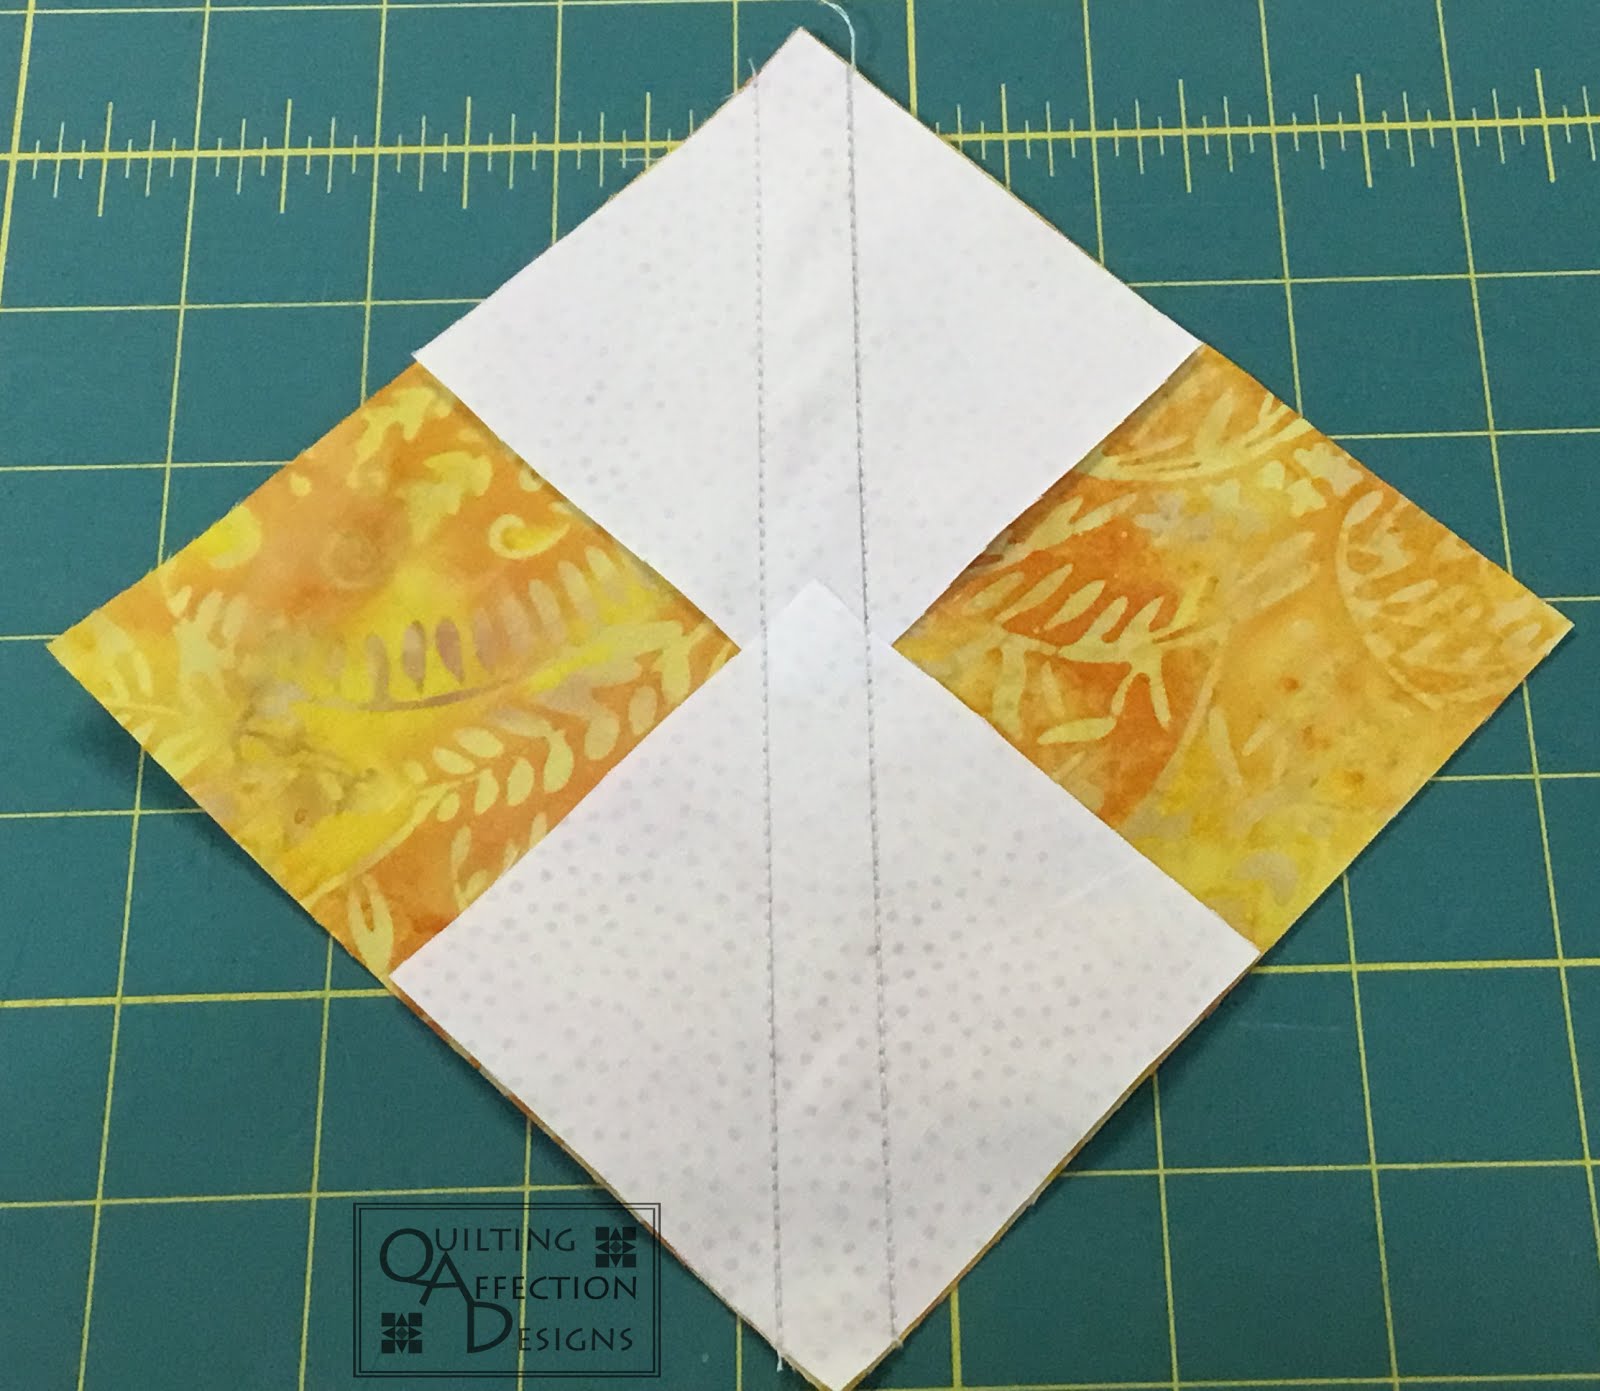
Stitch on the drawn lines.

Then, cut apart between the lines of stitching on the center diagonal.

Press seams in the direction away from the larger triangles as shown above.

Position the remaining smaller squares, one on each of the units with right sides facing each other.

Stitch on the drawn lines, then cut apart between the lines of stitching on the center diagonal.

Press seams toward the smaller triangles. You now have 8 units that need to be trimmed to size.

Using the Wing Clipper® 1 ruler trim unit to the correct size.

Nice and Clean Flying Geese units are now ready for block assembly.
Block Assembly

I positioned a yellow on top of purple units and stitched them together to make four squares. Pressing toward the yellow units.

Next position the four blocks so each would face in differant directions to make the final block layout. Stitching the rows together.

Then pressed the units in opposite directions. Next line up the seams of the two rows and stitching them together to form the block.

The Flying Dutchman block is a fast and easy block to complete since you are only making flying geese. I love how the block creates a spinning motion.
I hope you will give it a try sometime.
If you have not seen my first blockbuster blocks be sure check out my blogs on my Master the Ruler page.
Also be sure to watch my new Facebook Live series "Quilt Talk Tuesday!" You can watch it live on Tuesday on the Quilting Affection Design Facebook page. And for those of you not on Facebook I'm also posting videos on my YouTube channel, be sure to subscribe, so you do not to miss an episode.
See you next week with Block 4
Tina
Thanks for the great post. Don't know how I missed the first two, but going to check them out now.
ReplyDeleteCool. I wasn't aware of the quilter's magic wand. I definitely want to get it. Thanks.
ReplyDelete