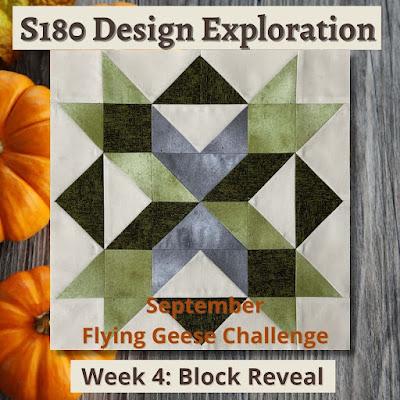
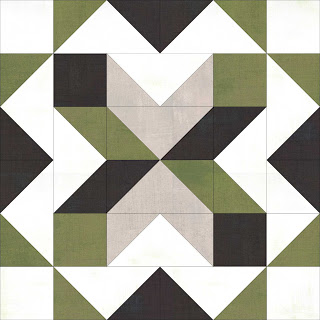
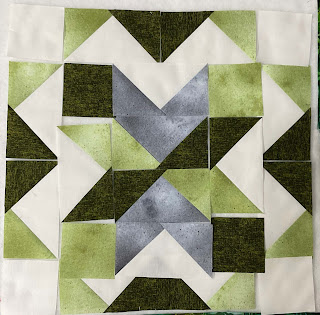
Last week, I showed you how to make the Quickets in my Block Party Block #18, "Pointed Square." This week, I want to continue with the Wing Clipper tool showing you how to make Flying Geese.
The Wing Clipper tool is one of the Studio 180 Design fundamental tools that I talked about in my blog post, "What Studio 180 Design Tools Should I start with?." This tool was created to make traditional Flying Geese units.
The construction method of these units uses the Non-Waste Method, which uses one large and four small squares to make four flying geese at one time. With the Studio 180 Design method, we will make these units slightly oversized and trim them down with the Wing Clipper tool. As a result, your units will be made quickly and accurately every time, no matter if you are making a 1/2" x 1" to 5"x 10" finished flying geese unit.
So let's walk through the steps to making these fast units.
Step 1. You will need to determine the finished size of your units. Then you will refer to the cutting chart in your tool instructions, find your finished size in the chart, and follow the chart over to find the Large Square and Small Square sizes you need to cut. Remember you will need one large and 4 small squares per 4 flying geese units.
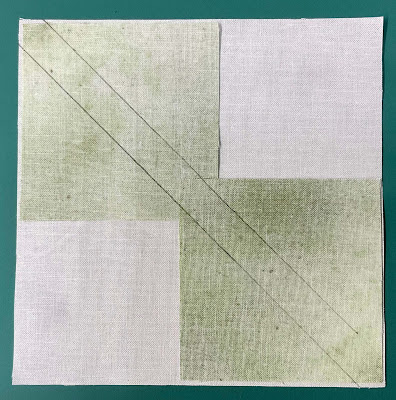
Step 2. Position two small squares diagonally on opposite corners on top of the larger squares with right sides down. Nudge them toward the center 3-4 threads. Mark two diagonal lines, each 1/4" away from the center diagonal. If you have the Quilter's Magic Wand, it makes it really easy to mark your lines.
Step 3. Stitch on both of the drawn lines. I like to stitch on a thread inside the drawn line to give me a little more fabric to work within the trimming process.
Step 4. Trim between the stitched lines on the center diagonal. I like to use my Wing Clipper for this process, using the 1/4" line on the tool.
Step 5. Press your seams toward the small triangles. I like to use a sewing clapper to help continue the pressing process to make sure the small triangles lay as flat as possible.
Step 6. Position the remaining small squares right sides down on the previously pieced units. Remember to nudge squares like you did before.
Step 7. Mark two stitching lines 1/4" away from the center diagonal line.
Step 8. Stitch on both drawn lines, trim between the stitched lines, and Press to the small triangle.
Step 9. Position your oversized units horizontally on your cutting mat with the center point facing you. Align the diagonal lines down the seam lines of the size you are making. Trim up the first two sides.
Step 10. Rotate the flying geese unit 180°, and reposition the Wing Clipper to align the unit cut size clean-up guidelines with the previously trimmed raw edges and the "X" at the top with the intersection of the seams. Trim up the final two sides.