Pages

Friday, August 30, 2019

Graceful Points Final Instructions


Today is the release day for the final instructions in the Graceful Point QAL.  The download for the finishing instructions can be found HERE

Be sure to read the Downloaded Finishing Instructions to get the correct cutting and trimming sizes for the King Size that are indicated in (Blue) parenthesis.

The below instructions are for the Wallhanging, please read the Finish Instructions for how to assemble the King Size.


Quilt Layout Assembly

Once you cut all the Background squares, Center Fill rectangles and make the Half Square Triangles we can begin assembly of our quilt top.  When assembling the wallhanging, please pay close attention to how the quilt is assembled.  


Center Section

We start with building a border around the center block Blockbuster #26

Begin by adding background rectangles and Half Square Triangles that will surround the center block.  Note for the King Size, you will add an extra row of background rectangles and Half Square Triangles.


Next, you will add BG rectangles, Block 4, and Block 17 to the sides of the Center-Block.  The center section is now ready to make Top and Bottom Inner Rows.


The Top inner row:  assemble two Bonus Blocks, BG Rectangles and Block 18 together.


The Bottom inner row: assemble two Bonus Blocks,  BG Rectangles and Block 2 together.


Attach them to the Center Section and press according to the instructions.  Now we have the Center complete we are going to add two outer side rows.


The outer rows will use BlockBuster #9, BlockBuster #12 and BlockBuster #1, and Background Squares.  


Finally, we add the top and bottom rows to finish off the quilt.  The top row consists of the following Blockbuster #8, #10, #22, and #7 Blocks.  The Bottom uses Blockbuster #6, #25, #20, and #9 Blocks.  


All we have to do now is to add the borders, and you have a completed quilt top. 


This is the King Size, done in different colors.  

Just love how both of these quilts turned out. I hope you enjoyed this Quilt Along and your finished quilts. Please share your photos in the comments section below or on the Graceful Points Facebook Group.  Additionally, you can post your blocks on Facebook or Instagram, making sure to use the #gracefulpointsqal and/or #quiltingaffection designs.

Tina
"Designs to Inspire"

Wednesday, August 28, 2019

Beat the Heat Giveaway Winner!


I want to thank everyone that dropped by the Island Batik Ambassador "Beat the Heat" Blog Hop.  I really do love hearing the wonderful comments you left about my Lucy Star quilt project and the comments on the Studio 180 Design tools.


My giveaway has ended and now its time to do the drawing for this Stash Builder Collections.

And the Winner is:


a Rafflecopter giveaway


Congratulations to Susan!  I have already sent an emailed to the winner, she has 5 days to claim your prize, with an email with her mailing address.

Thank You to all of you that entered!

Tina
"Designs to Inspire"

Friday, August 16, 2019

Graceful Points Block 15


Are you ready? It's time to release the next block and final block in the Graceful Points Quilt Along.  Today we are releasing block 15, Blockbuster #26 "Cactus Bloom." 


For this block, we will be making Popped Corner Beam, Corner Beams and Flying Geese units with the Studio 180 Design, Corner Beam®, Corner Pop®, and Wing Clipper® tools

Make sure you download both of the Block 15 and Blockbuster #26- "Cactus Bloom" Instructions, which are required to make your blocks.  


Please remember that the pictures used in this tutorial are for the 12" block for the Wallhanging.  Be sure to read the Downloaded Block Instructions to get the correct cutting and trimming sizes for the King Size 18" block, which are indicated in (Blue) parenthesis.


Unit A: Corner Beam Popped


We are going to start off the Corner Beams by cutting our center beam first.  Placing your square on the cutting mat.  Position the Corner Beam® tool, so the dashed line labeled "Center Beam Trim #1" and the Finished Unit Line with the other edge of your fabric square.  Trim along the slanted edge of the tool.


Next, lift and Reposition the Corner Beam® tool, aligning the dashed line labeled "Center
Beam Trim #2" with the previously trimmed angle and trim along the slanted edge again. 

Cut 4 Center Beams

Now we are going to cut the side triangles:

Right Handed

Left Handed
Gather your BG strips.  Position the Corner Beam® tool on the strip so that the Bold line labeled "Side Triangles Trim #1" aligns up against the trimmed end of the BG Strip and the Finished line against the bottom of the strip.  Trim along the slanted edge of the tool.

Right Handed
Left Handed
 Rotate your tool, one quarter turn counterclockwise.  Positioning the line labeled Side Triangle Trim #2, against the slanted edge on the previously trimmed edge, making sure the bottom of your strim is lined up along the second trim line and trim.

Cut 4 Side Triangle Pairs.


Arrange your Side Triangles and Center beam pieces. Assuring the short end and the angles align with the Center beam.


Position a side triangle onto the Center Beam, placing them right sides together, assuring to offset the tip of the center beam about 1/4" above the side triangle.   Stitch the center beam on top of the sides triangle with a 1/4" seam allowance.  


Press seams toward the side triangles.


Position the other side triangle on the other side.  Stitch with a 1/4" seam and press seam toward the side triangles.  

Right Handed
Left Handed
Position the unit on your cutting mat.  Right-hand cutters place your point of the corner beam right side (see above), and Left-handed cutters place the point of your corner beam to the right side.  

Aligning the "Seam Line Placement" guidelines with the diagonal seams of your unit.  Trim the two sides.

Right Handed

Left Handed
Rotate your Corner Beam unit 180°.  Making sure to align up the Finished size guidelines and the seam intersection nests in the "V" and the corner to corner diagonal seams fall right along with the points of the "V"s.  Trim the remaining sides of the units.

Next, Popped Corners


Start off by cutting the small squares diagonally in half to yield 2 triangles.


Right Handed

Left Handed
Position the CB units right side up on the cutting mat.  Find and Position the Cut Away Corner Line that is indicated in your Block instructions on the outer Beam as shown.  Trim.


Take one of the replacement triangles and center it with the long side of the Corner Beam that was just trimmed.  Stitch with Corner Beam on top using a 1/4" Seam allowance.

Right Handed

Left Handed

Position the Corner trim Down Line fo the Corner Pop tool over the newly sewn seams.  Make sure to align the diagonal line with the seam, plus the edges of the unit with the edges of the tool. Trim the corner.


Make 4 Popped Corner Beams

Unit B: Corner Beams


We will be making smaller Corner Beams for Unit B.  So we will be following the steps above just we won't be popping the corners this time.  These Corner Beams will be smaller in size, so refer back to your block instructions for the correct sizes.


Make 4 Unit B's

Unit C: Flying Geese

Since we have made Flying Geese units several times in this QAL, I will just remind you of the placement of your Wing Clipper® I tool.


Position your Wing Clipper® I on your Flying Geese unit.  Aligning the diagonal guidelines on the Wing Clipper® I with the seams of the unit.  When doing this, you will be automatically be centering the tool over your pieced unit.  Trim the sides and across the top.


Rotate your unit 180° and reposition the Wing Clipper® I to align the previously trimmed raw edge with the cut size of your unit and "X" at the top with the intersection of the seams.  Trim the remaining sides.

Assembly


Now that you have all your units complete, its time to lay out Block #15.  Please follow Blockbuster page Download to make sure you lay out the units correctly.  Double-checking you have the correct placement of all your units.


To start the assembly, you will want to stitch your 2 different Flying Geese units together first. Then assemble the four Unit B Corner Beam units together.  

Once your Flying Geese and Corner Beam Center are complete. You can stitch all units together to make your block. 


Block 15, "Cactus Bloom" is now complete.  


But now I have added a Bonus Block that is part of the QAL.  This Bonus Block is not a Blockbuster, this is something I designed to fill in four corners around the quilts.  I'm providing this block ahead of the Finishing Instructions that will be released in a couple weeks.  You will be making 3 Square Squared units.  Download your Bonus Block Instructions now. 

I look forward to seeing your Blocks, and I hope you will share your photos in the comments section below or on the Graceful Points Facebook Group.  Additionally, you can post your blocks on Facebook or Instagram, making sure to use the #gracefulpointsqal and/or #quiltingaffection designs.  I can't wait to see your blocks.

On Friday, August 30th will be the release date for Final Quilt Instructions in our quilt along.


Tina
"Designs to Inspire"

Thursday, August 15, 2019

Beat the Heat Blog Hop


This summer in the Washington DC area, we had some hot and humid days.  If you are like me, your trying to find ways to keep cool.  To help distract you a bit, many of your Island Batik Ambassador's are participating in the "Beat the Heat" Blog Hop showing off some gorgeous and stunning quilts made from Island Batik Fabrics Collections coming to a quilt store near you soon.


Today, Bea Lee @ Bea Quilter and I are showing off the Kaleidoscope Collection.  Once I received my collection in my Island Batik Box #1, I went to designing a quilt that shows off the beautiful and bright colors of this collection.


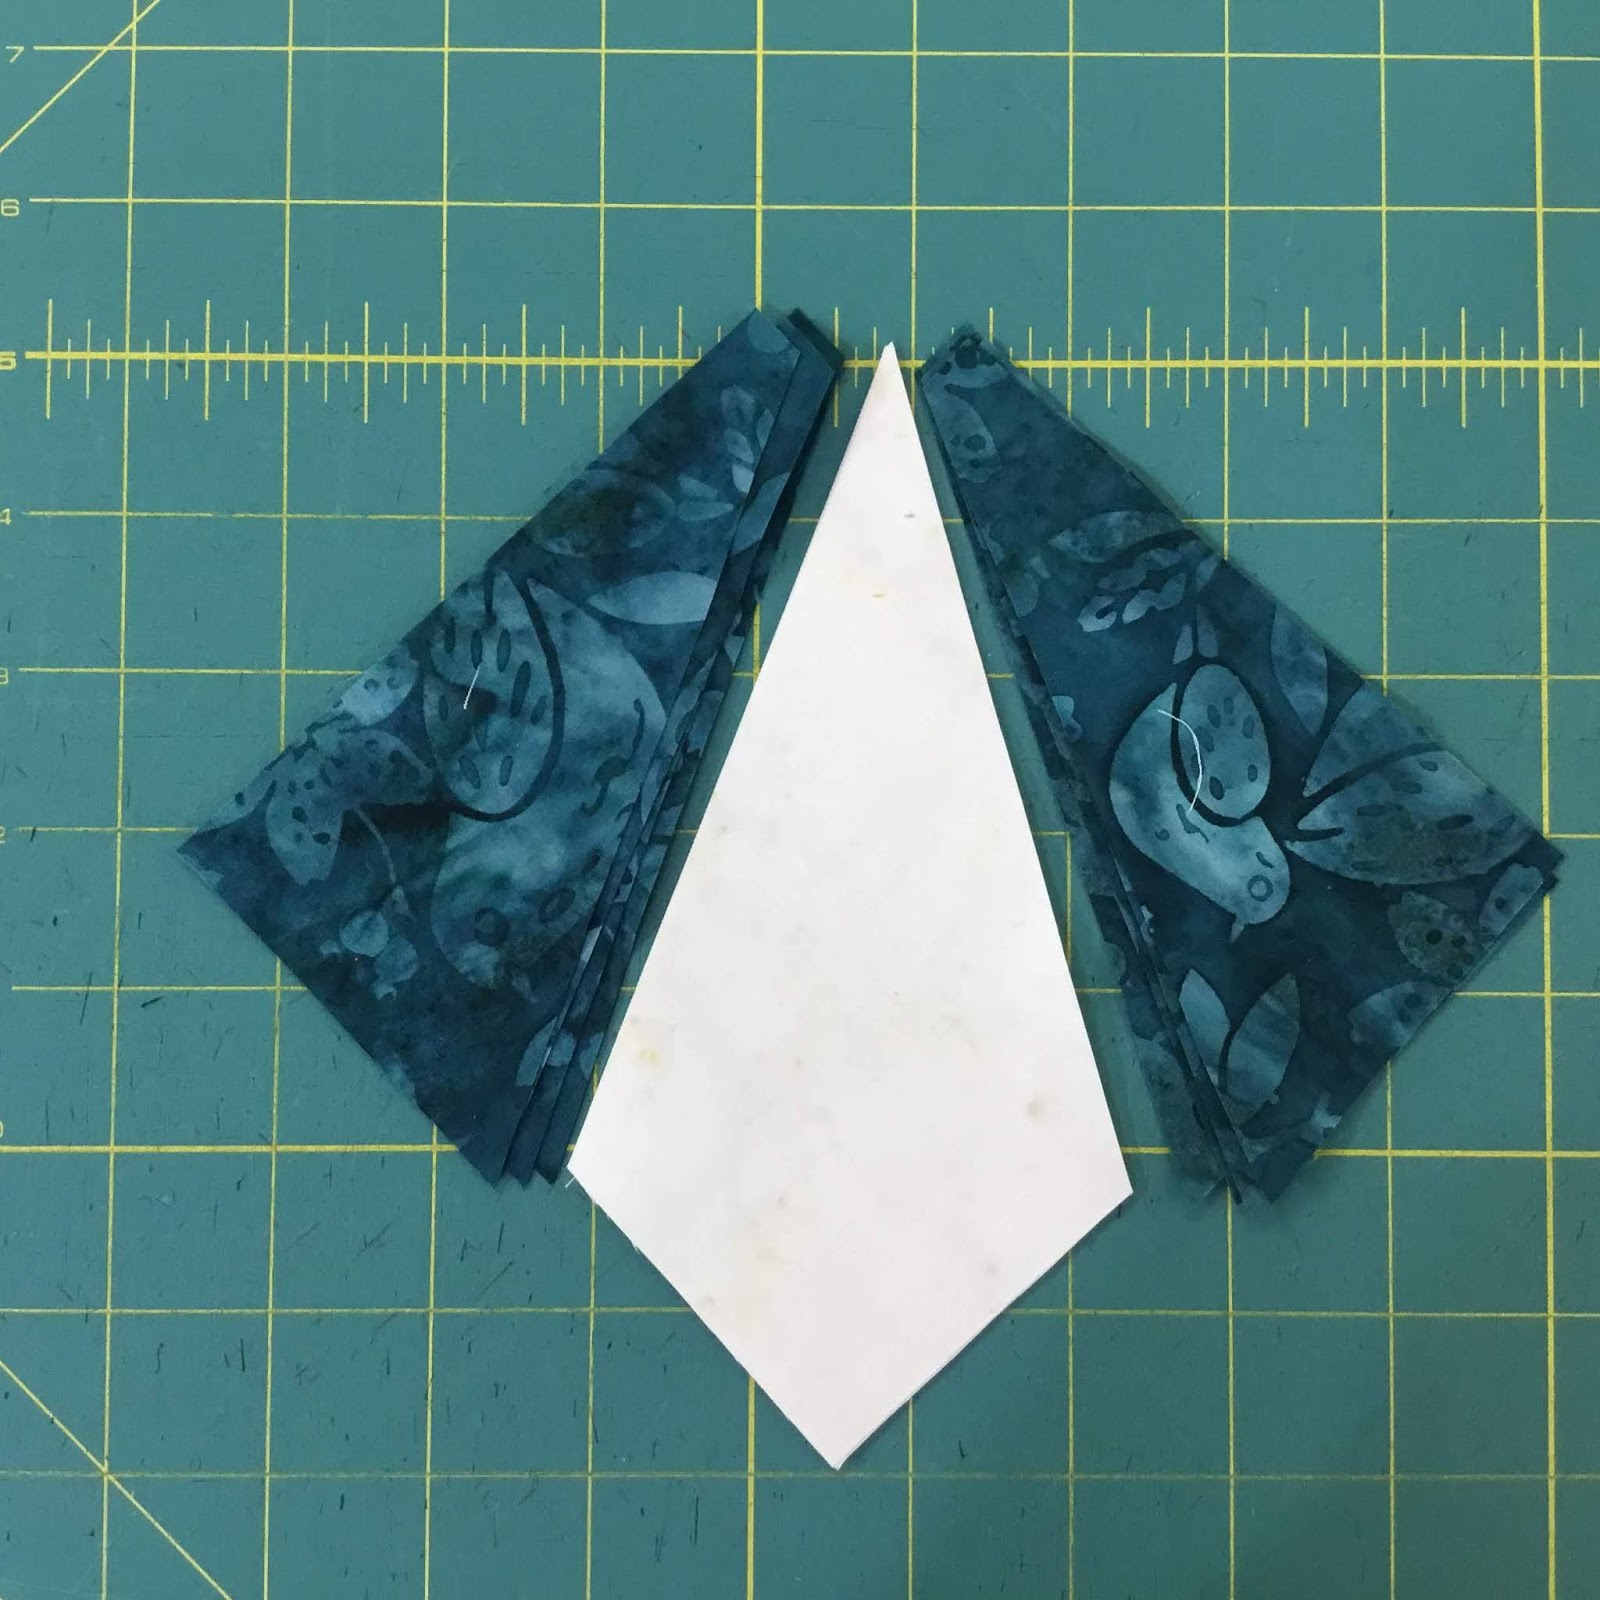
I designed the project in Electic Quilt 8 and it uses the Deb Tucker Studio 180 Design Corner Beam®, Wing Clipper® I, and the Square Squared® 6" tools. Additionally, I used 12 of the fabrics in the "Kaleidoscope" Collection


Plus, I add three Island Batik "Solid" fabrics, White, Black, and Grey. I just love these solids because they are so versatile. Did you know that Island Batik just announced that they will be adding new colors to this collection and you can start pre-ordering them now? Check out the new colors HERE.


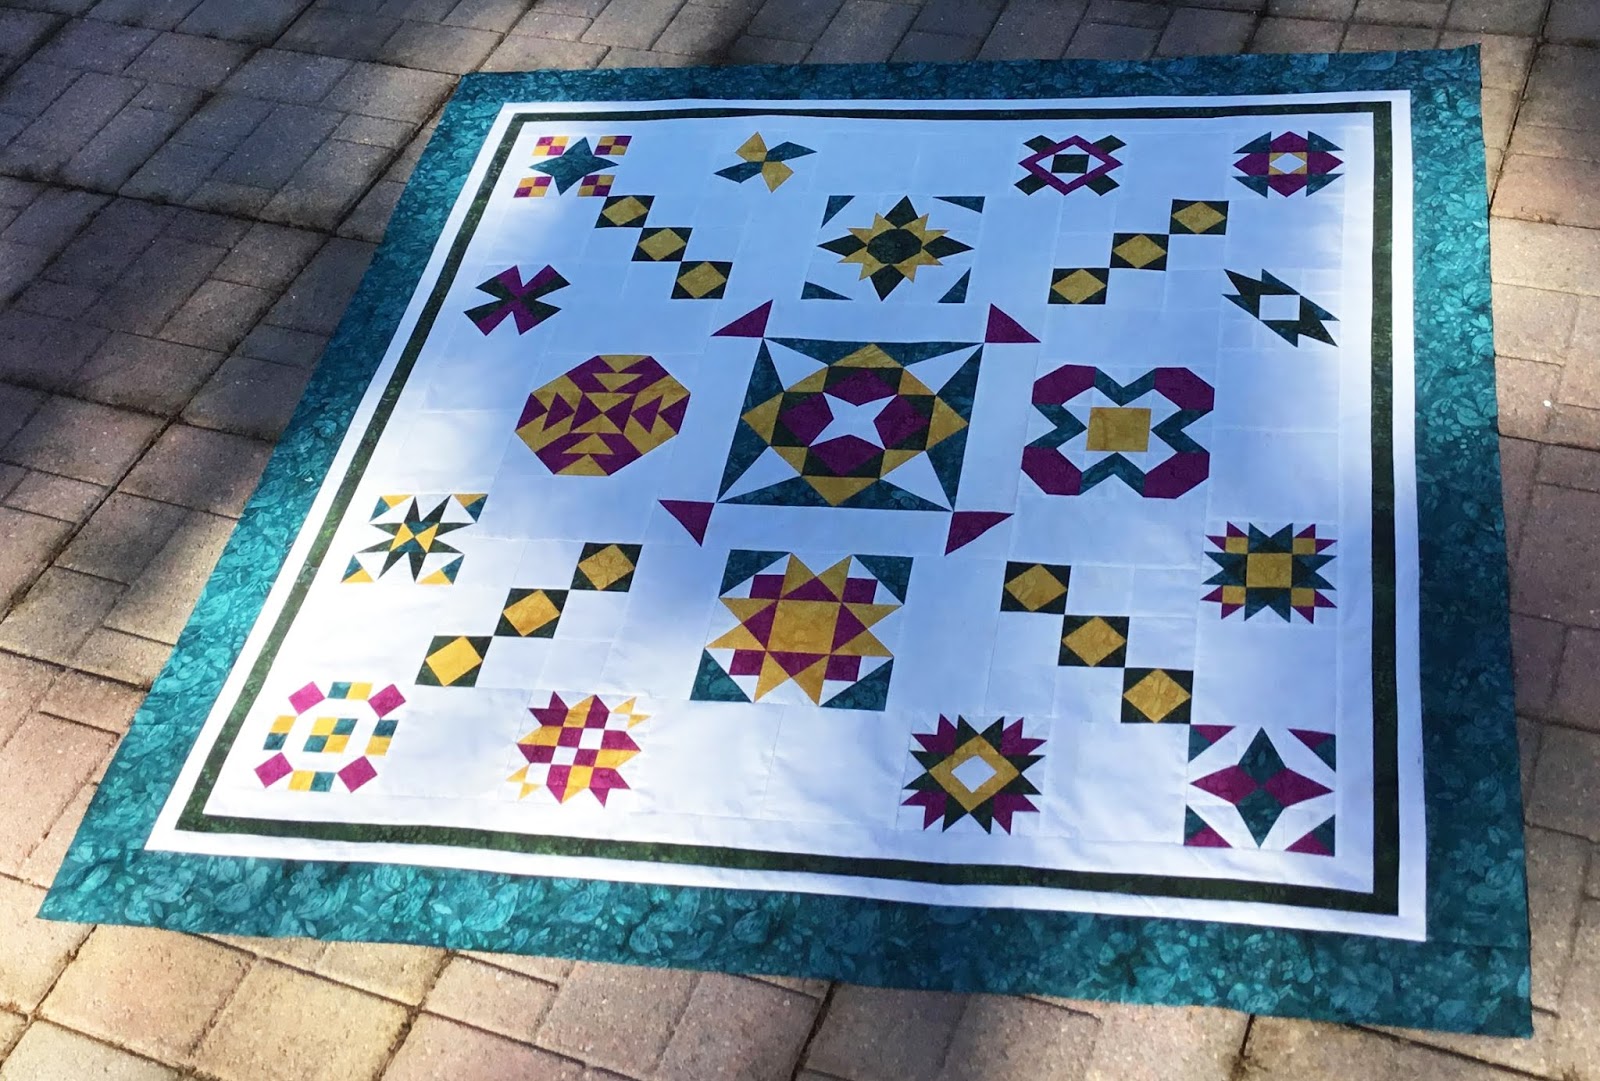
My project, called "Lucy's Star" measures 55" x 55". 


Is based on 9" blocks that are set on point.  Setting your quilt designs on point gives a quilt a new look and feel.  When piecing my projects, I love using Auriful #50 thread.  


Organization Tip: to keep yourself organized buy cheap paper plates, labeling each with the unit name, fabric color, and the sizes of the pieces.  By doing this, you keep all your pieces together and organized. So if you have to put the project away for a couple weeks or it becomes a UFO, when you finally come back to it, you can start back exactly where you left off.


The pantograph I chose for this project was called "Caspian," and the batting I chose for this project was from the Hobbs Tuscany  Collection, Silk Blend.  Between the panto and the batting, I have a very soft look and feel to this quilt.  


Thank you for stopping in and check out "Lucy's Star."  By the way, you're probably wondering why the name "Lucy's Star.  The quilt is named after one of my quilting helper's "Lucy" (Pictured), and she has sister Anna (Schnoodles). I love them both! 

2 Giveaways
  
Giveaway #1 - Before you go, please remember to enter to when this week's Fabric Giveaway at the Island Batik's Beat The Heat Blog Hop. 


Giveaway #2 - I'm giving away a package of Stashbuilder to one lucky winner.  Stashbuilders includes5 Rolls Per Package, 4 Pieces of Fabric Per Roll, which is approximately 3 Yards of Fabric Per Pack.  Fun to play with!!


Quilting Affection Designs Guidelines and Rules for this give away.

No purchase necessary. Fabric Giveaway is only open to  US residents only, due to shipping costs. 

While we hope you will leave a comment on the post of the day because we love comments, we want no reply bloggers to have a chance at winning also. Rafflecopter will collect your name, country, and email. 

The Winners picked at random via Rafflecopter at the midnight, August 28th. Winner will be drawing be on August 29th, and the winner will be notified via email, and in a blog post that day. 

Winner will have approximately five days to claim their gift, if five days pass, the gift will be offered to another eligible entrant. Winner must provide name, address, city, state. 

Only US Address, please!

Winner will be announced on this blog and in the Rafflecopter window here on this page. Winner agrees to allow their name, city, state to be publicized.

Odds of Winning a prize are based on a total number of Rafflecopter entries.

You are responsible for claiming and paying any tax owed on the value of any gift that you win where applicable. Some restrictions on gifts will apply based on shipping policies. This sweepstake is void where prohibited by law.

More Blogs

Be sure to check out the other Island Batik "Beat the Heat" Blogs showing more of the fabulous Island Batik Fabrics collections and quilts that the ambassadors are showing off during this blog hop.
Monday, August 5th - Blueberry Patch

Tuesday, August 6th - Clockworks

Wednesday, August 7th - Electric Desert

Thursday, August 8th - Enchanted Forest

Monday, August 12th - Garden Party

Tuesday, August 13th - Geared Up

Wednesday, August 14th - Graphic Gems

Thursday, August 15th - Kaleidoscope

Monday, August 19th - Petal Pushers

Tuesday, August 20th - Quiet Shades

Wednesday, August 21st - Seedlings

Thursday, August 22nd - Soil & Seeds

Monday, August 26th - Steam Engine

Tuesday, August 27th - Sunny Side Up